How to Change LG Water Filter
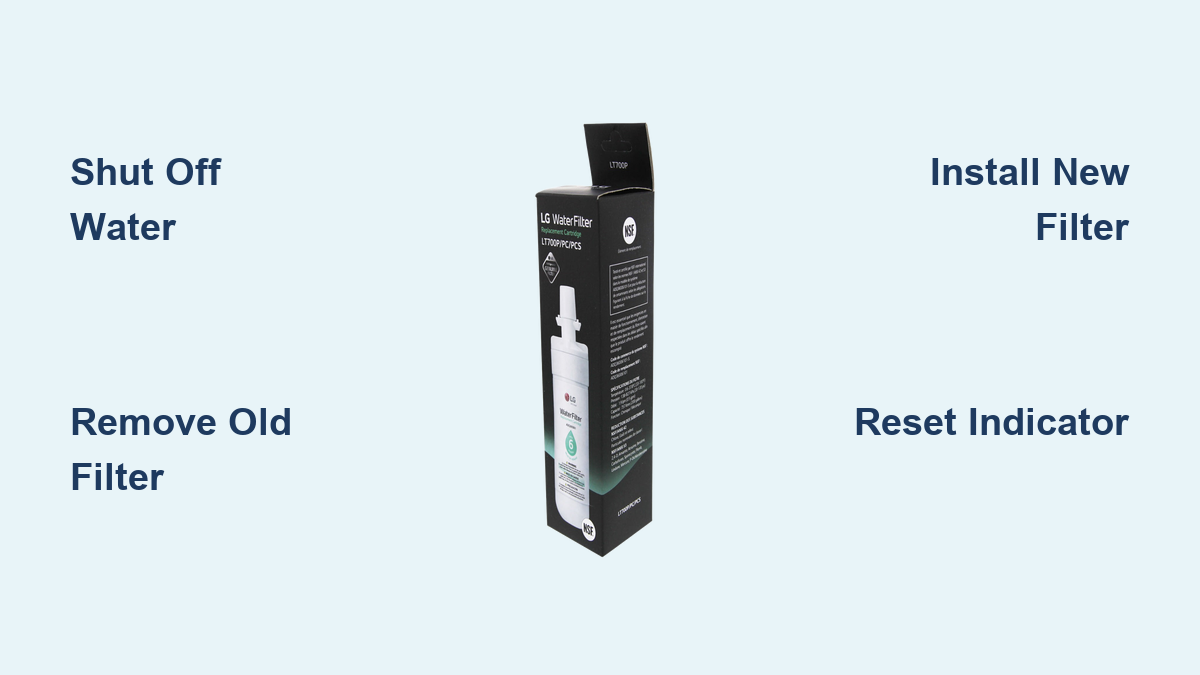
Is your LG refrigerator dispensing slow water or showing a “Replace Filter” alert? You’re not alone—millions of LG owners face this every six months. Changing your LG water filter is a quick, essential task that ensures clean, great-tasting water and optimal ice production. The entire process takes less than 10 minutes and prevents long-term damage to your appliance.
This guide walks you through every step correctly and safely. You’ll learn how to identify your filter location, remove the old cartridge, install the new one, flush the system, and reset the indicator light. Whether you have a French door fridge or an advanced PuriCare system with voice-guided installation, these procedures follow genuine LG specifications.
Find Your LG Water Filter Location

LG refrigerators place water filters in different positions depending on the model. Knowing where yours is located saves time and frustration during replacement.
Top Left Interior Corner
This configuration is common in French door models using the LT700P filter. Open the fridge and look in the upper left corner. If a shelf blocks access, remove it first. The housing features side buttons or pinch tabs. Press them to release the cover, and the filter will pivot down for easy removal.
Top Right or Back Interior
Found in models using the LT1000P filter, this location sits at the top right or rear of the interior. Some units have a drop-down housing activated by a release button. Others hide behind a panel. Always check for directional arrows before twisting the filter.
Bottom Left Door Compartment
Located behind the lower left door bin. Remove the bin to expose the filter mount. The unit swings out, allowing you to twist and replace the cartridge. This setup appears in compact and side-by-side models.
Bottom Front Grill Access
On select bottom-freezer and counter-depth models, the filter hides in the front base grill. Open the panel, then either pull the filter straight out or rotate it counterclockwise. Reinstall by pushing in or turning clockwise until it locks.
Confirm Replacement Timing for Your LG Water Filter
Changing your filter too late affects taste, flow rate, and health safety. LG mandates specific intervals for optimal performance.
When to Replace: 6 Months or 200 Gallons
LG recommends replacing water filters every 6 months or after 200 gallons—whichever comes first. Even if the water tastes fine, internal saturation can allow contaminants like chlorine, lead, and VOCs to pass through. Set a calendar reminder or enable ThinQ app alerts to stay on track.
Signs You Need a New Filter Immediately
Watch for these warning indicators:
– Slow water dispenser output
– Strange taste or odor in dispensed water
– Ice maker producing fewer or smaller cubes
– “Replace Filter” light flashing or solid
Ignoring these signs risks clogging, reduced efficiency, and potential bacteria buildup—especially in systems over one year old.
Choose the Right Replacement Filter
Using the wrong filter damages performance and may void your warranty. Match your model exactly.
Common LG Filter Models
Check the old filter or fridge interior label for these model numbers:
– LT1000P
– LT800P
– LT700P (also fits Neo-Pure systems)
– LT600P
– LT500P
Each has unique dimensions and filtration specifications. The LT700P, for example, is NSF-certified in the U.S. to remove lead, pesticides, and volatile organic compounds.
Genuine vs Generic Filters
Stick with genuine LG filters. They’re NSF-certified and engineered for perfect fit and flow. Generic versions may leak, underperform, or trigger error messages. For PuriCare systems, non-OEM filters can disrupt voice guidance and auto-reset functions.
Prepare for Safe LG Water Filter Installation
Skip preparation and risk water spray or component damage. Follow these steps before touching the old filter.
Shut Off the Water Supply
Locate the shutoff valve behind or under the fridge. Turn it clockwise to close. This prevents high-pressure bursts when removing the old filter.
Release System Pressure
Press the water dispenser until no more water flows. This drains residual pressure and stops drips during replacement.
Clear the Area and Gather Supplies
Place a dry towel under the filter location to catch residual water. Remove obstructing shelves or bins. Have ready:
– New LG filter
– Clean cloth
– Optional cleaning brush for PuriCare models
Replace a Top Left Interior Filter

This procedure applies to LT700P and similar French door models.
Open and Pivot Down the Housing
Press both side buttons or pinch the cover edges. The housing unlocks and swings down. Grasp the old filter and pull it straight out.
Insert and Lock the New Filter
Remove the new filter’s protective cap. Align the tabs with the slots in the holder. Push in firmly, then pivot upward until it clicks. Close the cover securely. No tools needed—just hand pressure.
Replace a Top Right Interior Filter

This procedure covers LT1000P models with twist-lock design.
Drop the Housing and Unlock
Press the release button. Pull the housing down until it stops. Push the old filter down slightly, then turn clockwise to unlock. Some models require counterclockwise rotation—follow the arrow indicators on your unit.
Install with Notch Alignment
Find the notch on the side of the new filter. Align it with the housing slot. Insert fully, then twist clockwise until it clicks. Push the housing back up and lock it into place.
Swap a Bottom Door or Grill Filter

These procedures cover lower-mounted filter systems.
Remove Door Bin and Swing Out
Take out the lower left door bin. Swing the filter assembly outward. Turn the old filter counterclockwise to release it from the mount.
Lock the New Filter in Place
Insert the new filter into the mount. Turn clockwise until it locks. Swing the assembly back in and reinsert the door bin.
For Bottom Grill Models
Open the front base panel. Pull the old filter straight out or rotate counterclockwise. Insert the new one, push in or turn clockwise to lock. Close the panel securely.
Install LG PuriCare Filters with Voice Guide
Advanced self-service units require precise steps and respond to audio cues.
Remove Drip Tray and Open Cover
Pull out the drip tray with both hands. Hold the tap steady and turn it fully left or right to detach. Grasp the filter cover’s lower edge and pull forward to open.
Install Pre-Carbon Block Plus Filter
Hold the new filter with the label facing left. Insert into the slot and turn clockwise until locked. The system provides voice feedback—listen for confirmation tones.
Clean Housing and Add Ultra-Filtration Filter
Use the included brush to clean housing slots. Remove the cap from the ultra-filtration filter. Insert with the label facing left, turn clockwise, and press firmly with both hands to seat it fully.
Run the Auto-Cleaning Cycle
Place the dry cleaning cloth where the drip tray was located. Close the cover. The system starts a 7-minute self-clean cycle. All functions pause during this time. To cancel, hold the dispense button for 3 seconds.
Reset and Reattach Components
After cleaning completes, slide the drip tray back into the groove. Return the tap to its original position. Press the cold button for 3 seconds to reset the counter. Voice guidance confirms completion with “Filter cleaning is complete” and “Filter usage has been reset.”
Prime the New LG Water Filter
Flushing removes air pockets and carbon fines from the manufacturing process. Skip this step and you’ll get cloudy water with an unpleasant taste.
Dispense 2.5 to 3 Gallons
Turn the water supply valve back on by rotating counterclockwise. Dispense water in 30-second bursts to avoid motor strain. Total volume needed: 2.5 to 3 gallons, or run for 3 to 5 minutes.
Check for Clear, Taste-Free Water
Early water may taste odd or sputter—this is normal. Continue flushing until flow is steady and taste is neutral. Do not drink the first few cups.
Reset the Filter Indicator Light
Your fridge won’t track the new 6-month cycle unless you reset the indicator.
Hold the Reset Button for 3 Seconds
Find the “Filter Reset” button on the control panel. Press and hold for 3 seconds. The light will turn off, go green, or stop flashing—confirming a successful reset.
Fix Reset Failures
If the light won’t reset:
– Hold the button longer for a full 3 seconds
– Unplug the fridge for 10 seconds, then retry
– Check your user manual for ThinQ-specific app steps
Troubleshoot Common LG Water Filter Problems
Quick fixes for issues that arise after installation.
No Water Flow After Replacement
Check these potential causes:
– Water supply valve not fully open
– Filter not fully seated and locked
– Air lock from insufficient flushing
Flush longer and verify proper alignment.
Leaking at Filter Housing
Usually indicates improper seating. Remove and reinstall the filter, ensuring it clicks into place. Inspect the O-ring for debris or damage. Clean if needed.
Filter Light Still Flashing
Could be a system glitch. Try power cycling the fridge by unplugging for 10 seconds. If the issue persists, consult your manual—some models require specific reset sequences.
Poor Taste Persists
Not enough flushing. Run another 2 to 3 gallons through the system. If the problem continues, verify the filter wasn’t expired or damaged in packaging.
Maintain Peak LG Water Filter Performance
Long-term care keeps your filtration system efficient and your water clean.
Clean the Filter Compartment Regularly
Wipe the housing and surrounding area every 3 months. Dust or mold can compromise seals and cause leaks.
Monitor ThinQ App Alerts
Smart models send filter status updates through the app. Enable notifications to avoid missing replacement deadlines.
Never Exceed 12-Month Use
Even low-use filters degrade over time. After one year, they can clog permanently—especially in ThinQ units. Replace on schedule, every time.
Frequently Asked Questions About Changing LG Water Filters
How often should I change my LG water filter?
LG recommends replacing your water filter every 6 months or after 200 gallons of use—whichever comes first. For PuriCare systems, the pre-carbon block plus filter needs replacement every 6 months, while the ultra-filtration filter lasts 12 months.
Where is the filter located on my LG refrigerator?
Filter location depends on your model. Common positions include the top left interior corner, top right or back interior, bottom left behind the door bin, or the bottom front grill. Check your existing filter or interior label for the model number to confirm.
Do I need to turn off the water before changing the filter?
Yes. Locate the water supply valve behind or under the fridge and turn it clockwise to close. Then dispense water through the door spigot to release system pressure before removing the old filter.
How much water should I flush after installing a new LG filter?
Dispense 2.5 to 3 gallons of water, or run the dispenser for 3 to 5 minutes in 30-second bursts. This removes air pockets and carbon fines. The first few cups may taste slightly off—this is normal and will clear with continued flushing.
Why is my LG filter light still on after replacement?
The indicator requires a manual reset. Press and hold the “Filter Reset” button on the control panel for 3 seconds. The light should turn off, turn green, or stop flashing. If it doesn’t work, unplug the fridge for 10 seconds and try again.
Are generic LG water filters safe to use?
Genuine LG filters are NSF-certified and engineered for exact fit and performance. Generic replacements may leak, underperform, or trigger error messages. For PuriCare systems, non-OEM filters can disrupt voice guidance and auto-reset functions. LG recommends genuine filters for optimal results.
Key Takeaways for Changing Your LG Water Filter
Replacing your LG water filter is fast, simple, and essential for clean water and appliance longevity. The entire process takes less than 10 minutes when you follow the correct steps for your specific model. Always use genuine LG filters, flush 2.5 to 3 gallons after installation, and reset the indicator light to track your next replacement.
Set a reminder for 6 months from today, or enable ThinQ app notifications if your model supports smart connectivity. Check your filter location now so you’re prepared when replacement time arrives. Your LG will continue delivering pure, refreshing water for years when you stay on schedule.