Fix Brio Water Dispenser Not Working
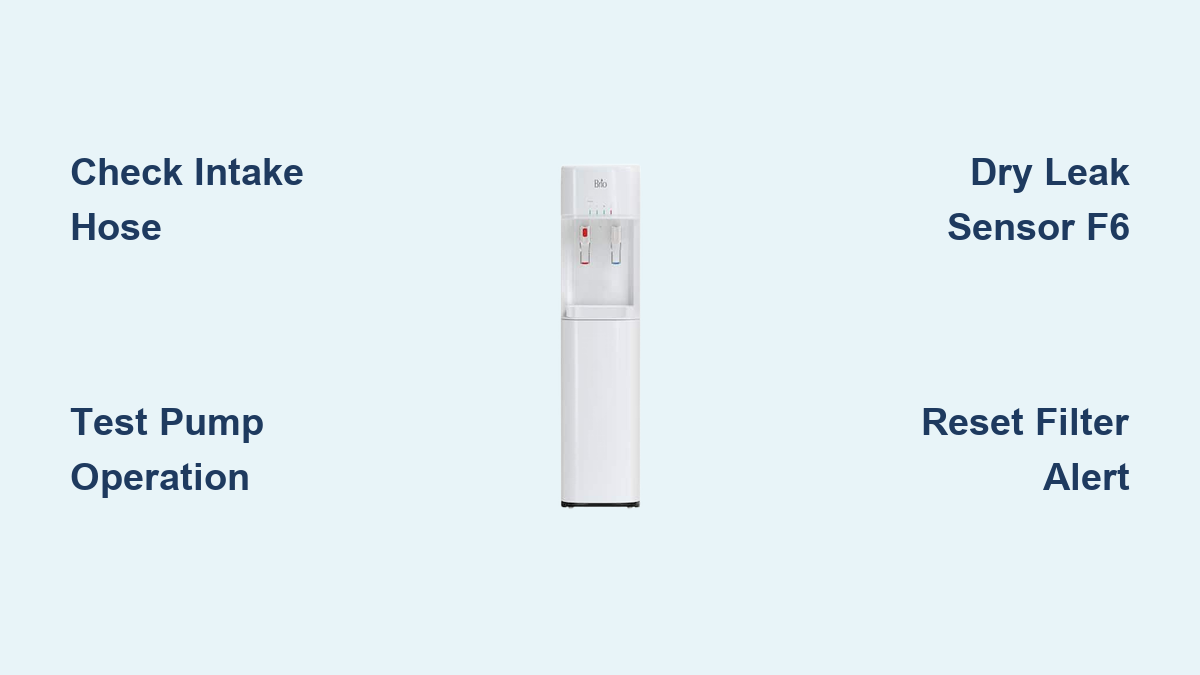
You’ve pressed the water button, but nothing comes out. No drip. No pump sound. Maybe an error code blinks back at you. If your Brio water dispenser is not working, you’re not alone. Thousands of users face similar issues every year. The good news? Most problems are simple to fix, and 95% of repairs can be done at home with no special tools.
This guide walks you through step-by-step solutions to get your Brio dispenser running again, often in under 10 minutes. Whether you own a bottom-load 520 series or a Moderna model, you’ll learn how to diagnose, repair, and prevent the most common failures.
Check the Intake Hose Connection

A loose or disconnected intake hose is the #1 cause of Brio water dispenser failure. This happens after changing bottles or moving the unit.
Confirm the Hose Is Fully Seated
- Remove the water bottle.
- Inspect the clear plastic intake hose at both ends:
– At the probe head (where it enters the bottle)
– At the pump inlet - Push each end firmly until you hear a distinct click. This confirms a secure seal.
- Reinstall the bottle and close the door completely.
Visual cue: If the hose looks loose or has a slight gap, it is not seated.
Prime the Water Lines
After reconnecting the hose, air may remain trapped. Purge it:
- Press and hold the Cold or Hot water button.
- Continue for 2 to 3 minutes, even if nothing comes out at first.
- You will eventually hear gurgling, then water flow.
Pro tip: Do this for both hot and cold sides to fully prime the system.
Common mistake: Stopping too early. Many users give up after 15 seconds, but air can take up to 3 minutes to clear.
Diagnose Pump Operation

The 12V DC diaphragm pump is the heart of your Brio dispenser. If it fails, no water flows, even if the unit has power.
Listen for Pump Noise
- Pump runs (humming): Airlock or clog likely.
- Silent when button pressed: Pump may be dead or not receiving power.
Test for Power at the Pump
- Unplug the unit.
- Remove the back panel to access the pump (located near the base).
- Use a multimeter to check for 12V DC at the pump terminals when a button is pressed.
- If voltage is present but the pump is silent, replace the pump.
Replace a Faulty Pump
Correct part: 12V DC diaphragm pump (common model: GMBD 23,130).
Steps:
1. Disconnect power and remove the old pump.
2. Note wiring: Red wire = positive (+), Black = negative (–).
3. Connect the new pump with correct polarity.
4. Secure in place and test.
Warning: Never use a 110V pump. The system runs on low-voltage DC only.
- Time estimate: 20 minutes
- Cost: $9–$19
Fix Post-Vacation or Inactivity Failure
Your Brio worked fine before you left, but now it won’t dispense. This is common after weeks of inactivity.
Rule Out Airlock and Bottle Issues
- Remove and reseat the water bottle firmly.
- Ensure the bottom door is fully closed. A sensor prevents operation if open.
- Check the probe tip for debris or mineral buildup.
- Hold down a dispense button for 60 seconds to prime.
Check for a Frozen Reservoir
If the unit was left plugged in during cold weather:
- Unplug immediately.
- Leave at room temperature for 4–6 hours (light frost) or 12–24 hours (solid ice).
- Avoid using heat sources. Let it thaw naturally.
Signs of freezing: Hard-to-press buttons, visible ice in the tank, or clicking sounds.
Perform a Hard Reset
Clears electronic glitches:
- Unplug the dispenser.
- Wait 10–15 minutes to drain capacitors.
- Plug back in and test.
Bonus reset: If the self-clean light is solid green but no water flows, this confirms a stuck mode. A hard reset often fixes it.
Resolve Error Code F6 (Leak Sensor)
The F6 error shuts down your Brio and triggers beeping. It means moisture is detected in the base.
Dry the Leak Sensor
- Unplug the unit.
- Open the base cabinet door.
- Locate the small gray sensor in the back corner.
- Wipe dry with a clean cloth.
- Use a cool hair dryer for 2–3 minutes to evaporate hidden moisture.
- Leave the door open for 1 hour before plugging back in.
Pro tip: Place a folded towel under the unit weekly to catch drips and prevent recurrence.
Prevent False Triggers
- Wipe spills immediately.
- Keep humidity low. Moderna models are especially sensitive.
- Ensure the drip tray is not overflowing.
Note: Sensor replacement is rarely needed. 99% of F6 errors are resolved by drying.
Address Error Code F7
F7 behaves similarly to F6, causing shutdown, beeping, and moisture alerts, though it may indicate a sensor fault.
Follow F6 Protocol First
- Dry the base and sensor area thoroughly.
- Perform a 15-minute hard reset.
- Test operation.
Check for Condensation
In high-humidity environments:
- Run a dehumidifier nearby.
- Leave the base door slightly ajar when not in use (only if safe from pets and children).
If F7 returns repeatedly, the sensor may need replacement. Contact Brio support with your model number.
Clear a Persistent Filter Alert
Even after installing a new filter, the exclamation mark and beeping won’t go away.
Perform an Advanced Reset
The standard filter reset may fail. Force a system refresh:
- Unplug the unit.
- Press and hold the Filter Reset button (usually on front or side).
- While holding, plug the unit back in.
- Keep holding until beeping stops and the light turns solid (usually 2–5 seconds).
This bypasses software glitches and resets the timer.
Model note: On 520 series, the button may be labeled “Clean” or “Reset.”
Fix Mushy or Unresponsive Buttons

One button doesn’t work. Others are fine. You press, but no click and no water.
Realign Internal Button Levers
This is a mechanical misalignment, not electrical.
Steps:
1. Remove the two screws on the back of the top cover.
2. Lift the lid gently. Don’t disconnect wires.
3. Look under each button. Plastic levers should sit in guide trays.
4. If popped out, push them back in until they snap.
5. Reinstall the cover and screws.
- Time required: 5 minutes
- Cost: $0
Prevention: Don’t slam buttons. Press firmly but gently.
Thaw a Frozen Reservoir
Cold water button stuck? Ice inside? The tank may be frozen solid.
Stop Cooling Immediately
- Turn off the cooling function.
- Unplug the unit.
Allow Natural Thawing
- Light frost: Wait 4–6 hours.
- Solid ice: Wait 12–24 hours.
- Do not use a hair dryer or heater. This risks cracking the plastic.
Restart with Proper Settings
- Plug back in.
- Set temperature to Medium, not Max Cold.
- Ensure 8 inches of clearance around the unit for airflow.
If freezing returns, the thermistor (temperature sensor) is faulty and needs replacement ($2–$10, advanced access).
Prevent Recurring Failures
Most Brio issues are avoidable with simple habits.
Maintain Airflow Clearance
- Keep 8 inches of space behind and around the unit.
- This prevents overheating and freezing.
- Dust vents monthly with a dry cloth.
Manage Inactivity
If unused for over a week:
- Unplug and empty the tank.
- Or, press each button for 30 seconds weekly to circulate water.
Clean Regularly
- Wipe spills immediately.
- Sanitize the drip tray monthly.
- Flush lines after filter changes (especially POU models).
When to Call a Professional
While most fixes are DIY, some issues require expert help.
Seek Support If:
- The control board shows no lights after reset.
- Solenoid valves don’t open (confirmed by technician).
- Button levers are cracked or broken, not just loose.
- Pump replacement doesn’t restore function, which may indicate a wiring fault.
Contact Brio with:
– Model number (e.g., CLBL520SC)
– Error codes
– List of steps already tried
Warning: Full service can cost up to $300, often the price of a new unit. DIY repair saves 90% or more.
Frequently Asked Questions About Brio Water Dispensers
Why is my Brio water dispenser not working after a bottle change?
A loose intake hose is the most common cause. Remove the bottle, push both hose ends firmly until they click, then hold a dispense button for 2–3 minutes to purge trapped air.
How do I fix the F6 error on my Brio dispenser?
Unplug the unit, locate the gray leak sensor in the base, dry it with a cloth, and apply cool air from a hair dryer for 2–3 minutes. Leave the cabinet door open for 1 hour before plugging back in.
What pump do I need to replace a faulty Brio pump?
You need a 12V DC diaphragm pump, commonly model GMBD 23,130. Never substitute a 110V pump. Connect red to positive and black to negative.
How long does it take to thaw a frozen Brio reservoir?
Light frost takes 4–6 hours at room temperature. Solid ice requires 12–24 hours. Do not use external heat sources, as they can crack the plastic tank.
Why won’t my filter alert reset after changing the filter?
The standard reset may fail due to a software glitch. Unplug the unit, hold the Filter Reset button, plug back in while holding, and continue until the beeping stops.
When should I contact Brio support instead of repairing myself?
Contact support if the control board has no lights after a reset, solenoid valves are confirmed faulty, button levers are physically broken, or a pump replacement doesn’t restore function.
Key Takeaways for Fixing Your Brio Water Dispenser
A Brio water dispenser not working is usually a simple fix, not a death sentence. Airlocks, loose hoses, frozen tanks, and misaligned buttons cause most failures. By following this guide, you can diagnose and repair the issue in under an hour, often for under $20.
Remember:
– Re-seat and prime the intake hose
– Test or replace the 12V pump if silent
– Dry the F6 sensor and reset the system
– Realign button levers in seconds
– Thaw frozen tanks with patience
With regular maintenance, your Brio can last for years. Don’t replace. Repair.