Fix Primo Water Dispenser Not Dispensing Water
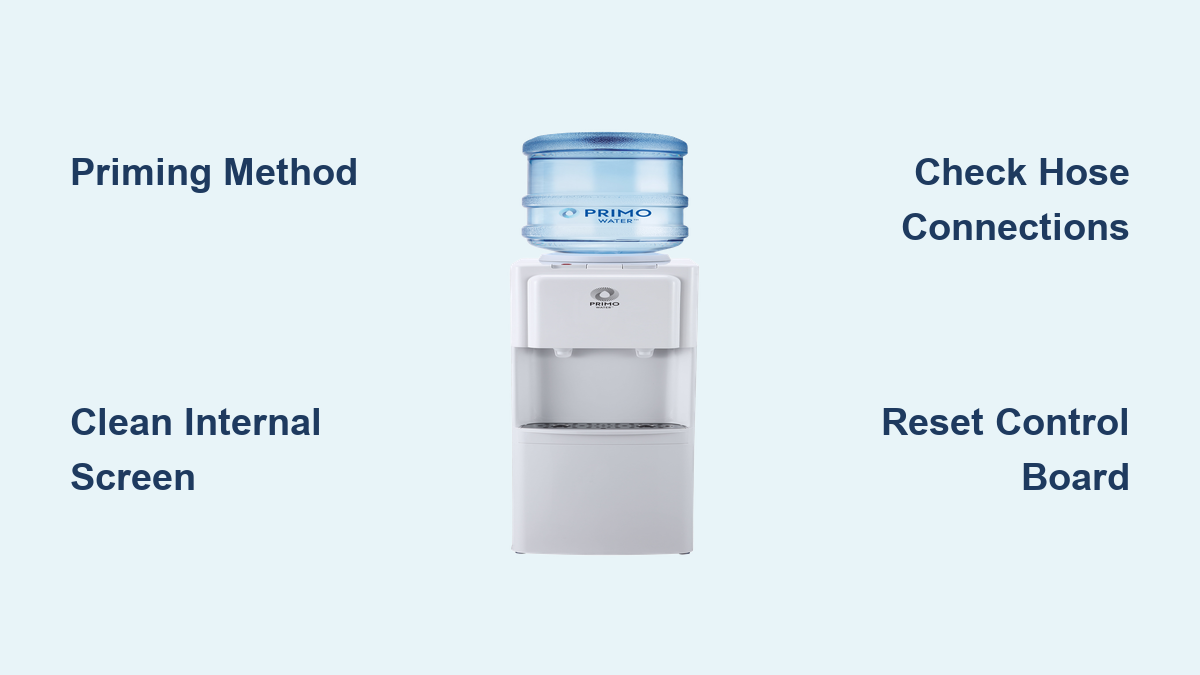
Your Primo water dispenser not dispensing water can bring your home or office to a frustrating halt. This common issue affects thousands of users each year, often just after the warranty expires. The good news: most problems are easily fixed in under 30 minutes with basic tools and zero or low cost. Whether your unit is completely silent, gurgling with no output, or delivering a slow trickle, the root cause is usually one of five things: an air lock, clogged screen, disconnected hose, faulty sensor, or tap lever misalignment.
Understanding your specific symptom, like whether the pump runs or stays quiet, determines the fastest fix. In this guide, you’ll learn step-by-step solutions that real users and technicians use to restore full water flow, avoid costly replacements, and keep your dispenser running smoothly.
Diagnose Pump Activity First
Before diving into repairs, determine if your dispenser’s pump is running. This single check guides your entire troubleshooting path.
Listen for Gurgling or Humming
If you hear noise when pressing the dispenser button, the pump is active. A gurgling sound typically means the system is trying to draw water but is blocked by an air lock or disconnected hose. This is common in bottom-load models after replacing the water jug. No water flows, but the pump works, meaning power and basic electronics are functional. Focus your efforts on the water delivery path: the pickup tube, hose connection, and internal screen.
If the unit is completely silent, the issue is likely electrical or sensor-related. Check for power supply issues, control board glitches, or failed components like the thermostat or starter relay. Silent units may still have lights, so verify if the green power light is on. If it is, but cooling and dispensing don’t work, suspect the compressor relay or temperature sensor.
Check Indicator Lights
Flashing lights provide clues. A flashing red “empty bottle” light often appears even when the jug is full. In many cases, this isn’t a sensor failure. It’s a sign of air in the line or a loose hose. Try the priming method first before assuming a part needs replacement. A solid green light with no cooling or dispensing may point to a failed starter relay. If the compressor runs nonstop or the cold tank freezes solid, the NTC thermostat is likely faulty and sending wrong temperature signals.
Fix Air Lock in Bottom-Load Models
Air locks are the number one cause of no water flow in bottom-load Primo dispensers. When air gets trapped in the pickup tube, the pump can’t create suction. This happens after installing a new jug or letting the bottle run completely dry.
Perform the Priming Method
This technique has a 100% success rate when done correctly.
- Place the water bottle on the floor in front of the dispenser. Remove the cap.
- Partially submerge the pickup tube. Only the very tip should be in the water. Don’t fully insert the bottle yet.
- Press and hold the door switch inside the cabinet. This keeps the pump running.
- Move the tube up and down in the water for 10 to 15 seconds. This breaks the air pocket and allows water to start flowing.
- Listen for the sound change. Gurgling should stop, replaced by a steady water draw.
- Fully insert the bottle, release the switch, slide it in, and close the door. The pump will restart and draw water normally.
Pro Tip: Always prime the pump when installing a new jug. Skipping this step invites air locks.
Reseat the Pickup Hose
If priming fails, the hose connecting the probe to the pump may be loose.
- Unplug the unit and remove the water bottle.
- Inspect the hose at both ends: where it connects to the probe and the pump.
- Push each end firmly until fully seated, about 3/8 inch deep. Use pliers to remove metal clips if needed, then reattach them securely.
- Plug in the unit and dispense water from both hot and cold taps for 5 to 10 seconds to purge air.
Warning: Never operate the pump dry. Running without water can damage the impeller.
Clear Clogged Flow Restrictions
Slow or no water flow often means a blockage. Two common culprits: the internal pump screen and the spout tip.
Clean or Remove the Internal Screen
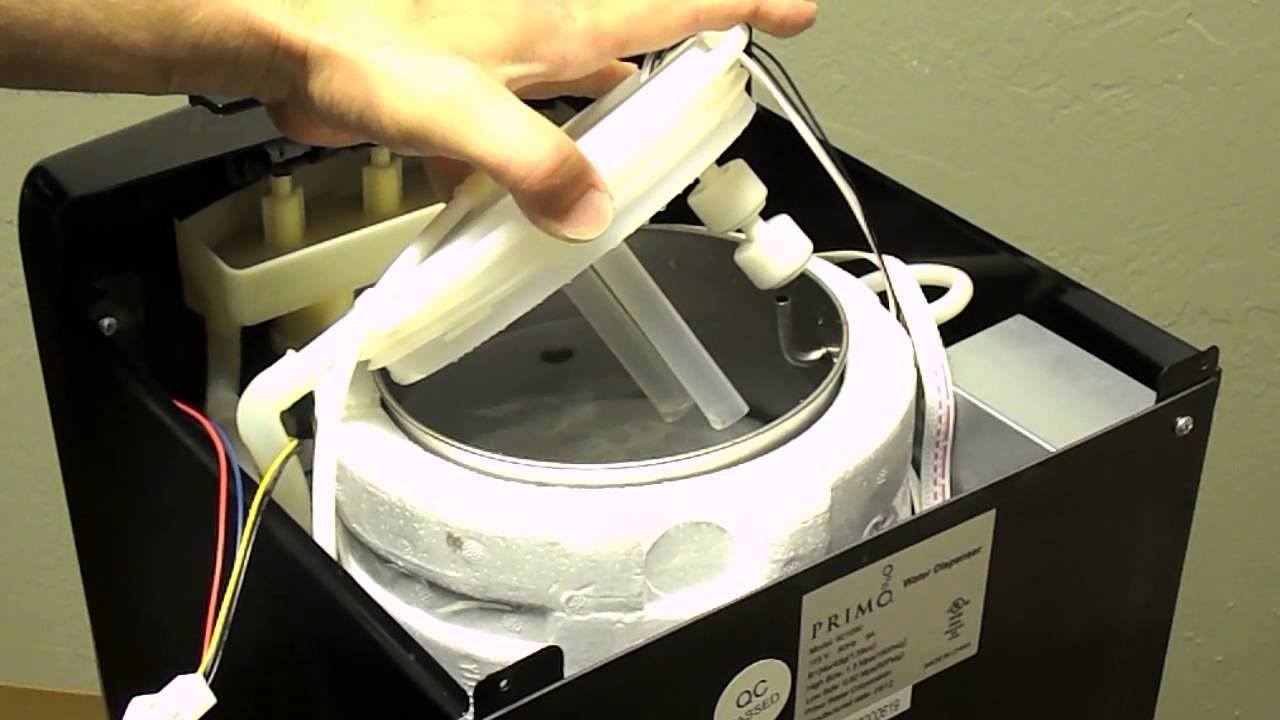
A small mesh screen inside the pump traps debris but clogs over time, especially 5 to 6 months after purchase.
- Place paper towels under the pump to catch drips.
- Locate the retaining clip on the pump housing. Use pliers to squeeze and pull it down.
- Access the mesh screen once the clip is moved.
- Clean or remove it:
– Clean: Soak in warm water, scrub gently with a soft brush, rinse, and reinstall.
– Remove: Many users report faster flow with the screen removed. The water stream remains safe and splash-free.
Reassemble the clip and test immediately. Flow should return to normal.
Unclog the Spout Tip
Mineral buildup (lime or calcium) can block the metal strainer inside the spout.
- Unscrew the spout tip. Most models allow removal by hand.
- Use a toothpick or small brush to clear debris from the internal diffuser.
- For heavy buildup, soak the tip in white vinegar for 15 to 30 minutes, then rinse.
- Reinstall tightly to prevent leaks.
Note: Models made after January 2014 have removable spout tips designed for easy cleaning.
Repair Non-Working Hot or Cold Taps
If one tap works but another doesn’t, the problem is mechanical, not electrical.
Realign the Tap Lever

The internal lever that activates the valve can pop out of place.
- Unplug the unit. This is especially important for hot water taps.
- Remove the top cover by unscrewing the two rear screws. Lift the back and slide forward.
- Place a cup under the faulty spout to catch residual water.
- Inspect the lever under the button rod. If it’s disconnected, press it down and slide it back under the rod.
- Test the tap before reassembling. If water flows, replace the cover and screws.
Safety First: Hot water tanks retain heat. Wait several hours or flush cold water through the system before working near the hot tap mechanism.
Troubleshoot Silent Units

No sound means the pump isn’t activating. This could be due to power issues, control board errors, or failed sensors.
Reset the Control Board
A temporary glitch can disable the pump.
- Unplug the unit for 5 to 10 minutes.
- Plug it back in and test both taps.
This simple reset clears electronic errors and restores function in many cases.
Replace the 10K NTC Thermostat

A faulty temperature sensor can trick the system into thinking the tank is frozen or overheating, blocking pump operation.
- Unplug the unit. If the cold tank is frozen, wait 24 hours for it to thaw.
- Remove the back panel with a Phillips screwdriver.
- Peel back insulation to find the sensor on the water tank.
- Cut the old sensor wires, leaving 2 inches.
- Strip ¼ inch from each end and connect a new 10K NTC thermostat using wire nuts or electrical tape.
- Apply thermal conductive paste where the sensor touches the tank for accurate readings.
- Reassemble and test.
Cost: $2 to $3. Time: 20 to 30 minutes. This part works across most Primo models.
Check the Starter Relay
If the green light is on but there’s no cooling or pump activity, the starter relay on the compressor may have failed.
- Unplug the unit.
- Pry off the plastic cover on the compressor side.
- Replace the relay. This is a common $12 part.
- Reassemble and plug in.
A failed relay stops the compressor, which can prevent dispensing in some models due to safety logic.
Handle Direct-Plumbed Models Differently
If your Primo connects to a water line rather than a jug, the issue likely involves water pressure or plumbing components.
Verify Water Pressure
The system needs at least 20 psi to operate. Low pressure from municipal lines or a failing pump can stop water flow.
- Install a booster pump if pressure is below threshold.
- Use a pressure gauge to test at the inlet valve.
Clear Inlet Valve and Supply Line
Sediment can clog the inlet valve or kink the supply line.
- Turn off water supply and unplug the unit.
- Remove the inlet valve and clean with a pipe cleaner.
- Inspect the line for bends or crushing. These are common behind units pushed against walls.
- Straighten or replace the line as needed.
Inspect Filter Housing and Solenoid
A loose filter housing or worn gasket causes pressure leaks.
- Tighten or replace the housing seal.
- If the solenoid valve fails (rare), replacement costs around $150 and may require professional help.
Prevent Future Issues
Regular maintenance prevents most failures and extends your dispenser’s life.
Clean Spouts and Screens Monthly
- Remove and rinse spout tips under warm water.
- Soak in vinegar monthly if you have hard water.
- Inspect the internal screen at the first sign of slow flow.
Always Prime After Jug Replacement
- Use the partial submersion method every time you install a new bottle.
- Ensure the pickup tube is fully inserted and sealed.
Power Cycle When Issues Arise
- Unplug for 10 minutes if the unit behaves oddly.
- This resets the control board and clears false error states.
Frequently Asked Questions About Primo Water Dispensers
Why is my Primo water dispenser not dispensing water but making noise?
A gurgling or humming sound means the pump is running but can’t draw water. This usually indicates an air lock in the pickup tube or a loose hose connection. Try the priming method by partially submerging the tube in water and agitating it while holding the door switch. If that fails, check that the pickup hose is fully seated at both ends.
How do I fix a Primo water dispenser with a flashing red empty bottle light?
A flashing red light often appears even when the jug is full. This typically signals air in the line or a disconnected hose, not a sensor failure. First, try the priming method. If the light persists, inspect the hose connections between the probe and pump, pushing each end firmly into place.
What causes slow water flow from a Primo dispenser?
Slow flow (3 to 4 minutes per glass) usually points to a clogged internal mesh screen inside the pump. This screen traps debris and often clogs 5 to 6 months after purchase. Clean the screen with warm water and a soft brush, or remove it entirely for faster flow. Mineral buildup in the spout tip can also restrict flow.
Why is my Primo dispenser completely silent with no water?
A silent unit means the pump isn’t activating. Start by unplugging the unit for 5 to 10 minutes to reset the control board. If that doesn’t work, the issue may be a faulty 10K NTC thermostat (costing $2 to $3 to replace) or a failed starter relay on the compressor (around $12). A frozen cold tank also indicates thermostat failure.
Can I fix a Primo water dispenser myself?
Yes, most issues are DIY-friendly with basic tools like a Phillips screwdriver and pliers. Air locks, clogged screens, loose hoses, and tap lever realignment require no parts and take under 30 minutes. Electrical component replacements (thermostat, relay) cost under $20 and are moderately easy. Solenoid valve replacement is more complex and may require professional service.
How do I prevent air locks in my bottom-load Primo dispenser?
Always use the partial submersion priming method when installing a new jug. Place the bottle on the floor, insert only the tip of the pickup tube, hold the door switch, and move the tube up and down for 10 to 15 seconds. This breaks air pockets before you fully seat the bottle. Never let the bottle run completely dry.
Key Takeaways for Fixing Your Primo Water Dispenser

Most Primo water dispenser not dispensing water issues stem from one of five causes: air locks, clogged screens, disconnected hoses, faulty sensors, or misaligned tap levers. Start by listening, since a gurgling pump points to flow path issues while a silent unit suggests electrical problems.
The priming method resolves air locks with a 100% success rate when performed correctly. Cleaning or removing the internal mesh screen restores flow in slow-dispensing units. For silent units, a simple power cycle fixes many issues, while thermostat or relay replacements cost under $15 and take less than 30 minutes.
Your next step: identify your symptom (gurgling vs. silent, slow vs. no flow) and start with the corresponding section above. Most repairs require only basic tools and zero parts cost.