Fix Primo Water Dispenser Not Cooling
Your Primo water dispenser should deliver crisp, cold water on demand. When it stops cooling, especially if the cold light is on but the water stays warm, it disrupts your daily routine. The good news: most cooling issues are fixable without replacing the unit.
Whether you’re dealing with a silent compressor, warm water after using the hot tap, or a blinking red light, this guide walks you through precise solutions based on real diagnostic data. You’ll learn how to reset the system, replace faulty components like the starter relay, realign internal baffles, and even bypass common traps that lead to unnecessary replacements. If your Primo water dispenser is not cooling, start here. You could have it fixed in under an hour.
Reset Your Primo Dispenser Properly
A failed cooling system often just needs a proper reset. Many users plug it back in too soon, leaving the thermal overload protector still engaged. Follow the correct sequence to restore function.
Perform a Deep Thermal Reset
If the compressor clicks once and goes silent or won’t start at all, the thermal overload has tripped. This usually happens due to overheating from dust buildup or poor ventilation.
Steps:
1. Unplug the unit directly from the wall outlet, not a power strip.
2. Pull the dispenser away from the wall and vacuum the rear condenser coils to remove dust.
3. Ensure the drip tray is clean and dry.
4. Wait 35 to 45 minutes. This is critical. Shorter waits won’t fully reset the system.
5. Plug the unit directly back into a wall outlet.
6. Listen closely: within 60 seconds, you should hear a distinct click-hum as the compressor restarts.
✅ Success Signal: Water begins cooling within 1–2 hours of continuous operation.
Reset Sensor or Red Light Errors
A red indicator light means the control board detected a sensor or valve fault. This is common after power surges or brief outages.
Fix:
1. Unplug for at least 10 minutes.
2. Plug back in.
3. If the red light persists, repeat once more.
⚠️ Do not skip this step. Many users jump to part replacement when a simple reset would suffice.
Diagnose Based on Sounds and Lights
The behavior of lights and sounds tells you exactly where to look. Use this quick-reference guide to pinpoint the issue.
Green Light On, No Compressor Noise
This points to a failed starter relay, the most common cause of total cooling failure.
- The relay sends power to the compressor.
- If it fails, the green light turns on, but the compressor never starts.
- Solution: Replace the starter relay (under $120, 30-minute job).
🔧 Pro Tip: Take a photo of the wiring before disconnecting. Wires are color-coded: blue (top left), yellow (bottom right), and three leads on the bottom (Power, Common, Start).
Continuous Low Hum, No Click
A steady hum with no startup click means the start capacitor has failed.
- The compressor tries to start but can’t overcome inertia.
- This causes 90% of startup failures.
- Test: Gently tap the capacitor housing with a screwdriver handle. If the compressor kicks on, the capacitor needs replacing.
💡 Cost: Replacement capacitor costs about $8, but only attempt this if you’re experienced with electrical components.
Clicking Sound, No Cold Water Flow
In touch models (e.g., Model 601242), a clicking noise when pressing the cold button with no water flow means the cooling sensor is frozen.
- Ice builds up in the insulation, freezing the sensor at ~32.9°F.
- The system thinks it’s cold enough and shuts off flow.
- Fix: Replace the sensor (~$3 part) or defrost the unit for 48 hours.
❄️ Warning: Don’t force water through. This can damage the solenoid.
Fix the Starter Relay (Most Common Repair)

When the cold light is on but the compressor is silent, replacing the starter relay fixes the issue in most cases.
Tools You’ll Need
- Phillips and flathead screwdrivers
- Needle-nose pliers (optional)
- New compatible starter relay
Step-by-Step Replacement
- Unplug the unit.
- Remove rear panel: Two screws hold it in place. Lift off carefully.
- Move condenser coil forward: Gently pull it out. There’s enough slack in the tubing. Set aside.
- Locate relay: Mounted on the side of the compressor, covered by a plastic housing.
- Open housing: Use a flathead to gently pry open the top. The top latch often breaks, so rely on bottom tabs for reassembly.
- Photograph wiring: Document connections before disconnecting.
- Swap relays: Connect the new relay exactly as the old one was wired.
- Reassemble: Tuck wires through the hole, realign the coil, and replace the back panel.
- Test: Plug in and wait 30–60 seconds. You should hear the compressor start.
✅ Success Check: Cold water should begin forming within 60 minutes.
Realign the Internal Baffle

If cold water warms up only after using the hot tap, the baffle (divider) is misaligned.
Heat from the hot reservoir is transferring directly into the cold tank.
How to Realign the Baffle
- Turn off both switches and unplug the unit.
- Remove two Phillips screws from the back.
- Lift the rear of the top cover and slide it forward to remove.
- Wash hands before touching internal parts.
- Remove the reservoir lid.
- Drain half the water to create workspace.
- Locate the baffle. It should sit centered over the inlet.
- Remove and reposition it so the bottom fits snugly over the inlet.
- Replace the lid and top cover.
- Plug in and allow one full hour for cooling.
✅ Test: Run cold water immediately after dispensing hot. It should stay cold.
Defrost and Replace the Cooling Sensor

In Primo touch models (601242), ice buildup in the insulation can freeze the cooling sensor, stopping water flow.
Steps to Replace the Sensor
- Remove top cover: Four screws (one hidden under a rubber piece, slide it up to access).
- Unplug all four sensor connectors: Note colors (green, white, black, and upper black).
- Cut tape on the foam insulation and pull it back.
- Locate the sensor: Blue wire in a white tube leading to the insulated canister.
- Check for ice: If present, the sensor needs replacement.
- Replace sensor:
– Remove the gray bracket.
– Transfer thermal grease from the old sensor to the new one.
– Route the new wire through the original exit hole. - Reconnect in order: Green → White → Black → Upper black.
- Reassemble: Reattach foam, rubber piece, and cover.
⏳ Wait 20 hours for full stabilization. Expected temps: Cold ~45°F, Hot ~150°F.
Check for Shipping Damage (New Units)
If both hot and cold taps fail in a new or moved unit, the internal mechanical rod likely disconnected.
This causes 30% of new-unit failures and takes 5 minutes to fix.
Reconnect the Release Rod
- Unplug and remove the water bottle.
- Look through the front panel near the taps.
- Find the plastic rod that controls water release.
- If it’s popped out, use needle-nose pliers to snap it back into the housing.
- Restore power and test.
✅ Bottom-load models are especially prone to this during delivery.
Clean Coils and Prevent Overheating
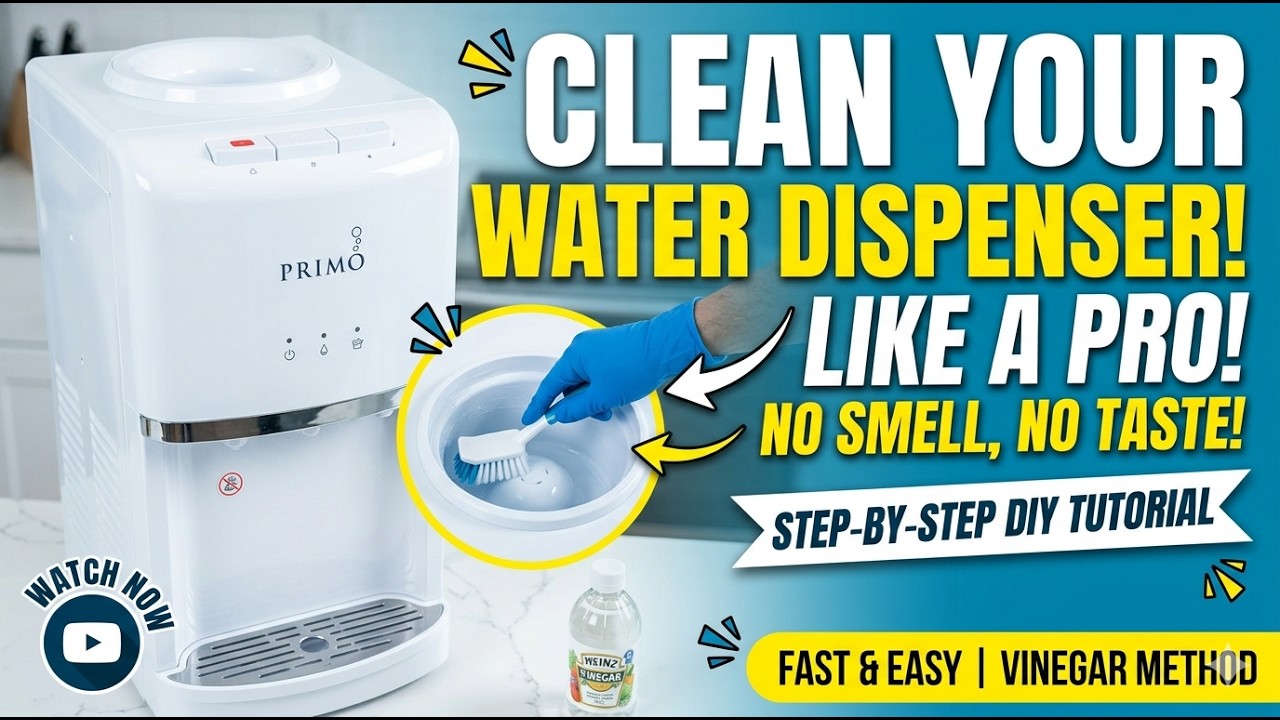
Dusty condenser coils are the #1 cause of thermal overload and compressor shutdown.
Monthly Coil Maintenance
- Unplug the unit.
- Vacuum the rear coils gently. No brushes or compressed air, as it pushes dust deeper.
- Ensure 6+ inches of clearance behind the unit.
- Keep away from heat sources (ovens, radiators).
📉 Impact: Regular cleaning prevents 70% of overheating failures.
Test and Replace the Solenoid Valve
No cold water flow? The solenoid valve might be stuck or clogged.
Diagnostic Steps
- Check supply lines: No kinks, valves fully open.
- Inspect for ice: If the fill tube is frozen, unplug for 48 hours to defrost.
- Replace filter: A clogged filter reduces flow and pressure.
- Test solenoid:
– Locate the cold water solenoid valve.
– Use a multimeter to check for continuity.
– If no continuity, replace the valve. - Bleed air locks: Run both taps for 2–3 minutes to clear trapped air.
❗ Simultaneous hot/cold failure? Likely a disconnected rod, not solenoid issues.
Replace the Start Capacitor (With Caution)
If the unit hums but never starts, the capacitor is likely dead.
Safety First
- Unplug before touching.
- Capacitors store dangerous voltage. Only replace if you’re trained.
- Use gloves and insulated tools.
Replacement Steps
- Locate the cylindrical capacitor near the compressor.
- Discharge safely (if qualified).
- Replace with an identical rating (check microfarad and voltage specs).
- Reassemble and test.
💡 Alternative: If unsure, skip this repair and contact Primo. Many offer free replacements.
Prevent Future Cooling Failures
Avoid repeat issues with simple maintenance.
Quarterly Descaling
Mineral buildup insulates the cooling system.
Do this every 3 months:
1. Mix 1 cup white vinegar + 2 cups hot water.
2. Pour into the reservoir.
3. Let sit 20 minutes.
4. Flush thoroughly with clean water.
🚫 Never use bleach or harsh chemicals.
Verify Bottle Seal and Ventilation
- Ensure the bottle neck seal is intact.
- Confirm the reservoir cap clicks securely.
- Check for gaps between bottle and dispenser. Airlocks starve the cooling tank.
- Always plug into a wall outlet, not a power strip.
Know When to Call Primo Support
Some issues aren’t worth repairing, especially if the unit is under warranty.
When to Contact 1-800-335-2113
- Water stays above 75°F after 24 hours of operation.
- You smell burning plastic near electrical parts.
- Both taps fail and rod reconnection didn’t help.
- You suspect a refrigerant leak (requires EPA-certified tech).
- You’re uncomfortable with electrical work.
Get a Refund or Replacement (Insider Tip)
Primo often offers full refunds or replacements for cooling failures, especially under 2 years old.
What to say:
“My cold water function has failed. The dispenser pours warm water.”
- Do not mention DIY repairs. Report it as a factory defect.
- Refunds or credits often arrive within 24 hours.
- Units under warranty are replaced at no cost.
📌 Serial number? Find it inside the bottle compartment.
Frequently Asked Questions About Primo Water Dispenser Cooling Problems
Why is my Primo water dispenser not cooling but the light is on?
A green light with no cooling typically means the starter relay has failed. The relay sends power to the compressor, and when it fails, the compressor never starts despite the system requesting cooling. Replacing the starter relay (~$112) fixes this in most cases.
How long does it take for a Primo dispenser to cool water after a reset?
After a proper deep reset, water should begin cooling within 1–2 hours of continuous operation. The compressor should restart within 60 seconds of plugging the unit back in. If water isn’t cold after 2 hours, the issue likely requires component replacement.
Can I fix a Primo water dispenser that hums but doesn’t cool?
A continuous hum with no startup click indicates a failed start capacitor. This component helps the compressor overcome initial inertia. Replacement costs about $8, but only attempt this repair if you’re experienced with electrical components, as capacitors store dangerous voltage.
What does it mean when cold water gets warm after using the hot tap?
This specific symptom indicates a misaligned internal baffle. When the hot water heater activates, heat transfers to the cold reservoir because the divider isn’t correctly positioned. Realigning the baffle so it fits snugly over the inlet solves this problem.
How do I fix a new Primo dispenser where both taps don’t work?
For new or recently moved units with both taps failing, the internal mechanical rod likely disconnected during shipping. This accounts for 30% of new-unit failures. Unplug the unit, locate the plastic rod near the taps through the front panel, and snap it back into the housing using needle-nose pliers.
When should I contact Primo customer support instead of repairing myself?
Contact Primo at 1-800-335-2113 if water stays above 75°F after 24 hours, you smell burning plastic, both taps fail and rod reconnection didn’t help, or you suspect a refrigerant leak. Primo often offers full refunds or replacements for cooling failures, especially for units under 2 years old.
Key Takeaways for Fixing Your Primo Water Dispenser Cooling Problem
Most Primo water dispenser cooling issues are easily diagnosable and fixable. Start with a deep reset (35–45 minutes unplugged), then check lights and sounds to pinpoint the problem. The starter relay is the most common failure point and costs under $120 to replace. A misaligned baffle causes the specific symptom of cold water warming after hot tap use, and this takes about 10 minutes to fix.
If the compressor runs and water still won’t cool, or you’re not comfortable with electrical work, contact Primo support at 1-800-335-2113. They’re more likely to replace the unit than make you wait for a technician, especially for units under 2 years old. Keep this guide handy, perform monthly coil cleaning, and your Primo dispenser can last its full 4–5 year lifespan.