Fridge Water Dispenser Repair Guide
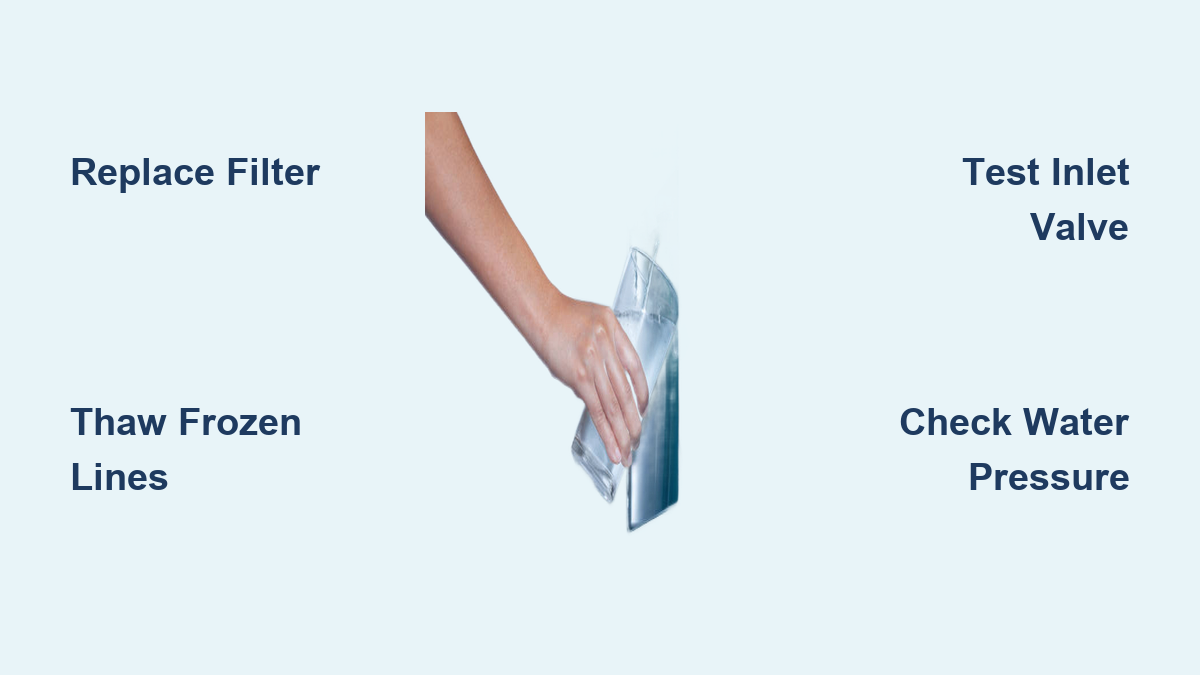
A fridge water dispenser that suddenly stops working can disrupt your entire kitchen routine. Whether you’re dealing with a slow trickle, no water at all, or an unresponsive button, the problem usually traces back to a handful of common culprits. The encouraging reality is that most fridge water dispenser repair tasks are straightforward, requiring only basic tools and about an hour of your time.
This guide walks you through every major cause of dispenser failure, from clogged filters to faulty switches. You’ll learn how to test components with a multimeter, thaw frozen lines safely, and know exactly when to call a professional. By the end, you’ll have a clear roadmap to diagnose and fix your dispenser without unnecessary service calls.
Start with the Water Filter

Why Filters Cause Most Dispenser Problems
A clogged or expired water filter is the number one reason fridge water dispensers fail. Sediment, chlorine, and mineral deposits accumulate inside the filter over time, gradually restricting water flow. Even filters that look clean lose effectiveness after about six months of use.
A severely restricted filter can also cause upstream pressure drops that mimic other component failures. Some models include a check valve inside the filter housing that automatically shuts off water flow if the filter is missing or improperly seated.
How to Replace and Test Your Filter
- Locate the filter housing (typically in the base grille or inside the fresh food compartment).
- Twist the old filter counterclockwise and remove it.
- Insert the new filter, making sure the model number matches your fridge.
- Reset the filter indicator light according to your owner’s manual.
After installing the new filter, run the dispenser for at least 30 seconds. This flushes out air pockets and loose carbon particles.
Test the Filter Housing
If replacing the filter doesn’t restore flow, remove the filter completely and press the dispenser lever. If no water comes out, the filter head or check valve may be stuck closed. This issue commonly affects GE, Samsung, and Whirlpool refrigerators and often requires replacing the entire filter housing assembly.
Thaw Frozen Water Lines
Where Ice Typically Forms
Frozen water lines are a silent cause of dispenser failure, especially in side-by-side and bottom-freezer models. Cold air from the freezer compartment can seep into door tubing and freeze the water inside. Common freeze points include:
- Water tubes running through the freezer door hinge
- Coiled lines behind the dispenser panel
- Internal water reservoirs found in some LG and Samsung models
Signs Your Line Is Frozen
- No water or ice production despite power and water supply being active
- A clicking sound when you press the dispenser but no water flow
- Visible ice near the dispenser nozzle
Safe Thawing Methods
Hair Dryer Method (Fast)
– Unplug the refrigerator for safety.
– Set the dryer to low heat.
– Hold it at least 6 inches away from plastic components to prevent melting.
– Warm the dispenser area and door edges for 5–10 minutes.
– Test the water flow after warming.
Natural Thaw (Best for Hidden Lines)
– Unplug the refrigerator.
– Leave the freezer and fridge doors open.
– Wait 6–12 hours for ice to melt completely.
Never use sharp tools to chip away ice, as this can puncture the water line and cause leaks.
Prevent Future Freezing
- Make sure the ice chute door seals tightly after each use.
- Clean condenser coils annually to prevent the compressor from overcooling the system.
- Keep freezer temperatures at or above 0°F (-18°C) unless specifically needed.
Test the Water Inlet Valve

What the Valve Does
The water inlet valve, also called a solenoid valve, controls water entry into your refrigerator. When you press the dispenser, an electrical signal opens this valve to allow water through. If the valve fails, no water reaches the filter or dispenser regardless of other component conditions.
Common Failure Modes
- Burned-out coil: The solenoid loses its magnetic pull and cannot open
- Debris clog: Sediment blocks the inlet screen
- Leaking seal: The valve fails to close fully, causing constant dripping
Multimeter Testing Procedure
- Unplug the fridge and shut off the water supply.
- Locate the valve (usually at the back of the fridge or inside the fresh food compartment).
- Disconnect the wire harness from the solenoid terminals.
- Set your multimeter to ohms (Ω).
- Touch the probes to both terminals.
A healthy valve reads between 100 and 500 ohms. An infinite reading (OL on most meters) means the coil is dead. Readings outside this range also indicate the valve needs replacement.
Flow Test Without a Multimeter
- Disconnect the 5/16-inch output line from the valve.
- Place a bowl underneath to catch water.
- Have someone press the dispenser lever.
- If no water flows and your home supply pressure is adequate, the valve is faulty.
Fix a Faulty Dispenser Switch

Why Switches Stop Working
The micro switch behind the dispenser paddle is a small but essential component. Every press completes an electrical circuit that signals the water valve to open. Over time, repeated use causes:
- Worn switch contacts
- Cracked plastic actuators
- Bent mounting brackets
Symptoms of Switch Failure
- The button feels loose or mushy when pressed
- No audible click when you press the dispenser
- The dispenser doesn’t respond at all
How to Test the Micro Switch
- Remove the dispenser panel using a screwdriver or by releasing snap clips.
- Disconnect the wiring harness from the switch.
- Set your multimeter to continuity mode or the 0–1 ohm range.
- Touch the probes to the switch terminals.
When the switch is not pressed, you should see infinite resistance (no continuity). When pressed, the reading should drop to 0–1 ohms. If the switch fails to show continuity when pressed, it needs replacement.
Inspect the Paddle and Bracket
Even with a functional switch, a cracked paddle or bent bracket can prevent full depression. Check for hairline cracks in the plastic lever, misalignment between the paddle and switch, and loose mounting screws. If any of these components are damaged, you typically need to replace the entire dispenser actuator assembly since individual paddles are rarely sold separately.
Inspect the Water Supply Line
Common Damage Points
The 5/16-inch water line connecting your home supply to the fridge is flexible but vulnerable to damage. Kinks often develop where the line bends through the door hinge, and a single kink can completely cut off water flow.
How to Check for Blockages
- Shut off the water supply and unplug the fridge.
- Disconnect the supply line at the back of the refrigerator.
- Place the disconnected end in a bucket.
- Briefly turn on the supply valve.
- Look for a strong, steady stream of water.
If flow is weak or nonexistent, the problem lies in your home plumbing and requires a plumber.
Clear Debris from the Line
For weak flow caused by internal buildup:
– Blow air through the line using a bike pump or low-pressure air compressor.
– Flush the line with vinegar to dissolve mineral deposits.
– Reconnect and test the flow again.
Prevent Future Kinks
- Leave adequate slack in the line behind the fridge.
- Avoid sharp bends near the door hinge area.
- Consider replacing plastic tubing with braided stainless steel for better durability.
Diagnose Low Water Pressure

Why Pressure Matters
Most refrigerator water valves require between 20 and 125 psi to operate properly. When pressure drops below 20 psi, the solenoid cannot open the valve, and no water flows even if every other component works correctly.
How to Test Your Home Pressure
- Attach a water pressure gauge to a nearby faucet, such as a laundry sink or dishwasher supply valve.
- Turn on the water fully.
- Read the gauge.
If pressure is too low, common causes include a partially closed supply valve, a clogged faucet aerator, or whole-house pressure issues.
Fix Low Pressure Problems
- Open the supply valve under the sink fully.
- Clean the shutoff valve screen, which often traps debris over time.
- Install a pressure booster pump if home pressure consistently stays below 20 psi.
Pressure above 125 psi can damage the valve, so consider installing a pressure-reducing valve if your home runs high.
Replace the Dispenser Assembly
When Full Replacement Makes Sense
If the paddle, switch, and wiring are all damaged, replacing the entire dispenser assembly is often more efficient than sourcing individual parts. This is especially common in Samsung, LG, and GE models where components aren’t sold separately.
Step-by-Step Replacement
- Remove the display panel by gently prying off the front cover with a flat screwdriver. Take photos of all wiring before disconnecting.
- Disconnect components by unplugging the wiring harness and detaching the water tube from the quick-connect fitting.
- Remove mounting screws holding the assembly to the door frame, then gently pull the unit forward.
- Install the new assembly by aligning it with the brackets, reconnecting the water line until it clicks, plugging in all harnesses, and securing with screws.
- Reattach the front panel by snapping or screwing it back into place.
Always order replacement parts using your exact model and serial number, since dispenser designs vary significantly even within the same brand.
Check the Control Board as a Last Resort
When the Board Is the Culprit
If every component tests good but the dispenser still won’t work, the control board may be faulty. This board processes the switch signal and sends power to the valve. Board failures are rare but possible.
How to Diagnose
- Confirm the micro switch shows continuity when pressed.
- Verify the water valve has proper resistance.
- Use a multimeter to check for voltage at the valve terminals when the dispenser is activated.
If no voltage reaches the valve terminals, the board isn’t sending the activation signal.
Repair or Replace
If you can match the exact part number, board replacement is straightforward. However, if soldering or complex wiring is involved, calling a technician is the safer choice. Mismatched parts can cause permanent damage to your refrigerator’s electrical system.
Prevent Future Dispenser Problems
Maintenance Schedule
| Task | How Often |
|---|---|
| Replace water filter | Every 6 months |
| Clean condenser coils | Annually |
| Inspect water line for kinks | Every 3 months |
| Flush dispenser after filter change | After each replacement |
| Check door seals | Monthly |
Pro Tips for Long-Term Reliability
- Use OEM filters rather than cheap knockoffs that can clog faster or leak.
- Keep condenser coils dust-free to prevent overcooling and frozen lines.
- Avoid over-tightening water fittings, which can crack plastic connectors.
- Pull the fridge out every few months to inspect connections and maintain proper clearance.
Know When to Call a Professional
Some situations require expert intervention even for confident DIYers:
- No water and no ice after replacing the filter, valve, and switch
- Refrigerant leaks (hissing sounds, warm freezer)
- Control board issues requiring soldering
- Water line breaks inside the door that require full disassembly
- Persistent leaks after attempted repairs
Typical Repair Costs
Professional diagnosis and labor typically runs $120–$280. Individual parts include water inlet valves ($40–$80), dispenser assemblies ($60–$150), and control boards ($100–$200). Most repairs take 30–60 minutes, often less than the cost of a service call alone.
Final Checks After Repair
Before considering your fridge water dispenser repair complete:
- Reconnect all lines and wires securely.
- Turn on the water supply slowly to avoid pressure surges.
- Plug the refrigerator back in.
- Flush the dispenser for 30 seconds to clear air and debris.
- Test all functions including water, ice cubes, and crushed ice if applicable.
- Check for leaks under the fridge and at every connection point.
Wait at least 10 minutes after testing, since some leaks develop slowly. Always unplug the fridge before working on any electrical or water components.
Frequently Asked Questions About Fridge Water Dispenser Repair
Why is my fridge water dispenser suddenly not working?
The most common causes are a clogged water filter, frozen water lines, or a faulty water inlet valve. Start by replacing the filter if it’s been more than six months, then check for ice buildup in the supply lines.
How do I know if my water filter is clogged?
Slow water flow or complete stoppage are the primary indicators. If your filter is more than six months old, replacement is the first troubleshooting step regardless of appearance.
Can frozen water lines thaw on their own?
Yes, but it takes 6–12 hours with the fridge unplugged and doors open. Using a hair dryer on low heat can speed up the process for accessible lines, but never use sharp tools to chip ice.
How do I test a water inlet valve with a multimeter?
Disconnect the valve’s wire harness and touch multimeter probes (set to ohms) to both terminals. A reading between 100–500 ohms indicates a healthy valve. Infinite resistance means the coil has failed.
What causes low water pressure to the fridge?
Pressure below 20 psi prevents the inlet valve from opening. Common causes include partially closed supply valves, clogged screens, or whole-house pressure issues that may require a plumber.
When should I call a professional for dispenser repair?
Call a technician if basic troubleshooting doesn’t resolve the issue, if you suspect a control board problem requiring soldering, or if you notice signs of refrigerant leaks or water line breaks inside the door.
Key Takeaways for Successful Fridge Water Dispenser Repair
Fridge water dispenser repair follows a logical sequence: check the filter first, then inspect for frozen lines, test the inlet valve and switch, and verify adequate water pressure. With basic tools including a multimeter and hair dryer, you can resolve most issues in under an hour. Start with the simplest fixes before moving to component testing, and always prioritize safety by unplugging the fridge and shutting off water before beginning any repair work.