How to Replace Water Jug on Dispenser
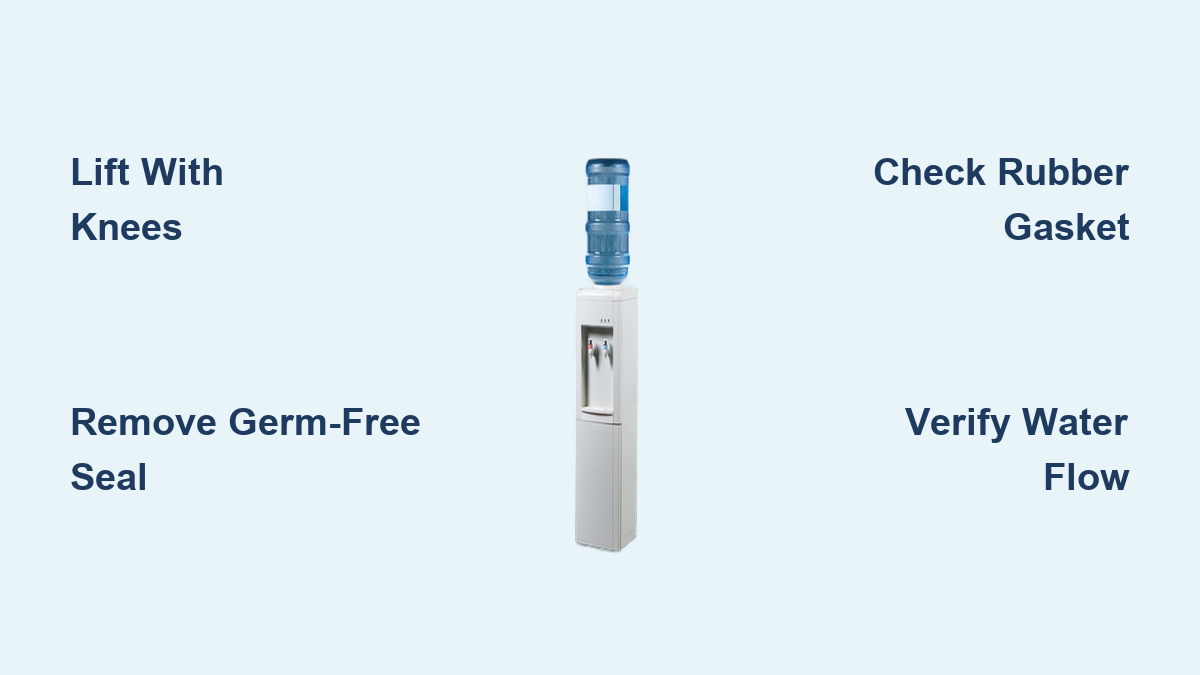
Changing a water jug on your dispenser doesn’t have to be a messy or back-breaking chore. Whether you use a top-loading or bottom-loading model, knowing the right steps ensures a clean, safe, and efficient swap every single time. A full 5-gallon water jug weighs about 40 pounds, nearly the weight of a heavy suitcase, so proper technique matters to avoid injury and spills.
With the right approach, you can replace your water jug in under five minutes, maintain hygiene, and keep your dispenser running smoothly. This guide walks you through both top and bottom-loading methods, essential safety tips, common troubleshooting fixes, and maintenance best practices so you never face a dry spigot or flooded floor again.
Top-Loading: Replace Water Jug on Dispenser Safely

Top-loading dispensers rely on gravity and a puncture spike to draw water from the inverted jug above. The process is simple but requires careful lifting and alignment.
Remove the Empty Jug Correctly
Begin when the water flow slows or stops, which signals the reservoir is nearly empty. First, turn off the dispenser’s power if it has a switch, especially for models with internal valves. Grasp the empty 5-gallon jug by its built-in handle, support the side with your other hand, and lift it straight up with a steady motion. Avoid jerking or tilting it forward, as residual water can spill onto the unit or floor. Keep your face and body clear during removal to prevent accidental impact. Set the empty jug aside for return or recycling.
Clean Contact Surfaces Thoroughly
Before installing a new jug, wipe the top rim of the dispenser’s reservoir and the neck of the new bottle with a clean, damp cloth. Dust, pet hair, or residue can contaminate the water supply. Also, inspect the new bottle’s cap and remove the germ-free seal completely. If this plastic film remains, the dispenser’s spike won’t puncture the cap, blocking water flow.
Lift and Seat the New Jug Properly
Lifting a 40-pound jug demands proper form. Bend your knees, keep your back straight, and hug the bottle close to your chest. If needed, place the jug on a nearby table or chair at waist height to reduce strain before the final lift. Rotate your feet, not your spine, when turning toward the dispenser.
Invert the jug and align it over the reservoir. For models with a spill-proof water guard adapter, gently push down to engage the mechanism. This controls water release and prevents gushing. Without this adapter, the puncture happens immediately, so ensure perfect alignment before setting the bottle down.
Verify Installation and Flow
After seating, bubbles will rise as air escapes and water fills the reservoir, which takes 10 to 15 seconds. If bubbling continues beyond that, the bottle may have a pinhole or crack. Remove it immediately to avoid leaks. Once settled, dispense a few cups of water from both hot and cold taps to prime the lines and flush any trapped air.
Bottom-Loading: Swap Jug Without Lifting
Bottom-loading dispensers eliminate overhead lifting by housing the jug in a lower compartment. A pump draws water upward, making this option ideal for users with back issues or limited strength.
Check Indicator Light for Low Water
When the red light blinks, it signals the sensor has detected an empty jug. This is your cue to replace the bottle. Some models use a full/empty window or sound alert, so consult your manual if unsure. Never force the door or operate the unit without a jug, as the pump can run dry and overheat.
Open Door and Remove Empty Jug
Swing open the bottom access door. Inside, you’ll see the empty 5-gallon jug seated in a removable holder. Lift the holder slightly to disengage it from the pump mechanism, then slide the empty jug out. For easier installation, remove the holder completely and place it on a flat surface.
Insert and Seal the New Jug
Place the new jug into the holder, ensuring it’s oriented correctly since many models have an angled slot. Push the bottle firmly down until it clicks into place. The rubber gasket at the top must compress fully to create a watertight seal. Without this seal, the pump can’t build pressure, and water won’t flow. Some units require you to gently push the jug upward after insertion to lock it in.
Close Door and Confirm Operation
Close the access door, which often acts as a switch that triggers the pump. The red light should turn off. You’ll hear water pumping upward for 30 to 60 seconds. The dispenser may vibrate slightly, which is normal. Once pumping stops, dispense water to confirm both taps are working. If the water level doesn’t rise, recheck the gasket and seating.
Prevent Spills and Injuries During Replacement
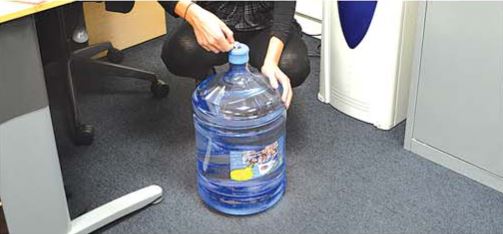
Even simple tasks can go wrong without preparation. A few smart steps drastically reduce risk of slips, back strain, or water damage.
Prepare the Area First
Clear space around the dispenser. Remove rugs, cords, or furniture that could cause tripping. Place a towel or absorbent mat under the unit to catch drips. This is especially important for top-loaders, where spillage is more likely during bottle changes.
Use Proper Lifting Technique
Never lift with your back. Instead:
• Bend your knees and keep your back straight
• Hug the jug close to your body
• Pivot your feet to turn rather than twisting your spine
• Use a step stool or table to pre-lift the bottle
If 40 pounds is too heavy, switch to 3-gallon bottles, which weigh about 25 pounds and fit most dispensers. You can also consider a pump-assist device or delivery service that installs the jug for you.
Manage Power and Valves
For units with manual shut-off valves or power switches, turn off before changing the jug. This prevents accidental water release or pump damage. Wait 30 seconds after turning power back on to allow the system to reset.
Troubleshoot Common Issues Fast

Even with correct installation, problems can occur. Quick diagnosis keeps your dispenser functional and prevents damage.
Fix Persistent Bubbling
If bubbles continue beyond 15 seconds in a top-loader, the bottle likely has a pinhole or crack. Remove it immediately and contact your supplier for a replacement. Do not leave a defective jug in place, as it can leak and damage flooring or electronics.
Stop Clinking Noises
In bottom-loaders, a clinking sound during pumping usually means a plastic safety tag is still attached to the jug’s neck. These tags prevent accidental punctures during shipping. Remove all packaging materials before inserting the jug, which often resolves the noise instantly.
Restore No Water Flow
If no water comes out after replacement:
• Top-loader: Push down on the jug to ensure the spike punctured the cap
• Bottom-loader: Re-seat the jug to compress the rubber gasket
• Check if the valve is closed or power is off
• Verify the indicator light is off on bottom loaders
If the issue persists, reset the unit by unplugging for one minute, then try again.
Prevent Spills During Change
Spills happen when users tilt the empty jug forward instead of backward when removing it. Always tilt it slightly backward to drain the last drops into the reservoir, not onto the floor. For top-loaders, use the spill-proof adapter if available, and ensure the new bottle is sealed and punctured correctly.
Maintain Clean, Reliable Water Flow
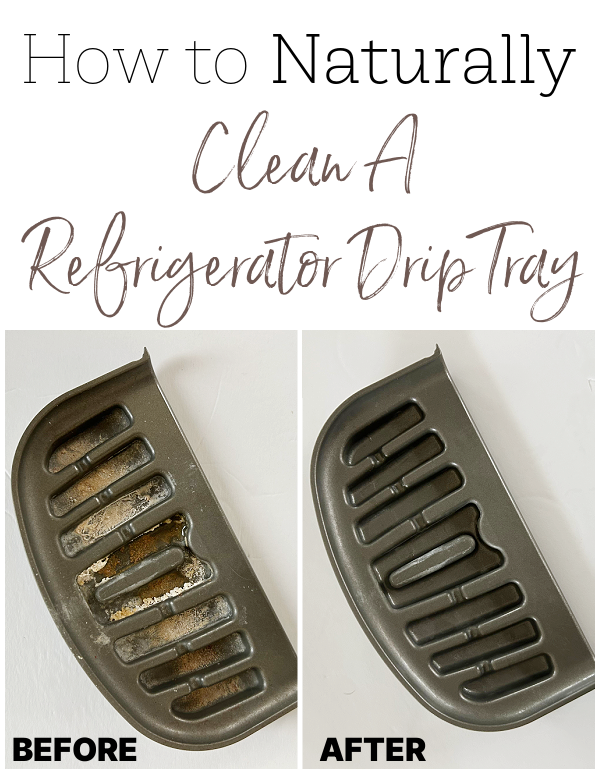
Regular maintenance extends your dispenser’s life and ensures safe drinking water.
Clean After Each Bottle Change
Every time you replace the jug:
• Wipe the reservoir rim on top-loaders or the gasket area on bottom-loaders
• Clean the spigots with a damp cloth
• Wash your hands before handling the new bottle
This prevents mold, bacteria, and mineral buildup.
Inspect for Leaks and Damage
After installation, check the connection point for leaks. A steady drip means the bottle isn’t seated properly or the cap is warped. Replace damaged jugs immediately. For bottom-loaders, ensure the rubber gasket isn’t cracked or misaligned.
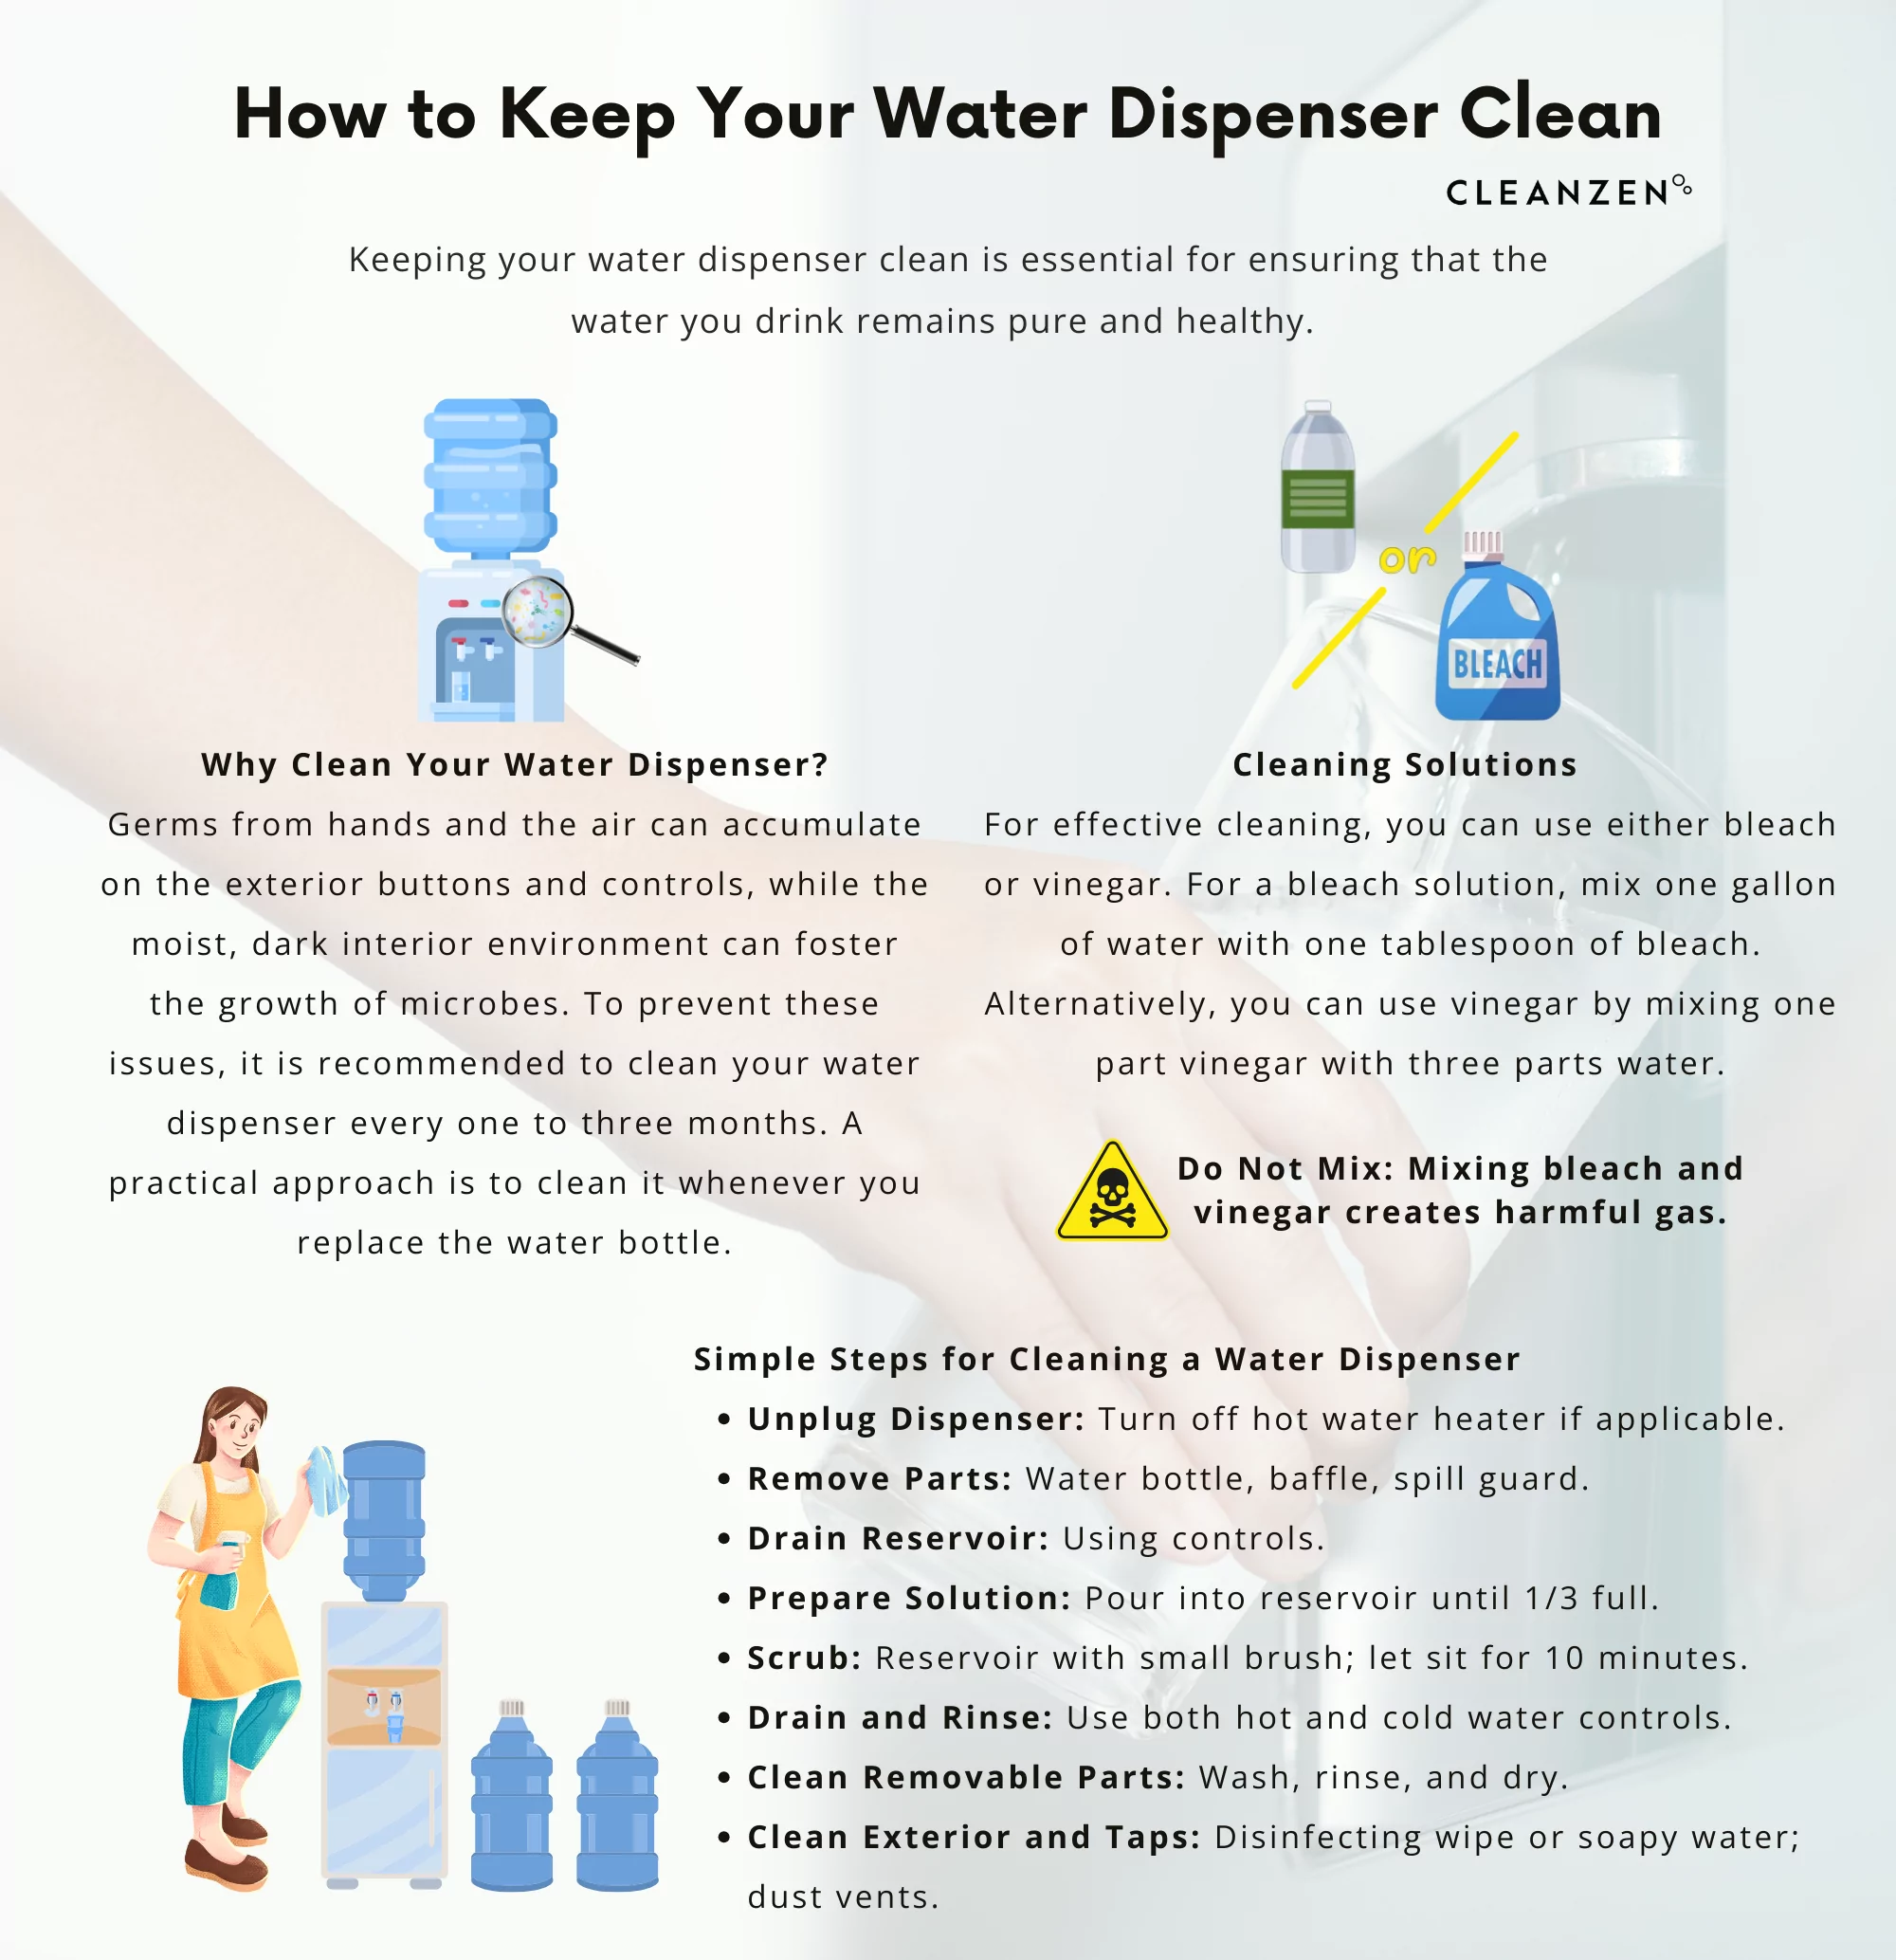
Schedule Deep Cleaning Monthly
Even with regular wiping, perform a deep clean every 30 days:
• Unplug the unit
• Remove all detachable parts like the drip tray and spigots
• Wash with mild soap and warm water
• Sanitize with a vinegar-water solution at a 1:3 ratio
• Rinse thoroughly and air dry before reassembling
This prevents biofilm and keeps water tasting fresh.
Track Bottle Quality and Source
Use bottles from reputable suppliers with sealed caps and clear labeling. Return cracked, cloudy, or oddly smelling jugs. Keep a log of delivery dates and issues to help identify recurring problems with specific batches or brands.
Frequently Asked Questions About Replacing Water Jugs on Dispensers
How do I know when to replace the water jug on my dispenser?
For top-loaders, water flow will slow or stop when the jug is empty. For bottom-loaders, a blinking red indicator light signals that the sensor has detected an empty jug. Some models also feature a visible empty window or audible alert.
Can I use 3-gallon bottles instead of 5-gallon jugs?
Yes, 3-gallon bottles are a lighter alternative, weighing about 25 pounds compared to 40 pounds for 5-gallon jugs. They fit most standard dispensers and are a good option for users who find the full weight too heavy.
What is the germ-free seal and why must I remove it?
The germ-free seal is a plastic film covering the cap of a new water bottle. It must be peeled off completely before installation so the dispenser’s spike can puncture the cap and allow water to flow. Leaving it on will block water flow entirely.
Why does my bottom-loading dispenser make a clinking noise?
A clinking sound during pumping usually means a plastic safety tag or packaging material is still attached to the neck of the new jug. These tags prevent accidental punctures during shipping. Remove all packaging before inserting the jug, and the noise should stop.
How long should bubbles last after installing a new jug?
Bubbles should rise for about 10 to 15 seconds as air escapes and water fills the reservoir. If bubbling continues beyond that timeframe, the bottle likely has a pinhole or crack and should be removed immediately to prevent leaks.
What should I do if no water flows after replacement?
Check that the jug is fully seated and the cap is punctured on top-loaders. For bottom-loaders, ensure the rubber gasket is compressed. Verify that valves are open and power is on. If the problem persists, unplug the unit for one minute to reset it.
Key Takeaways for Replacing Your Water Jug Safely
Replacing a water jug on your dispenser is quick and safe when done correctly. Focus on proper lifting technique, cleanliness, and seal integrity to avoid spills and injuries. Remember that a full 5-gallon jug weighs about 40 pounds, so use your legs, hug the bottle close, and pivot your feet when turning.
For ongoing reliability, combine correct installation with monthly deep cleaning and prompt troubleshooting. If lifting remains a challenge, switch to 3-gallon bottles or opt for a delivery service that installs the jug for you. Your back and your floor will thank you.