How to Replace Frigidaire ULTRAWF Water Filter
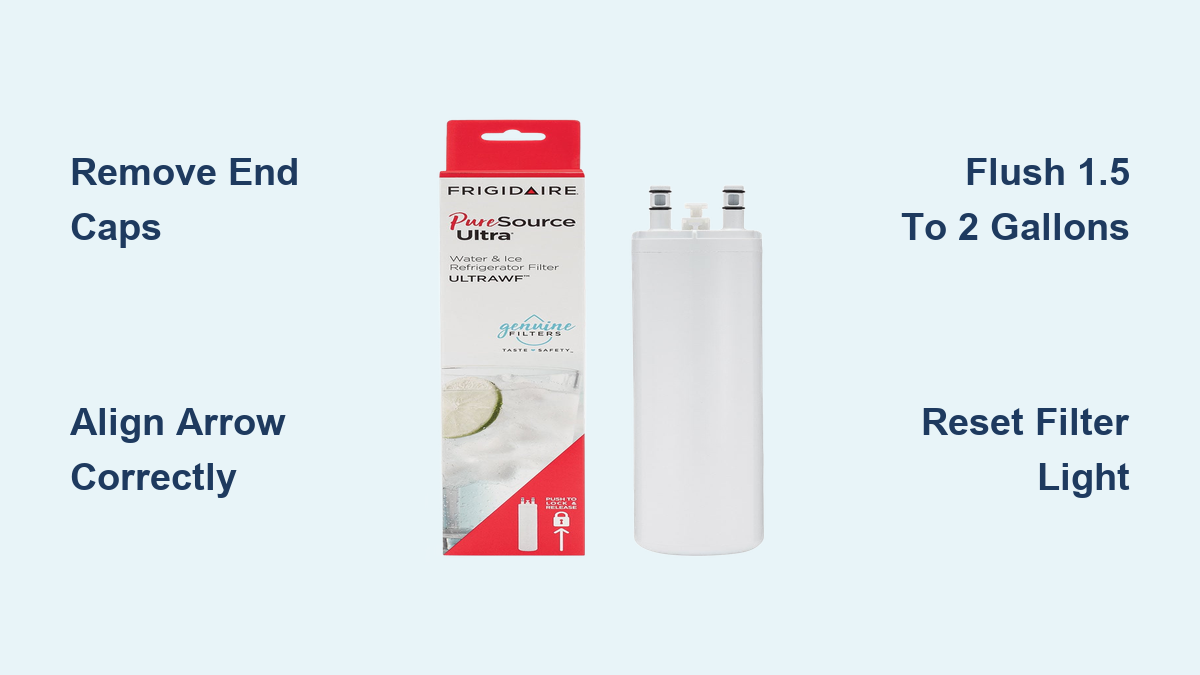
Is your Frigidaire refrigerator dispensing slow, cloudy, or bad-tasting water? It’s likely time to replace the ULTRAWF water filter. This essential maintenance task keeps your water clean, your ice crisp, and your appliance running efficiently. Ignoring it can lead to poor water flow, strange odors, or even damage to the ice maker.
Fortunately, replacing the Frigidaire PureSource Ultra® (ULTRAWF) filter is quick and tool-free. Most models take under 5 minutes. In this guide, you’ll learn exactly how to identify, remove, install, and reset your ULTRAWF filter, plus troubleshooting tips and pro advice to avoid common mistakes.
Confirm ULTRAWF Compatibility

Before buying or installing a new filter, verify it fits your model.
Check Your Refrigerator Model
The ULTRAWF filter works with select Frigidaire, Kenmore, and Electrolux refrigerators. Not all models use this type. Confusing it with WF3CB or WFCB filters leads to leaks or improper fit. Find your model number:
– Inside the fridge, usually on the side wall or behind the crisper drawer
– On the back or base grille of the unit
Use Frigidaire’s online “Filter Finder” tool or cross-reference your model to ensure ULTRAWF compatibility.
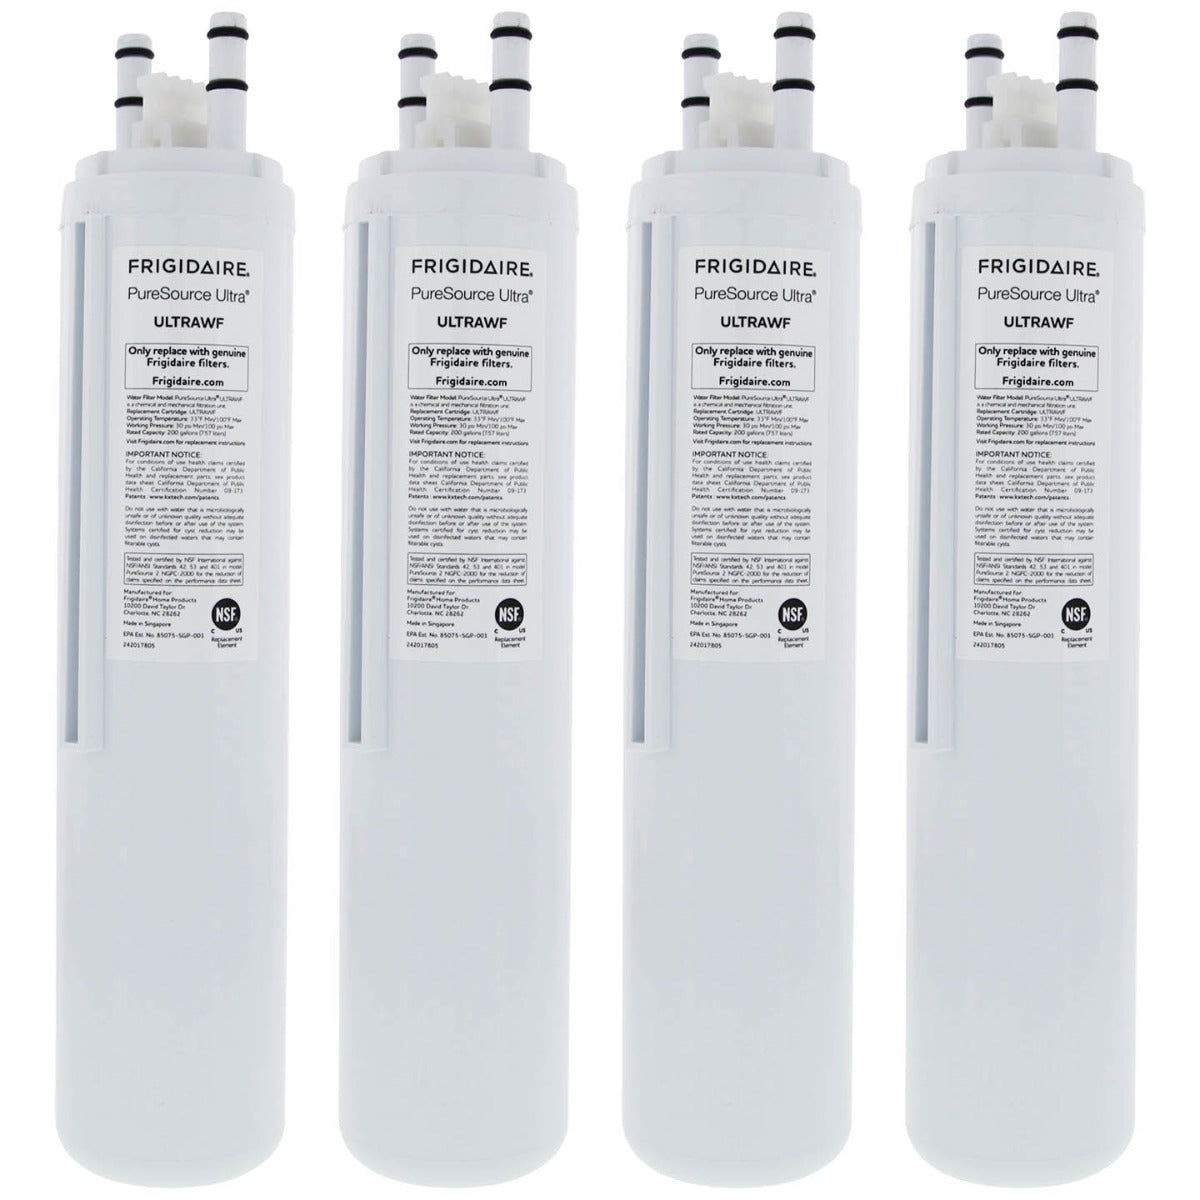
Identify Genuine ULTRAWF Filters
Counterfeit filters are common and underperform. Spot the real ones:
– Berry-colored housing with a distinct purple-red tint
– “Genuine Filter Seal” on original packaging
– Correct model number printed on the filter
Using a non-genuine filter may void warranties or reduce water quality.
Know When to Replace the Filter
Timing matters. Don’t wait for bad taste to act.
Standard Replacement Schedule
Replace the ULTRAWF every:
– 6 months, or
– 200 to 300 gallons of water usage, whichever comes first
Households with hard water, well supply, or heavy usage should lean toward the 200-gallon mark.
Signs Your Filter Is Expired
Even if not due, replace immediately if you notice:
– Cloudy ice or water
– Unusual taste or odor
– Slow dispensing speed
– Red or flashing filter indicator light
These signal a clogged or exhausted filter.
Risks of Delayed Replacement
An old filter stops removing chlorine and sediment. Worse, it can:
– Restrict water flow to the ice maker
– Release trapped contaminants
– Promote bacterial growth inside the housing
Replacing on time protects your health and appliance.
Prepare for Filter Replacement
A few quick prep steps prevent messes and errors.
Turn Off the Ice Maker
Flip the ice maker switch to “Off”. This is usually a lever or button inside the freezer. This prevents it from calling for water during the change.
Release System Pressure
For most push-style models, you don’t need to shut off the water supply. However:
– Press the water dispenser for 2 to 3 seconds to release line pressure
– Have a towel ready in case of minor drips
If your model requires it or you’re unsure, shut off the supply valve behind the fridge.
Locate the Filter Housing

ULTRAWF filters come in three locations:
Interior Upper-Right Corner
This is the most common spot. Look in the top right of the fridge compartment or ceiling. The filter may be behind a hinged cover.
Base Grille (Front Bottom)
Found behind the kickplate at the front. Requires kneeling. Some models need a decorative cap transfer from old to new filter.
Rear Interior Wall
Typical in older units (10+ years). Located top-right on the back wall. May use a twist-lock cup cover instead of push mechanism.
Confirm your type before proceeding.
Remove the Old ULTRAWF Filter
The method depends on your housing style.
Push-Button Release (Interior/Base Models)
- Press the release button or tab on the filter housing
- Push the filter slightly inward to unlock
- Pull it straight out
Hold a towel underneath since some water may drip.
Twist-Off Removal (Rear Models)
- Grip the filter firmly
- Turn it counterclockwise (about a quarter turn) to unlock
- Pull it straight out
If a cup cover is present, remove it first by twisting it off.
Install the New ULTRAWF Filter
Follow these steps carefully. Misalignment causes leaks.
Unpack and Prep the New Filter
- Remove from sealed packaging
- Pull off both end caps. This step is critical. Leaving them on blocks water flow
- Check for alignment arrows on the filter body
Insert Filter Correctly
For Interior or Base Models
- Interior placement: Insert with the arrow pointing up
- Base grille: Insert with the arrow facing left (toward the outside of fridge)
- Slide the filter in and push firmly until it clicks
- Ensure it’s fully seated with no gaps or tilting
For Rear Twist-Lock Models
- Align the arrow with the housing mark
- Insert nozzle-first
- Turn clockwise until it locks
- Reattach the cup cover if applicable
Transfer Decorative Cap (If Needed)
On base models, snap the old cap onto the new filter before or after installation to maintain a clean look.
Flush the New Filter System
Skip this step, and your first glass may be cloudy or taste odd.
Why Flushing Is Required
New filters contain:
– Air pockets that cause sputtering
– Loose carbon fines that appear as black specks
Flushing removes both.
Flush Procedure
- Place a large pitcher under the dispenser
- Dispense water continuously for 3 to 4 minutes
- Total volume: 1.5 to 2 gallons (6 to 8 liters)
- Discard this water. Do not drink it
You may see:
– Cloudy or bubbly water (air)
– Grayish tint or black specks (carbon fines)
This is normal.
Pro Tip: Pre-Soak the Filter
For faster results:
– Soak the new ULTRAWF in a bowl of water for 15 to 30 minutes before installing
– This reduces initial carbon shedding
– Still flush after installation
Reset and Verify the System
Final checks ensure everything runs smoothly.
Check for Leaks
Inspect the housing and connections:
– Look for drips or wet spots
– If leaking, turn off water supply, remove filter, ensure O-rings are intact and clean, then reinstall with proper alignment and firm push
Turn Ice Maker Back On
Switch the ice maker to “On”. It will begin cycling within a few hours.
Reset Filter Indicator Light
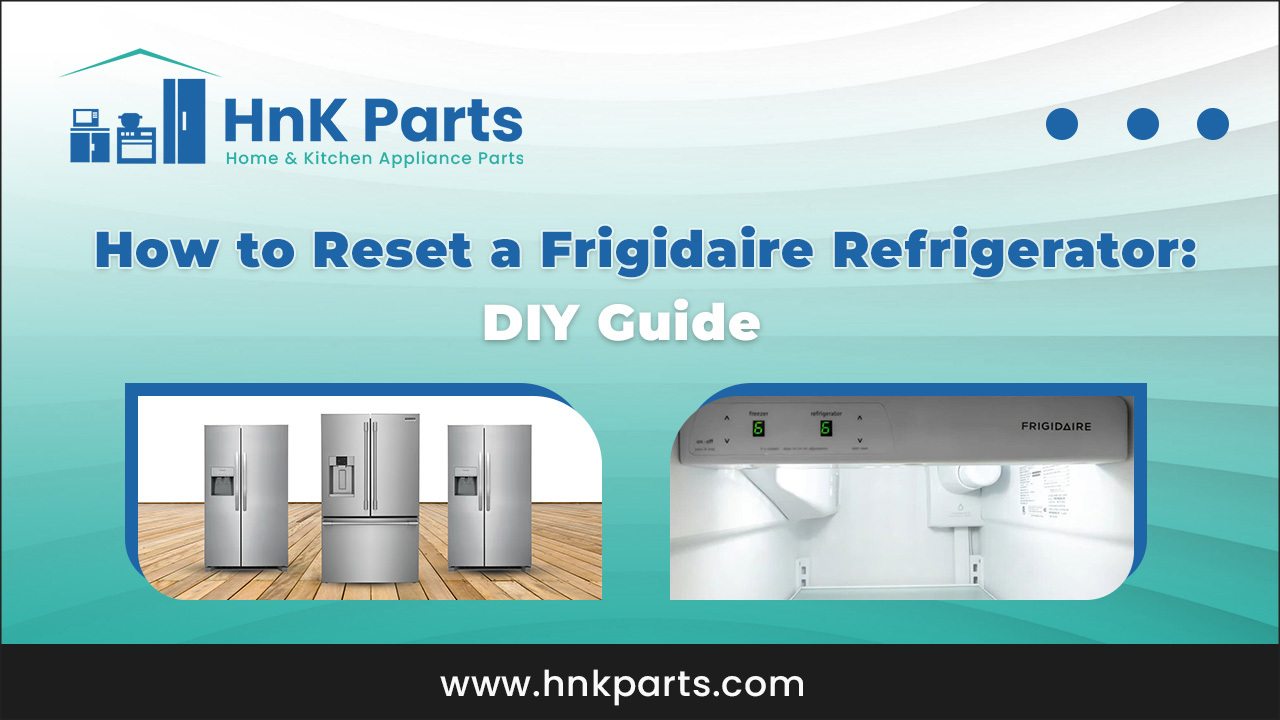
The red or orange “Change Filter” light must be reset:
1. Press and hold the “Filter Reset” button
2. Hold for 3 to 5 seconds
3. Light should turn blue or go off
Note: If no button is present, consult your model’s manual. Some require a specific sequence.
Maintain Peak Performance
Keep your system clean and efficient.
Replace Every 6 Months
Set a calendar reminder. Even with light use, carbon loses effectiveness over time.
Check Air Filter at Same Time
Frigidaire models often have a Genuine Air Filter near the top rear of the fridge. Replace it every 6 months too:
– Prevents food odors
– Slides in easily with no tools needed
Troubleshoot Common Issues
Filter Won’t Fit
- Cause: Wrong model or misalignment
- Fix: Confirm ULTRAWF compatibility, align arrow, push straight without forcing
Slow Water Flow After Install
- Cause: Air in lines or incomplete flush
- Fix: Flush an additional 1 to 2 gallons, soak filter next time
Bad Taste After Replacement
- Cause: Incomplete flushing or expired/damaged filter
- Fix: Flush more, verify filter is genuine and not past shelf life
Leaking at Housing
- Cause: Filter not fully seated
- Fix: Reinstall with firm, straight pressure, check for debris
ULTRAWF Filter Specs at a Glance
| Feature | Detail |
|---|---|
| Model | ULTRAWF (PureSource Ultra®) |
| Color | Berry-red housing |
| Life Span | 6 months / 200 to 300 gallons |
| Install Type | Push-in (most), twist (older) |
| Flush Needed | 1.5 to 2 gallons |
| Removes | Chlorine, sediment, taste/odor |
| Authenticity | Genuine Filter Seal on box |
Frequently Asked Questions About the Frigidaire ULTRAWF Filter
How often should I replace my Frigidaire ULTRAWF filter?
Replace the ULTRAWF every 6 months or after 200 to 300 gallons of water usage, whichever comes first. Households with hard water or heavy usage may need to replace sooner.
Do I need to turn off the water supply before replacing the filter?
For most push-button Frigidaire models, you do not need to shut off the water supply. Simply press the dispenser to release pressure and have a towel ready for drips. If your model requires it, shut off the supply valve behind the fridge.
Why is my water cloudy after installing a new ULTRAWF filter?
Cloudy water is normal during the initial flush. It comes from trapped air and loose carbon fines inside the new filter. Flush 1.5 to 2 gallons through the system and discard the water. Cloudiness should clear up.
How do I reset the filter light on my Frigidaire refrigerator?
Press and hold the “Filter Reset” or “Change Filter” button for 3 to 5 seconds. The indicator light should change color or turn off. If this doesn’t work, check your model’s manual for a specific reset sequence.
Can I use a non-genuine ULTRAWF replacement filter?
Non-genuine filters may fit but often underperform and can void your warranty. Genuine filters have a berry-colored housing and a “Genuine Filter Seal” on the packaging. Always verify authenticity before installing.
Where is the ULTRAWF filter located in my refrigerator?
The ULTRAWF filter is typically in one of three locations: the upper-right corner of the fridge interior, behind the base grille at the front bottom, or on the rear interior wall (in older models). Check your owner’s manual if unsure.
Key Takeaways for Replacing Your Frigidaire ULTRAWF Water Filter
Replacing your ULTRAWF water filter is a simple, tool-free process that takes under 5 minutes. Confirm compatibility using your model number and always choose genuine filters to protect water quality. Remove both end caps before installation, align the arrows correctly, and flush 1.5 to 2 gallons through the system to clear air and carbon fines. Reset the indicator light and set a reminder to replace every 6 months. Your next step: check your filter’s install date today and order a genuine ULTRAWF if it’s due for a change.