How to Clean Brio Water Dispenser
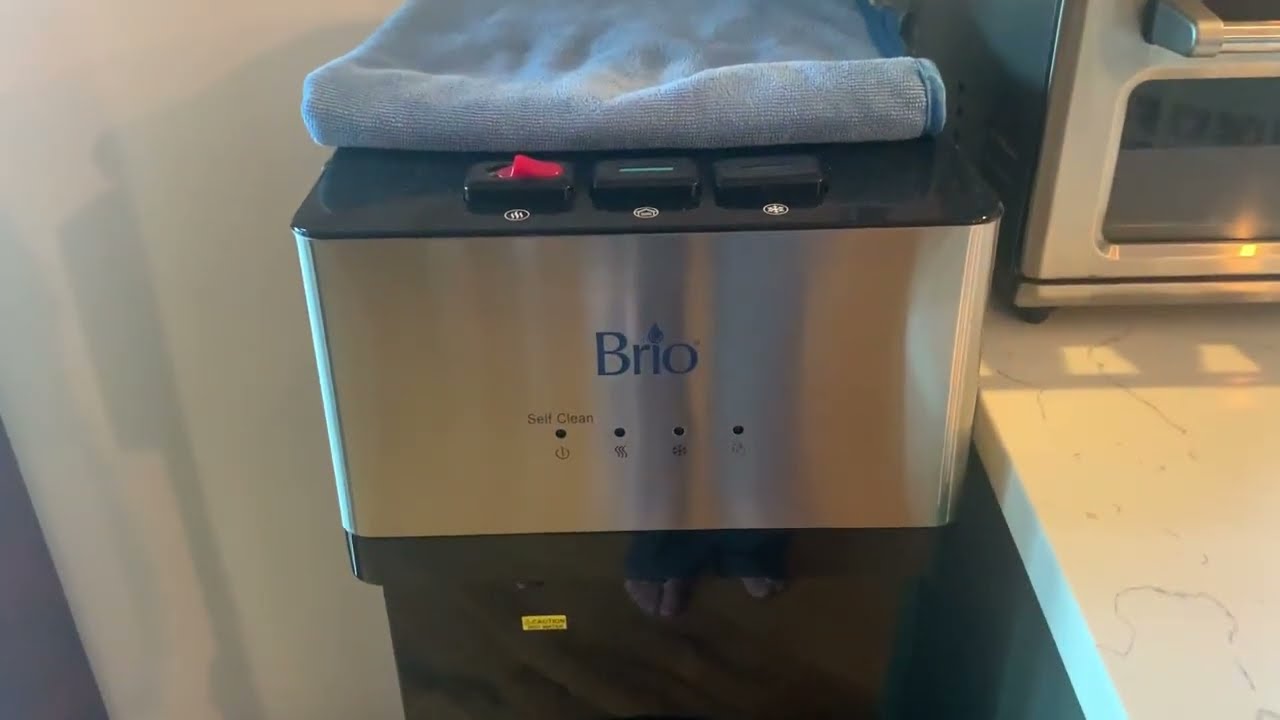
If your Brio water dispenser isn’t delivering fresh-tasting water, the problem might not be the bottle. It could be your dispenser. Over time, mineral deposits, biofilm, and bacteria build up inside the reservoirs and spouts, especially if cleaning is neglected. This affects taste, hygiene, and even appliance performance. Fortunately, cleaning a Brio water dispenser is a simple, do-it-yourself task that takes less than an hour and can restore your unit to like-new condition. Whether you have a top-load, bottom-load, or bottleless model, this guide walks you through every step using safe, effective methods. You’ll learn how to disinfect internal tanks, remove stubborn scale, and maintain peak performance so every glass of water stays clean, cool, and great-tasting.
Cleaning Frequency Guidelines
When to Clean Your Brio Dispenser
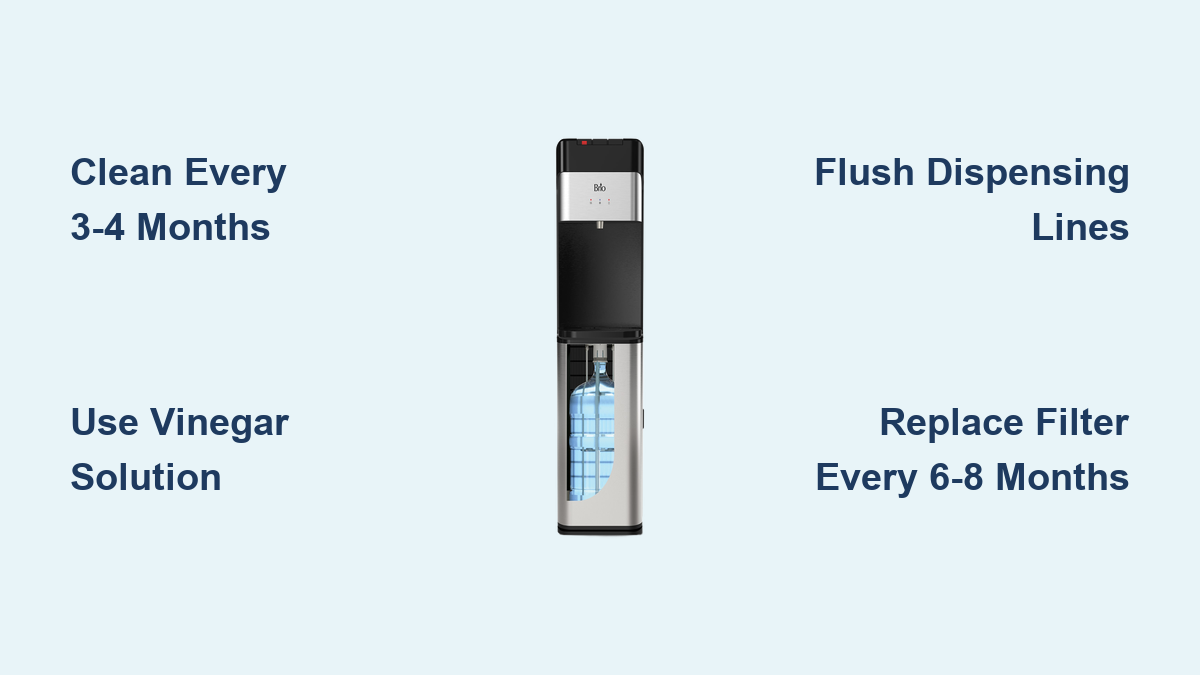
Clean your Brio water dispenser every 3 to 4 months to prevent mineral buildup and microbial growth. This applies to all models, even those with self-cleaning features. While automated systems sanitize the cold tank, they don’t remove limescale or clean external surfaces. If you use spring water, which contains higher mineral content, you may see white or brown residue forming faster, making regular cleaning even more critical.
Model-Specific Maintenance Needs
- Top-load and bottom-load units: Require full internal cleaning every 3–4 months
- Bottleless models: Need internal cleaning plus filter replacement every 6–8 months, depending on usage
- Self-cleaning models (UV or ozone): Still need manual reservoir cleaning to remove mineral deposits automated cycles can’t dissolve
Signs It’s Time to Clean
- Cloudy or off-tasting water
- Visible white scaling inside the reservoir
- Musty or sour odor when dispensing
- Slow water flow from spigots
Wipe down spouts, controls, and bottle probes every time you change the water bottle to prevent contamination.
Tools and Cleaning Solutions Needed
Recommended Cleaning Agents
Use White Vinegar Solution (Standard Method)
Mix ½ gallon of white vinegar with ½ gallon of water. This solution effectively disinfects and dissolves most mineral deposits. For lighter cleaning, use 2 cups of distilled white vinegar in a full reservoir.
Try Citric Acid for Odor-Sensitive Users
Use 2 cups of citric acid instead of vinegar if you’re sensitive to vinegar smell. It works just as well on scale and leaves no lingering odor.
Tackle Tough Buildup With Baking Soda Paste
For stubborn residue, mix baking soda and water into a thick paste. Apply directly to stained or scaled areas and gently scrub with a microfiber cloth.
Essential Tools Checklist
- Microfiber cloths (lint-free)
- Empty 5-gallon water bottle (for mixing and pouring in bottom-load models)
- 2-gallon bucket (to catch draining liquid)
- Fresh water (2+ gallons for rinsing)
- Cleaning solution container
- Philips head screwdriver (only if disassembly is required per manual)
Never use bleach or harsh chemicals unless specified by the manufacturer. These can damage seals and leave toxic residues.
Safety First: Pre-Cleaning Steps
Unplug and Cool Down the Unit
Always unplug the dispenser before starting. For models with hot water, turn off the heating switch (usually on the back) and let the hot tank cool completely. This can take up to an hour. Never drain hot water immediately, as doing so risks burns or tank damage.
Drain All Water Before Cleaning
Empty both hot and cold reservoirs completely. Refer to your user manual for model-specific drainage procedures. Most units allow you to dispense remaining water through the spigots into a bucket.
Consult Your User Manual
Brio models vary by design. Always check your specific model’s manual before disassembling parts like drip trays or water guards. Manufacturer guidelines prevent accidental damage and ensure safe handling.
Top-Load Brio Dispenser Cleaning

Remove and Clean Accessible Parts
Start by removing the water bottle. Take out the water guard (puncturing needle) and drip tray if they’re detachable. Soak them in your vinegar solution for 10 minutes, then rinse thoroughly and let air dry.
For non-removable drip trays, use a microfiber cloth soaked in cleaning solution to wipe all surfaces, including corners where mildew collects.
Wipe Interior Surfaces
Dampen a microfiber cloth with vinegar solution and wipe the inside of the bottle chamber. Pay close attention to the valve area and bottle holder, where mineral deposits and biofilm often accumulate.
For tough stains, apply baking soda paste, wait 5 minutes, then gently scrub and wipe clean.
Disinfect Reservoirs and Dispensing Lines
Pour the vinegar solution into the empty reservoir. Let it soak for 15 minutes to break down buildup.
After soaking, dispense the solution through both hot and cold spigots, about 1 cup from each. This flushes the internal lines and ensures full sanitization.
Rinse Thoroughly
Fill the reservoir with fresh water and dispense several cycles through both taps. Repeat until no vinegar taste or smell remains, usually 2–3 full rinses.
Reinstall the water guard and drip tray. Place a new water bottle on top, plug in the unit, and wait for temperatures to stabilize before use.
Bottom-Load Brio Dispenser Cleaning

Access the Reservoir Safely
Remove the access panel or lid at the base. Some models require a Philips screwdriver to remove screws, so check your manual.
Ensure the hot water switch is off and the unit has cooled before proceeding.
Pour in Cleaning Solution
Use the empty 5-gallon bottle to mix your cleaning solution. Pour it directly into the internal reservoir.
Let the solution sit for 15 minutes to dissolve scale and kill microbes.
Flush Internal Plumbing
Dispense the solution through both hot and cold spigots, alternating a few times. This ensures the entire dispensing path is cleaned.
Complete Multiple Rinse Cycles
Refill with fresh water and dispense fully. Repeat at least two times, or until water tastes neutral.
Wipe down the interior cavity where the bottle sits and clean the exterior with a damp microfiber cloth.
Restore and Reconnect
Reinstall any removed panels. Insert a new water bottle, close the door, and plug the unit back in.
Wait approximately 25 minutes for the system to reheat and rechill before drinking.
Bottleless Brio Model Maintenance

Follow Standard Cleaning Steps
Even though bottleless models connect directly to your water line, they still require full internal cleaning every 3–4 months. The process is the same as for top- or bottom-load units, depending on design.
Replace the Filter Every 6–8 Months
During cleaning, replace the internal filter set. Old filters reduce water quality and flow rate. Mark your calendar or set a reminder, since most users forget this critical step.
High-usage environments (offices, gyms) may need filter changes every 6 months. Homes with light use can stretch to 8.
Confirm Water Line Integrity
After reassembly, check for leaks around the filter housing and connections. Run water for 1 minute to purge air from the system.
Self-Cleaning Models: What They Do (and Don’t Do)
How UV and Ozone Cleaning Works
Some Brio dispensers come with UV or ozone self-cleaning technology. These systems run automatically:
- UV light kills bacteria in the cold tank every few hours
- Ozone oxidizes microbes and prevents biofilm without chemicals
Both allow continuous water use during cleaning cycles and are safe for food-grade applications.
Why Manual Cleaning Is Still Required
Self-cleaning only treats the cold reservoir. It does not:
- Remove limescale or mineral buildup
- Clean hot water tanks
- Disinfect spouts, drip trays, or controls
- Prevent staining from iron or manganese in water
You must still perform manual deep cleaning every 3–4 months and wipe external parts with each bottle change.
Troubleshoot Lingering Issues
Water Still Tastes or Smells Bad?
If the vinegar or musty smell persists after cleaning:
- Repeat the process with a stronger solution
- Switch cleaning agents: Use citric acid if you used vinegar, or vice versa. Some mineral types respond better to one than the other
Flush with extra rinse cycles, since residual solution sometimes lingers in internal lines.
Scaling Won’t Come Off?
For severe mineral buildup:
- Soak affected areas in undiluted white vinegar for 30 minutes
- Apply baking soda paste and gently scrub with a soft brush
- Avoid metal scrubbers, as they scratch plastic and create biofilm traps
Check for Leaks After Reassembly
Ensure all parts (water guards, drip trays, panels) are fully seated and tightened. Leaks often occur when components aren’t reinstalled correctly.
Test by dispensing a cup of water and watching for drips around the base or spigots.
Final Rinse and Restart Protocol
Eliminate Cleaning Residue
After the final rinse, dispense at least 4 cups of water from both hot and cold taps. Taste-test each to confirm neutrality.
If any odor remains, repeat rinsing until water is completely clean.
Power Up and Stabilize
Plug the unit back in. Allow:
- Top-load models: 30–45 minutes to rechill and reheat
- Bottom-load models: About 25 minutes
- Bottleless units: 20–30 minutes, plus additional time if filters were replaced
Do not use immediately. Wait for stable temperatures.
Prevent Future Buildup
Wipe Down After Each Bottle Change
Every time you replace the water bottle:
- Wipe spouts, drip tray, and bottle probe with a damp microfiber cloth
- Inspect for mold or residue
- Clean the bottle neck before placing it on the unit
This simple step prevents most contamination.
Use Filtered or Purified Water
If your tap or spring water is high in minerals, consider using pre-filtered water bottles. This reduces scale formation and extends cleaning intervals.
Schedule Cleanings on Your Calendar
Set a recurring reminder every 3 months. Label the date on the unit’s base with tape, or use a phone alert. Consistency is key to long-term performance.
Frequently Asked Questions About Cleaning a Brio Water Dispenser
How often should I clean my Brio water dispenser?
Clean your Brio dispenser every 3 to 4 months. This applies to all models, including self-cleaning units, since automated cycles don’t remove mineral scale or clean external surfaces.
Can I use bleach to clean my Brio dispenser?
No. Never use bleach or harsh chemicals unless the manufacturer specifically approves them. These substances can damage seals and leave toxic residues. Use white vinegar, citric acid, or baking soda paste instead.
Do self-cleaning Brio models need manual cleaning?
Yes. UV and ozone self-cleaning systems only sanitize the cold water tank. You still need to manually clean the hot tank, reservoirs, spouts, and drip tray every 3–4 months to remove mineral buildup.
How do I remove stubborn mineral scale from my dispenser?
Soak the affected area in undiluted white vinegar for 30 minutes, then apply baking soda paste and scrub gently with a soft brush. Avoid metal scrubbers, as they scratch plastic surfaces.
When should I replace the filter on a bottleless Brio model?
Replace the filter every 6–8 months, depending on usage. High-use environments like offices may need changes every 6 months, while light home use can extend to 8 months.
How long does it take for the dispenser to cool and heat water after cleaning?
Allow 30–45 minutes for top-load models, about 25 minutes for bottom-load units, and 20–30 minutes for bottleless models after cleaning. Wait for temperatures to stabilize before drinking.
Key Takeaways for Maintaining a Clean Brio Water Dispenser
Regular cleaning is the foundation of safe, great-tasting water from your Brio dispenser. Aim for a full internal clean every 3 to 4 months using white vinegar, citric acid, or baking soda paste, depending on your needs. Wipe down spouts, drip trays, and bottle probes with every bottle change to prevent contamination between deep cleans. If your model is bottleless, don’t forget to replace the filter every 6–8 months. Your next step is simple: schedule a recurring reminder on your phone right now, then gather your cleaning supplies so you’re ready when the time comes.