Fix Viva Water Dispenser Not Cooling
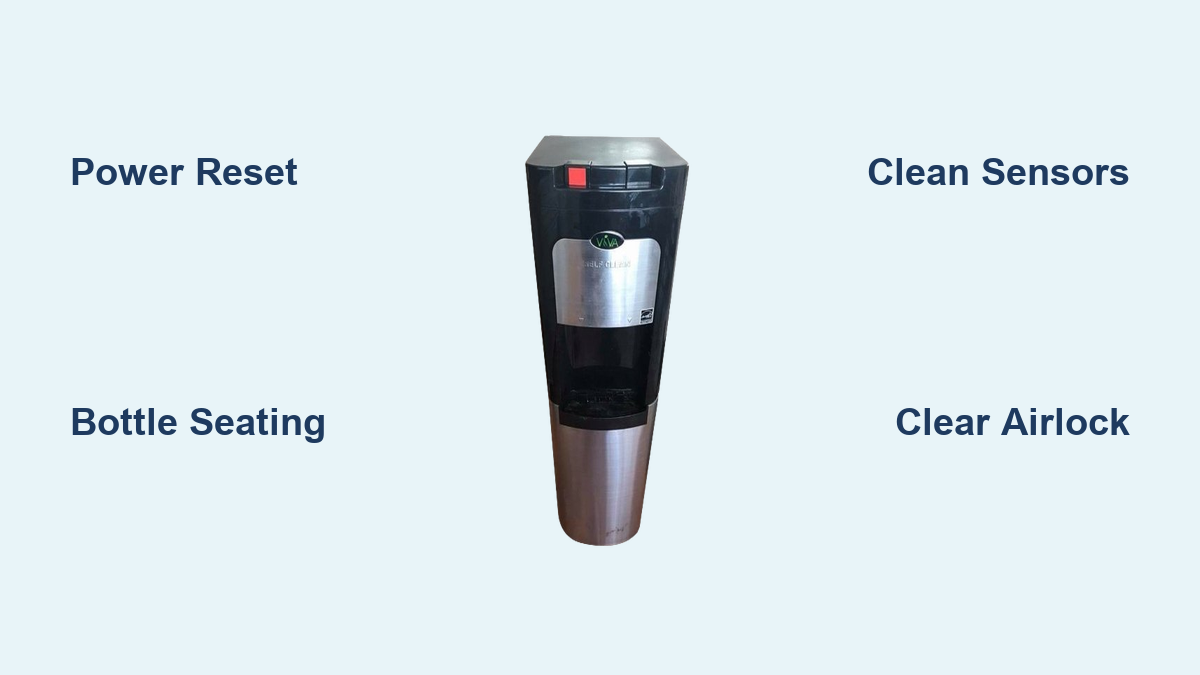
You turn on your Viva water dispenser expecting a refreshing sip of cold water, only to get lukewarm or even hot liquid. If your Viva water dispenser is not cooling, you’re not alone. This common issue can stem from simple user errors to deeper mechanical or electronic failures. Fortunately, most causes are diagnosable and fixable with the right steps.
This guide breaks down every possible reason your Viva dispenser isn’t cooling, from airlocks and sensor errors to compressor failure and circuit board damage. You’ll learn how to troubleshoot safely, identify root causes, and apply targeted fixes, whether you’re a DIYer or deciding when to call a pro. By the end, you’ll know exactly what’s wrong and how to restore icy-cold water flow.
Check Power and Reset First
Before diving into complex repairs, rule out basic electrical and reset issues. Many cooling failures are simply due to power glitches or temporary system lockouts.
Test the Outlet and Cord
A faulty outlet or damaged power cord can prevent the compressor and control board from receiving power.
• Unplug the unit and plug in another device (like a lamp) to confirm the outlet works.
• Inspect the power cord for fraying, kinks, or burn marks.
• If the outlet is dead or the cord is damaged, replace the cord or use a different outlet.
Perform a Full Power Reset
Electronics can hang or misread sensors, especially after a bottle change or power surge.
1. Unplug the dispenser for 15 to 30 minutes.
2. During this time, the internal capacitors discharge and the control board resets.
3. Plug it back in and turn both hot and cold switches to ON.
4. Wait 2 to 3 hours before testing cold water.
✅ Pro Tip: For persistent beeping or stuck lights, extend the reset to 30 minutes. This often clears sensor lockouts.
Verify Bottle Installation and Sensors

Improper bottle seating or dirty sensors can trick the system into disabling cooling.
Ensure Proper Bottle Seating
If the water bottle isn’t fully locked in, the float sensor may not detect water, triggering a safety shutdown.
• Remove and reseat the bottle, pressing down firmly until it clicks.
• Listen for the internal spike to puncture the bottle seal.
• Watch for water flow into the reservoir. No flow means a blockage or seal issue.
Clean the Float Sensor and Drip Tray
Moisture, mineral buildup, or debris can interfere with sensor operation.
1. Turn off and unplug the unit.
2. Remove the drip tray and inspect for standing water or residue.
3. Wipe the float mechanism and sensor area with a dry, soft cloth.
4. Reinstall and reset power.
⚠️ Warning: Never use water or cleaning sprays on internal sensors. This can cause shorts.
Clear Airlocks in Water Lines
An airlock blocks water from reaching the cooling tank, halting the cooling process.
Recognize Airlock Symptoms
• No water or intermittent flow from the cold tap.
• Gurgling or sputtering sounds when dispensing.
• Cooling system inactive despite power.
Release Trapped Air
- Turn off and unplug the unit.
- Open the cold water valve fully and let it run for 30 to 60 seconds.
- Tap the tubing near the valve to dislodge bubbles.
- Check for kinks or bends in the internal lines and straighten if needed.
- If equipped, remove and clean the inline filter with vinegar.
✅ Success Sign: Once water flows steadily, the cooling system should reactivate within 1 to 2 hours.
Inspect Ventilation and Condenser Coils

Poor airflow is a top cause of cooling failure, even if all internal parts work.
Allow 6 Inches of Clearance
Viva dispensers need space to expel heat.
• Keep at least 6 inches of space around the back, sides, and bottom.
• Avoid placing against walls, in cabinets, or near heat sources like ovens.
Clean Dust from Condenser Coils
Dirty coils overheat the system, forcing it to shut down.
1. Unplug the unit.
2. Locate coils, usually at the back or bottom.
3. Use a vacuum with a brush attachment or a soft-bristle brush to remove dust, pet hair, and debris.
4. Repeat every 6 months for optimal performance.
❌ Don’t skip this: Units in dusty environments fail faster due to heat buildup.
Diagnose Compressor and Cooling Sounds
The compressor is the engine of your cooling system. If it’s silent or noisy, cooling stops.
Listen for Compressor Activation
When you turn on the cold switch:
• You should hear a low hum or click within 30 seconds.
• No sound means the compressor isn’t starting.
• Clicking or grinding suggests internal damage.
Check for Continuous Fan Operation
A fan that runs nonstop may indicate:
• A faulty thermostat sending incorrect signals.
• Control board errors ignoring temperature feedback.
• Overheating due to blocked vents or dirty coils.
✅ Action: If the fan runs but water isn’t cooling, inspect the thermostat or control board next.
Test for Hot Water in Cold Line
Sometimes, the dispenser is cooling, but hot water leaks into the cold line.
Identify Cross-Contamination
• Dispensed “cold” water feels hot.
• Both hot and cold taps deliver warm water.
• Cooling tank is cold, but output isn’t.
Inspect Internal Valves
A failed valve or cracked manifold can mix hot and cold lines.
• Requires internal access, so unplug first.
• Look for signs of wear, warping, or mineral buildup on valve seals.
• Replace faulty valves or entire valve assemblies if damaged.
✅ Pro Tip: Use food-safe dye in the hot tank to trace leaks. Watch for color in cold water output.
Examine the Control Board and Relays

Electronic failure is a leading cause of cooling loss, especially in older models.
Locate and Inspect the Circuit Board
- Unplug the unit.
- Remove the outer cover with a #2 Phillips screwdriver.
- Release the white retaining clips and gently slide out the board. Don’t let it snap back.
- Look for:
• Burnt or discolored areas near the cold relay.
• Cracked or loose solder joints on relay connectors.
• Swollen or leaking capacitors (bulging tops are a red flag).
Re-Solder Cold Relay Connections
If the cold relay joint is damaged:
1. Use a soldering iron and rosin-core solder.
2. Heat the joint and apply fresh solder for a clean, shiny connection.
3. Let cool, then reinstall the board and cover.
4. Power up and test.
⚠️ Caution: If capacitors are swollen, replace the entire control board. Individual capacitor repair is unreliable.
Reset or Replace the Thermostat
The thermostat tells the system when to start and stop cooling.
Look for Thermostat Errors
• No cooling despite power.
• Compressor runs nonstop.
• Flashing lights or error codes on display.
Attempt a Reset
Some models have a reset button on the thermostat housing.
• Press and hold for 5 seconds.
• Wait 2 hours for the cooling cycle to resume.
If no reset works or the unit still misreads temperature, replace the thermostat with a compatible model.
Address Refrigerant and Compressor Failure
These are serious issues requiring professional service.
Confirm Refrigerant System Integrity
Viva dispensers with compressor-based cooling use refrigerant like R134a.
• Symptoms of low refrigerant:
• Weak cooling that worsens over time.
• Frost on lines or cooling tank.
• Water feels warmer than ambient.
❌ No DIY fix: Refrigerant leaks require EPA-certified technicians to locate, repair, and recharge.
Evaluate Compressor Health
If the compressor:
• Makes loud grinding or clicking noises.
• Draws power but doesn’t cool.
• Shows no amperage on a multimeter test.
…it likely needs replacement. However, in units over 8 to 10 years old, replacing the entire dispenser may be more cost-effective.
Follow the Step-by-Step Troubleshooting Workflow
Use this proven sequence to isolate the problem fast.
Phase 1: Quick User Checks (5 to 10 Minutes)
- Unplug for 30 minutes and reset.
- Verify bottle is seated and punctured.
- Clean drip tray and sensor area.
- Check for 6+ inches of clearance.
- Run cold tap for 60 seconds to clear air.
- Listen for compressor hum.
Phase 2: Intermediate Inspection (15 to 20 Minutes)
- Vacuum condenser coils.
- Inspect tubing for kinks or blockages.
- Test for hot water in cold line.
- Check thermostat for reset option.
Phase 3: Advanced Diagnosis (Technician-Level)
- Open and inspect control board for burns or bulges.
- Re-solder cold relay if needed.
- Replace control board or thermostat.
- Call a pro for refrigerant or compressor issues.
Prevent Future Cooling Problems
Keep your Viva dispenser running smoothly with these habits.
Monthly Maintenance
• Wipe down drip tray and sensor area.
• Check for leaks or unusual sounds.
• Run vinegar flush through lines if using hard water.
Every 6 Months
• Clean condenser coils.
• Inspect power cord and plug.
• Verify cooling performance with a thermometer (<10°C ideal).
Long-Term Tips
• Use filtered water to reduce mineral buildup.
• Install a surge protector to prevent board damage.
• Replace units older than 8 to 10 years if major components fail.
Know When to Replace vs. Repair
Repair costs add up. Use this guide to decide:
| Issue | Repairable? | Cost-Effective? |
|---|---|---|
| Airlock or sensor error | ✅ Yes | ✅ Yes |
| Dirty coils or poor ventilation | ✅ Yes | ✅ Yes |
| Re-soldering relay | ✅ Yes | ✅ Yes |
| Control board replacement | ✅ Yes | ⚠️ Depends on unit age |
| Compressor or refrigerant leak | ✅ Yes (by pro) | ❌ Often not, replace unit |
💡 Rule of thumb: If repair costs exceed 50% of a new unit’s price, and your dispenser is over 7 years old, replace it.
Frequently Asked Questions About Viva Water Dispenser Cooling Problems
Why is my Viva water dispenser not cooling but the hot water works?
This usually points to a cold relay failure on the control board or a compressor issue specific to the cooling circuit. The hot water system operates on a separate heating element, so its functionality confirms power is reaching the unit. Inspect the circuit board for burnt relay connections or swollen capacitors.
How long does it take for a Viva dispenser to cool water after resetting?
After a full power reset, allow 2 to 3 hours for the cooling system to bring water down to temperature. The compressor needs time to chill the entire reservoir. Test with a thermometer to confirm water reaches below 10°C before assuming the fix failed.
Can a dirty condenser coil cause my Viva dispenser to stop cooling?
Yes, dirty condenser coils are one of the most common causes of cooling failure. When dust and debris block the coils, the system cannot release heat effectively, causing the compressor to overheat and shut down. Cleaning coils every 6 months prevents this issue.
What does it mean if my Viva dispenser keeps beeping and won’t cool?
Continuous beeping paired with cooling failure typically indicates a sensor or control board error. The float sensor may be misreading water levels due to improper bottle seating or moisture on internal components. A 30-minute power reset often clears this lockout.
Is it worth repairing a Viva water dispenser over 8 years old?
Generally, no. Once a unit passes 8 to 10 years and experiences major component failure (compressor, control board, or refrigerant leak), repair costs often exceed 50% of a new unit’s price. Replacement is the more cost-effective choice at this stage.
Key Takeaways for Fixing Your Viva Water Dispenser Cooling Issue
A Viva water dispenser not cooling is rarely a single-issue problem. It’s often a chain reaction starting with airflow, sensors, or power. Start with the simplest fixes: power reset, bottle reseating, and sensor cleaning. These resolve a surprising number of cases without tools or technical knowledge.
If basic steps fail, move to intermediate checks like clearing airlocks and vacuuming condenser coils. For persistent issues, inspect the control board for visible damage or attempt a relay re-solder. When refrigerant or compressor failure is suspected, contact a certified technician rather than attempting DIY repairs.
Your next step: Begin with the 30-minute power reset and bottle inspection today. If cooling doesn’t resume within 3 hours, work through the troubleshooting workflow in order. With proper care and timely maintenance, your Viva dispenser can deliver reliable cold water for years to come.