How to Make a Homemade Water Purifier
Imagine your tap runs dry after a storm, or you’re camping with no clean water in sight. You need safe drinking water and you need it fast. A homemade water purifier can be your lifeline in these moments. But here is the truth most guides skip: most DIY filters only clean water, they do not purify it. Filtration removes dirt and improves taste, but only purification kills invisible threats like bacteria and viruses.
This guide shows you how to build three proven homemade water purifier systems, from a long-lasting ceramic bucket to an emergency bottle filter. You will learn the critical final purification step every DIY setup requires, which materials work safely, and which common mistakes can make your water dangerous.
Build a Gravity-Fed Ceramic Filter
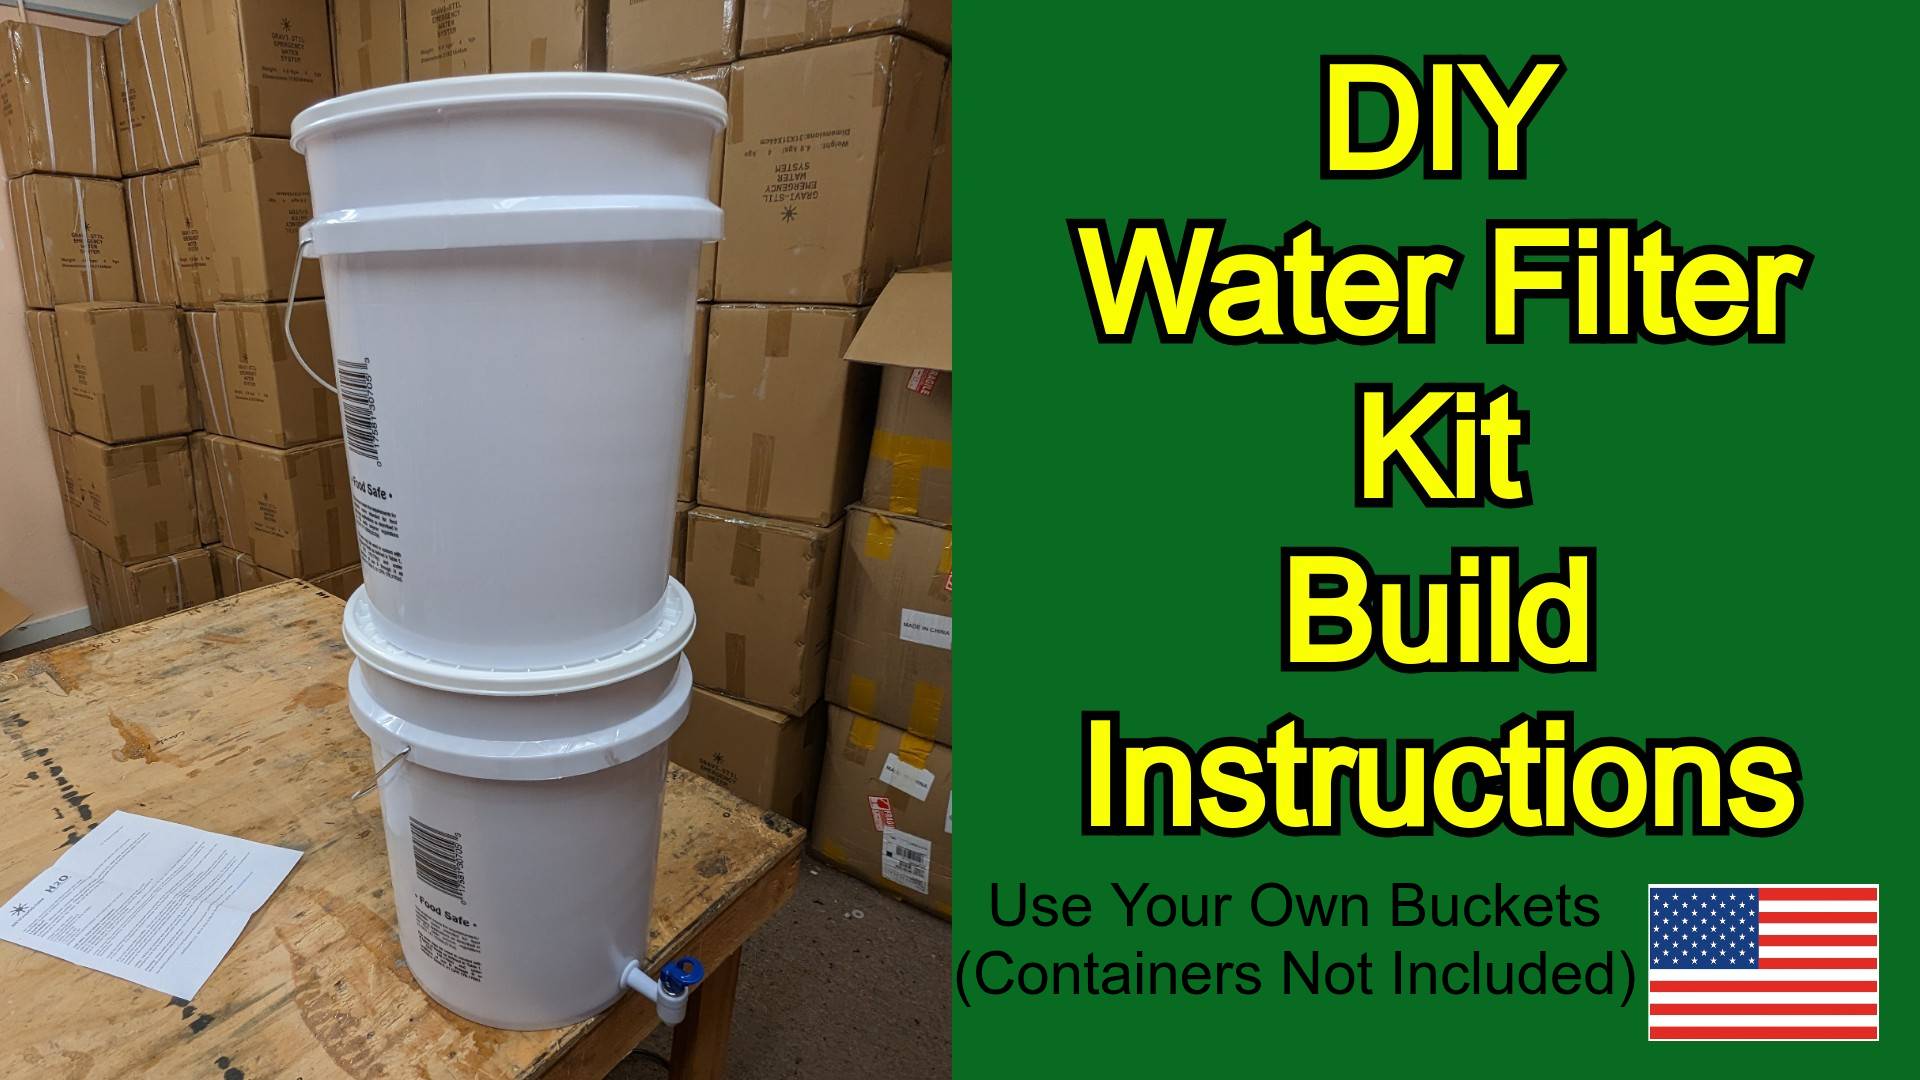
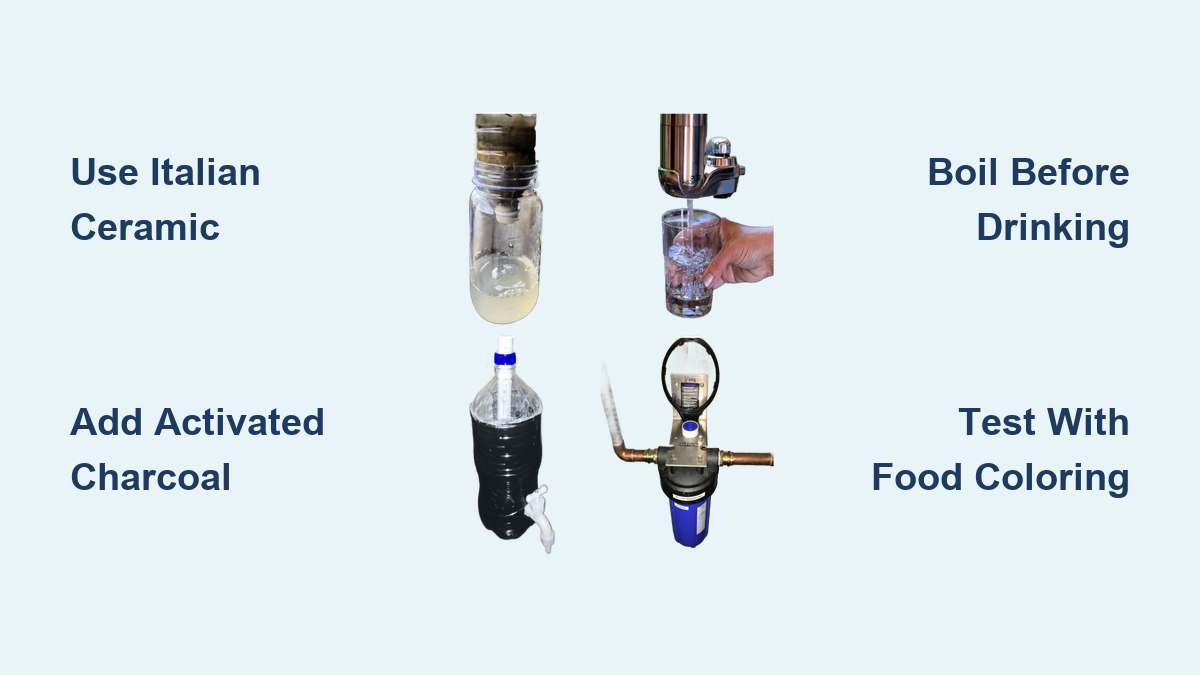
This system uses Italian-made ceramic pots to filter water down to 0.5 microns, trapping bacteria, sediment, and protozoa. With proper care, it lasts over five years and processes up to 5 gallons at a time.
Prepare the Food-Grade Bucket
Use a 5-gallon bucket marked HDPE #2 or labeled “food-safe.” Never use containers that stored chemicals or non-food items.
- Spray the inside with 70% isopropyl alcohol
- Wipe thoroughly with a lint-free cloth
- Repeat once more to ensure full sterilization
- Pay special attention to the spout area, removing any plastic shavings with a razor blade
Install the Spout Correctly
Drill a 5/8-inch hole ¼ to ½ inch from the bucket’s bottom edge. Insert the spout from the outside, slide the rubber gasket on, then tighten the inner nut by hand. For a watertight seal, gently tighten the hex fitting with a wrench without over-tightening. Test with water and retighten slightly if it leaks. A double seal prevents drips.
Use Only Italian Ceramic Pots
Only ceramic pots made in Italy are safe. Clay from other regions may leach lead or heavy metals into your water. Clean the pot inside and out with 70% isopropyl alcohol before first use and dry completely. Re-sanitize every 30 days to prevent biofilm buildup.
Seal the Pot’s Base
Water must pass through the ceramic, not around it. Cut a wine cork to fit snugly into the drainage hole at the pot’s base and push it deep with a knife handle. If gaps remain, melt food-grade wax and pour around the cork for a complete seal.
Assemble and Operate
- Place the sealed ceramic pot inside the bucket
- Fill the pot halfway with untreated water
- Cover the top with a sterilized lid or dish to block dust and insects
- Wait 1–3 hours for gravity to pull water through the ceramic
- Collect clean water from the spout
Pro Tip: Keep the unit on a countertop edge for stability. In homes with kids, place it low to avoid tipping.
Test Filtration Effectiveness
Run the food coloring test to confirm your filter works. Add 3–5 drops of food coloring to the ceramic pot. After 3 hours, check the collected water. It should be clear, proving the ceramic traps particles. If color appears, the ceramic is cracked or the seal is broken.
Warning: This system filters but does not purify. Always boil or chemically treat output before drinking.
Create a Multi-Layer Bottle Filter

Ideal for emergencies or teaching kids, this filter uses a plastic bottle and layered materials to remove sediment and improve taste. It is fast, cheap, and portable, but never drink the output without final purification.
Gather Safe Materials
- Bottle: A clean 2-liter soda bottle
- Cotton balls or cloth: To trap large debris
- Activated charcoal: Must be food-grade, crushed into powder. Never use grill charcoal since it contains toxic binders
- Sand: Use aquarium sand or clean beach sand, rinsed until water runs clear
- Gravel: Small to medium, washed thoroughly
- Coffee filter or cheesecloth: To line the neck
Layer in the Correct Order
Cut the bottle bottom off. Invert the top into the bottom half like a funnel. Layer from bottom to top:
- Neck barrier: Coffee filter or cloth in the cap end
- Activated charcoal (1–2 inches): Removes chlorine, pesticides, and odors
- Fine sand (2–3 inches): Filters tiny particles
- Coarse sand (1 inch): Prevents clogging
- Gravel (1–2 inches): Stops large debris from clogging lower layers
- Top layer: Cotton balls to protect layers when pouring
Keep layers loose for better flow.
Filter and Collect Water
- Place the filter over a clean container
- Pour dirty water slowly into the top
- Let it drip through. The first output may be gray from charcoal dust, so discard this batch
- Collect the clearer water below
Time estimate: 10–20 minutes per liter, depending on turbidity.
Never Skip Final Purification
Filtered water looks clean but may contain viruses, E. coli, or Giardia. You must purify it using one of these methods.
Boil for 1 Minute
Bring water to a rolling boil in a glass or stainless steel pot. Boil for 1 minute (3 minutes above 6,500 feet). Cool before drinking.
Use Aquatabs or Chlorine
Add one Aquatab per liter and wait 30 minutes before drinking. This method works even in cold water, making it ideal for camping.
Try Solar Disinfection (SODIS)
Fill a clear plastic or glass bottle with filtered water. Place in direct sunlight for 6 hours (or 2 days if cloudy). UV rays kill pathogens naturally with no fuel or chemicals needed.
Build a Five-Stage Advanced Filter

For higher performance, this system uses food-grade diatomaceous earth and perlite to capture parasites and fine particles down to 1 micron.
Source Critical Materials
- Food-grade diatomaceous earth: Kills microbes by dehydration. Pool-grade DE is toxic, so never use it
- Perlite: Lightweight volcanic rock from gardening stores, inert and safe
- Activated charcoal: Fine powder from food-safe sources
- Aquarium sand and gravel: Washed and dry
- Cotton towel: Washed with Castile soap only, no detergents
Assemble the Filter
Use a gallon milk jug with the bottom cut off. Drill small holes in the cap and place a folded paper towel inside to catch debris. Invert the top into the bottom half and cut a hole in the base for drainage into a mason jar.
Stack the Five Stages
From bottom to top:
- Activated charcoal (1 inch): Removes chemicals and heavy metals. Add a paper towel above to catch dust
- Washed sand (¾ inch): Filters suspended solids
- Perlite (1 inch): Prevents layer mixing and aids flow
- Food-grade DE (thin layer): Sprinkle evenly to capture bacteria and parasites
- Fine aquarium gravel (1.5–2 inches): Top layer to catch debris
Place a folded cotton towel over the gravel to prevent disturbance when pouring.
Filter and Purify
Pour water slowly. Output takes 30–45 minutes but is crystal clear. Still not safe to drink, so it must be boiled or chemically treated.
Performance Tip: This system removes sediment, chemicals, and some pathogens, but not viruses or dissolved salts.
Final Purification: Kill All Pathogens
Filtration removes physical impurities. Purification kills biological threats. Skipping this step risks severe illness. Choose one method.
Boil Water Safely
Use stainless steel or glass and never boil in plastic. Bring to a rolling boil for 1 minute (3 minutes above 6,500 ft). For the five-stage filter, boil 10 minutes with the lid slightly open to vent steam. Let cool before storing.
Limitation: Boiling kills microbes but does not remove chemicals or heavy metals. Always filter first.
Use Chemical Disinfectants
Aquatabs, chlorine dioxide, or unscented household bleach (5–9%) all work. Use 2 drops of bleach per quart, or 1 tablet per liter. Wait 30 minutes before drinking. Taste can be improved with aeration by pouring between containers.
Best for: Travel, long-term storage, or when fuel is scarce.
Apply Solar Disinfection (SODIS)
Use clear, label-free PET plastic or glass bottles. Fill with filtered water since turbid water blocks UV rays. Place on a reflective surface in direct sun for 6 hours. Works best in temperatures above 50°F.
Ideal for: Sunny climates and emergency kits.
Test, Maintain, and Avoid Mistakes
Never assume water is safe. DIY systems fail silently, so test and maintain them regularly.
Use Water Testing Strips
Test filtered water for lead, arsenic, mercury, nitrates, nitrites, pH levels, and chlorine residuals. These strips are available online for under $20. Test monthly or after source changes.
Clean and Replace Components
- Ceramic pot: Sanitize with 70% isopropyl alcohol every 30 days. Lasts 5+ years
- Bucket or bottle: Wash monthly with hot water and alcohol
- Multi-layer filters: Treat as single-use or short-term. Replace all media after heavy use or if flow stops
Avoid Common Pitfalls
- Cloudy water? Likely charcoal dust. Add a paper towel layer or discard first output
- Slow flow? Layers are too tight. Rebuild with looser packing
- Bad taste? Activated carbon helps, but sulfur smell means deeper well issues requiring professional treatment
- Leaking spout? Check the double seal and tighten gently since over-tightening cracks plastic
Critical Reminder: Clear water is not safe water. Viruses and dissolved toxins are invisible. Always purify.
Know What Each System Can’t Do
No DIY filter removes everything. Understand the limits before relying on any system.
| Contaminant | Removed? | Solution |
|---|---|---|
| Viruses (Hepatitis, Rotavirus) | No | Boiling, chemicals, or UV only |
| Dissolved salts, fluoride | No | Requires reverse osmosis |
| Heavy metals (lead, mercury) | No or partial | Commercial RO or carbon systems |
| PFAS (“forever chemicals”) | No | Industrial filtration only |
| Radiation, sewage runoff | No | Do not attempt DIY filtration |
Homemade purifiers are for emergencies, camping, or education, not daily use if better options exist.
Choose the Right System for Your Needs

For Emergency Preparedness: Use the Ceramic Bucket
This system stores for years, needs no power or replacement parts, and processes large volumes. Combine with boiling or Aquatabs for complete safety.
For Camping or Hiking: Try the Five-Stage Bottle Filter
Lightweight and compact, this filter uses natural materials. Pair with chemical tablets for full purification.
For Science Projects: Build the Simple Bottle Filter
This setup teaches filtration principles. Use with food coloring to show particle removal. Label clearly: “Do Not Drink” since no purification step is included.
Frequently Asked Questions About Homemade Water Purification
Can a homemade water purifier remove viruses?
No. Standard DIY filters using ceramic, sand, gravel, or charcoal cannot reliably remove viruses. You must always follow filtration with boiling, chemical treatment, or UV exposure to kill viral pathogens.
Is it safe to drink water filtered through sand and charcoal only?
No. Sand and charcoal filters remove sediment, improve taste, and reduce some chemicals, but they do not kill bacteria, protozoa, or viruses. Always purify the output by boiling or using chemical tablets before drinking.
How long does a homemade ceramic water filter last?
With proper care, an Italian-made ceramic pot lasts 5+ years. Sanitize it every 30 days with 70% isopropyl alcohol and replace the cork seal if it degrades. The bucket housing lasts indefinitely with regular cleaning.
What is the difference between filtering and purifying water?
Filtering removes physical particles like dirt, sediment, and some chemicals, making water clearer. Purifying kills or removes biological threats like bacteria, viruses, and protozoa. Safe drinking water requires both steps.
Can I use pool-grade diatomaceous earth in my filter?
No. Pool-grade DE is chemically treated and toxic if ingested. Only use food-grade diatomaceous earth, which is safe for consumption and effective at capturing parasites and bacteria.
How do I know if my DIY filter is working?
Run the food coloring test by adding 3–5 drops to the filter. After the normal filtration time, check if color appears in the output. Clear output means the filter is trapping particles properly. For biological safety, use water testing strips to check for contaminants.
Key Takeaways for Building a Safe Homemade Water Purifier
A homemade water purifier can save your life, but only if built correctly and always followed by purification. Use Italian ceramic, food-grade DE, and activated carbon from verified sources. Filter first, then boil, chemically treat, or solarize. Test your system regularly with food coloring and water testing strips. Respect the limits of DIY methods, especially regarding viruses, dissolved chemicals, and heavy metals.
Your next step: choose the system that matches your situation and gather your materials today. Build it now, test it, and store it properly. When clean water is needed, you will be ready.