How to Install an Instant Hot Water Dispenser
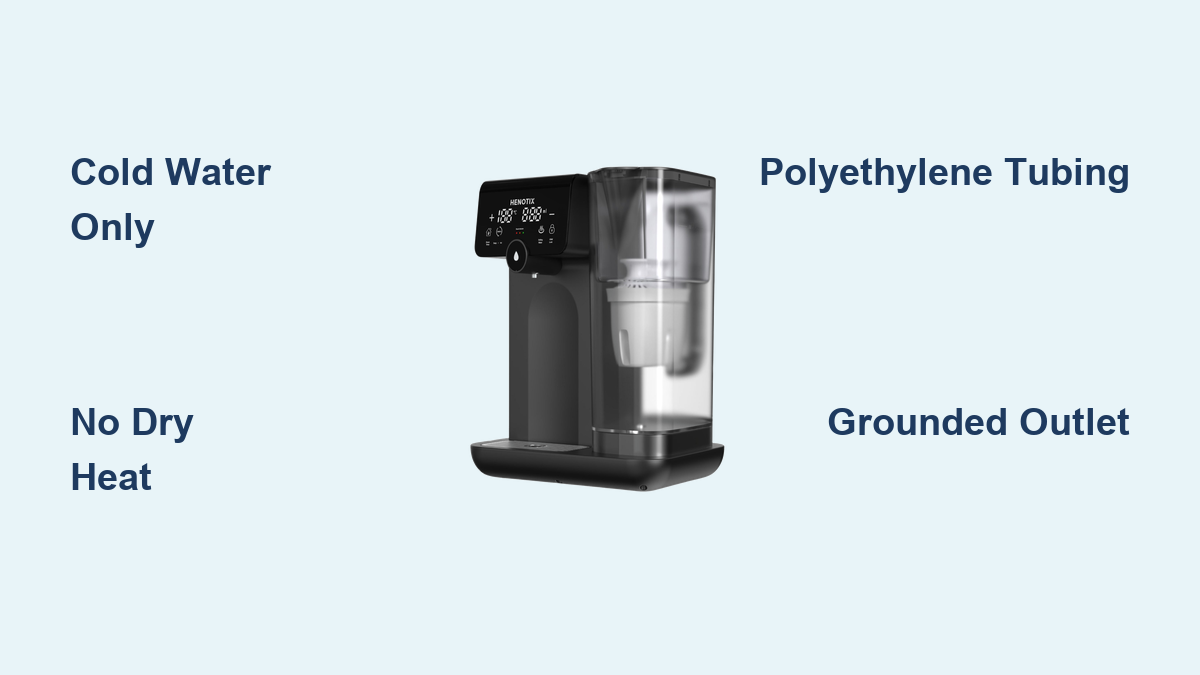
Tired of waiting for the kettle to boil or running the tap endlessly just to get hot water for tea? Installing an instant hot water dispenser solves that frustration by delivering near-boiling water on demand, right at your kitchen sink. This compact under-sink system heats and stores water in a small tank, ready whenever you need it.
When installed correctly, a hot water dispenser is safe, efficient, and built to last over a decade. This guide walks you through every phase of installing an instant hot water dispenser, from assessing your sink setup to adjusting the final temperature. You’ll learn the right tools to use, how to connect plumbing and power safely, and how to avoid common mistakes that void warranties.
Check Countertop and Sink Readiness
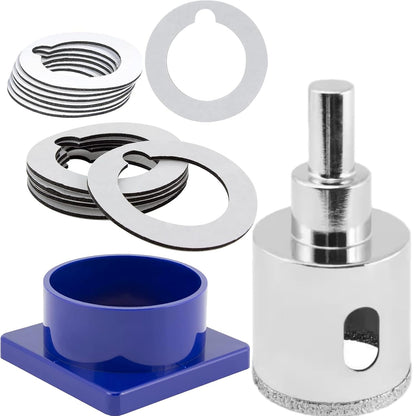
Before any tools come out, verify your countertop and sink area can support the dispenser. Most units require a hole between 1 1/4″ and 1 3/8″ in diameter. If no hole exists, you’ll need to drill one. For quartz, granite, or stone countertops, use a diamond-tipped hole saw and keep the bit wet during drilling to prevent overheating. Apply masking tape around the drill site to contain dust and water.
Important: Never flush stone dust down the drain. It can damage pipes and appliances. Clean it up with dry rags instead.
Ensure at least 3 inches of clearance under the sink for plumbing and tank mounting. The dispenser handle must swing freely without hitting cabinets or other fixtures. Avoid placing the unit where tubing could get pinched by drawers or doors. Measure the distance from the intended tank location to both the faucet and the electrical outlet. These must be within 16 inches and 30–36 inches, respectively.
Mark and Drill the Faucet Hole
Use a pencil to mark the exact spot for the faucet. Start with a center punch to prevent the drill bit from wandering. Secure the countertop from below if possible to reduce vibration. Drill slowly and steadily, applying light pressure. Pause frequently to cool the bit with water. Once the hole is complete, remove debris and inspect the edges. Smooth any rough spots gently with a file or sandpaper.
Verify Electrical and Water Supply
A grounded 120V outlet must be within reach of the tank, ideally 30 to 36 inches away. If no outlet exists inside the cabinet, hire a licensed electrician to install one according to local code. Never use an extension cord or power strip. The tank draws significant power (typically 750 watts), so avoid sharing the circuit with high-draw appliances like dishwashers. Sharing with a garbage disposal is safe since it runs intermittently.
Connect to Cold Water Line Only
Always tap into the cold water supply, not the hot. Hot water lines may carry mineral deposits that accelerate scale buildup in the tank. Use a quarter-turn compression valve with a 1/4-inch outlet. Never use a saddle valve, which is prone to leaks over time. Install a T-fitting or quick tee adapter directly onto the cold line. This provides a dedicated, reliable connection point for the dispenser’s inlet tubing.
Gather Tools and Materials
Having the right tools and parts on hand prevents delays and mistakes. Most kits include the tank, faucet, mounting hardware, and tubing, but you may need to supplement.
Essential Tools List
• Drill with diamond-tipped hole saw (for stone) or standard bit
• Wrench and hex/extension tool (often included)
• Poker tool for reaching tight spaces under the sink
• Tubing cutter or sharp scissors for clean cuts
• Pencil and tape measure
• Shop rags for cleanup
Required Components
• 1/4-inch polyethylene tubing (color-coded: blue for cold inlet, white for filtered outlet, clear for return)
• Compression fittings (3/8″ to 1/4″ reducer), SharkBite connectors
• Quarter-turn shutoff valve
• Rubber O-rings, washers, mounting screws
• Wall bracket or “Batman” clamp for secure tank mounting
Critical: Never use vinyl tubing. It degrades under heat. Only use heat-resistant polyethylene or copper.
Mount the Faucet Securely
Start by placing the black rubber O-ring on the base of the faucet spout. Feed the faucet through the hole from the top. Under the sink, assemble the mounting hardware in this order: mounting washer, spacer (if needed), flat washer, lock washer, and finally the mounting nut or Batman clamp.
Use the supplied hex tool and poker to tighten the nut. Turn by hand first to align, then secure firmly, but do not overtighten. Excessive force can crack plastic components or damage seals. Once tight, rotate the spout to your preferred angle before finalizing the mount. Hand-tighten the hose adapter onto the faucet shank. No thread sealant is needed, as it has an internal washer.
Avoid Common Faucet Mistakes
• Misaligned spout angle
• Damaged O-ring causing leaks
• Overtightening that cracks the mounting nut
Ensure the faucet handle lifts smoothly and returns to the closed position without sticking.
Install the Tank Vertically

The hot water tank must be mounted vertically on the cabinet wall or side panel. Choose a spot within 16 inches of the faucet connections and 30–36 inches from the power outlet. Never mount the tank over an electrical outlet. This violates safety codes and risks water damage in case of a leak.
Hold the tank in place and mark the screw holes. Pre-drill 1/8-inch pilot holes to prevent wood splitting. Insert wood screws, leaving about 1/4 inch exposed so the tank’s mounting slots can slide on easily. Hang the unit and tighten fully. Some models use a wall bracket where the bottom aligns 2 1/8 inches below a reference line for proper height.
Ensure Proper Clearance and Drainage
Leave space beneath the tank to allow for potential drainage. Do not compress or obstruct the unit. Confirm the electrical cord reaches the outlet without stretching. Avoid sharp bends in tubing routes.
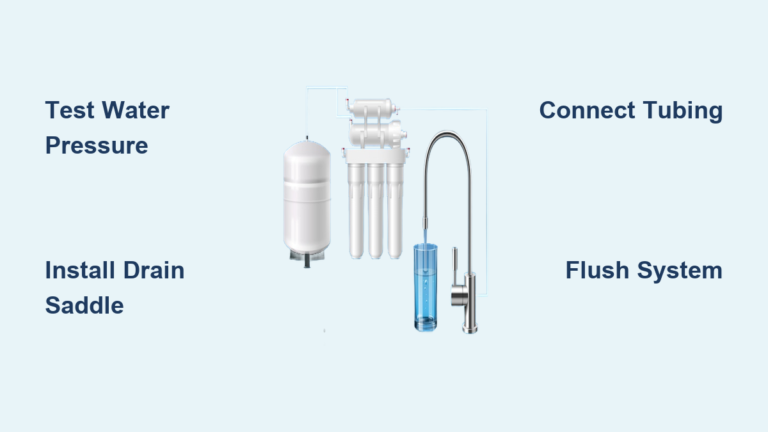
Connect Tubing and Plumbing Lines

Now connect the tank to the faucet and water supply using the correct tubing and fittings. Match colors and connection types precisely.
Match Tube to Port Correctly
• Blue tube: Connects to cold water inlet on the tank
• White tube: Runs from filtered outlet to faucet (if filtered model)
• Clear tube: Attaches to return line (on recirculating systems)
Use only 1/4-inch polyethylene tubing for supply lines. Cut ends cleanly with a tubing cutter, leaving no burrs. Deburr if necessary to protect quick-connect fittings.
Use Proper Connection Methods
• Quick-connect fittings: Push tube in until it clicks. Do not press the release ring during insertion.
• Barbed fittings: Slide 7/16-inch tube over the barb and secure with a clamp or by pushing down 1/2 inch.
• Smooth fittings: Use 5/16-inch tube, slide on 1/2 inch.
• Compression fittings: Slide nut and ferrule onto tube, insert into fitting, then tighten.
Route tubing smoothly. Avoid kinks, sharp bends, or pinching between cabinet parts. Leave slack for future servicing.
Install the Water Supply Valve
Attach a 1/4-inch compression shutoff valve to the cold water line using a T-fitting. Connect the blue inlet tube from the tank to this valve using a compression nut. Tighten securely but gently. Over-tightening can crack fittings.
If your system includes a filter, mount it separately (never over an outlet). Run tubing from the shutoff valve to the filter inlet, then from filter outlet to the tank or faucet “Y” fitting, depending on model type.
Flush System Before Powering On
This step is critical: Never plug in the tank until it’s full of water. Running the heater dry will destroy the element and void the warranty.
Follow the 3-Minute Flush Procedure
- Set the thermostat to OFF.
- Open the main water supply and the dedicated shutoff valve.
- Lift the dispenser handle and hold it open.
- Let water run for 3 minutes to purge air, flush debris, and fill the tank.
- Watch for steady flow with no sputtering or gurgling.
Inspect for Leaks
While the system is pressurized, check every connection under the sink:
• Faucet base
• Tubing joints
• Compression fittings
• Shutoff valve
Tighten any drips slightly. If a leak persists, disconnect, re-cut the tube end, and reconnect.
Power Up and Set Temperature

Once the tank is full and leak-free, plug it into the grounded 120V outlet. The heater activates immediately.
First Heat-Up Cycle
• Takes 10–15 minutes to reach temperature
• Some dripping or steam is normal during first heat
• If dripping occurs, run hot water for 15 seconds to reset
Adjust Thermostat After 24 Hours
The dial is factory-set to ~200°F. Wait 24 hours before adjusting.
• To increase heat: Turn dial clockwise in 1/2 mark increments
• To decrease: Turn counterclockwise
• Recommended setting: 2–3 marks below maximum for safe near-boiling water (~210°F)
Warning: Never set so high that water boils continuously. Boiling causes steam, leaks, and internal damage.
Maintain and Troubleshoot Your Dispenser
Proper upkeep ensures long life and safe operation. Most units last 13+ years with basic care.
Perform Annual Flushing
Once a year:
- Turn off water and power
- Drain tank using a hose or bucket
- Refill and flush again to remove scale
- Reconnect and power up
If your unit has a filter, replace the cartridge per manufacturer schedule (usually every 6–12 months). Mount the filter where it’s easy to access.
Fix Common Issues
No water flow?
• Check for kinked tubing
• Ensure tank is full and powered
• Run faucet for several minutes to clear air
Faucet drips after first use?
• Normal during initial heat cycle
• If persistent, lower temperature setting
Spitting or gurgling?
• Air purging is normal at startup
• Flushing usually resolves it
Overheating or boiling?
• Turn thermostat down immediately
• High settings damage internal components
Prioritize Safety and Warranty
Protect yourself and your investment by following safety rules.
Prevent Burn Hazards
Water dispenses at 190°F–210°F, hot enough to cause serious burns. Keep the dispenser out of reach of children. Always use a container when drawing water.
Avoid Electrical Risks
• Use only a grounded outlet
• Never operate with a damaged cord
• Ensure tank is full before plugging in
Protect Your Warranty
Warranty voids if:
• Heater runs dry
• Non-compatible faucet used (must be open vent type)
• Mounted over electrical outlet
• Vinyl tubing installed
Enjoy the Benefits Daily
Once installed, your instant hot water dispenser becomes a kitchen game-changer.
Save Time and Water
• No more waiting for kettles or tap water to heat
• Instant access cuts prep time for tea, coffee, oatmeal, and cooking
• Reduces water waste from running taps
Boost Cleaning Efficiency
Hot water dissolves grease and stuck-on food faster. It’s ideal for washing dishes or sanitizing utensils.
Compare to Alternatives
• Vs. electric kettle: No refilling needed, continuous supply
• Vs. traditional heater: No waiting for hot water to travel through pipes
• Vs. stovetop: Faster, safer, more convenient
Brands like InSinkErator and Little Gourmet® offer durable, high-output models with RO compatibility and 60 cups/hour output. Modern finishes match any kitchen style.
Frequently Asked Questions About Installing an Instant Hot Water Dispenser
What size hole do I need to drill for an instant hot water dispenser?
Most units require a hole between 1 1/4″ and 1 3/8″ in diameter. For stone or quartz countertops, use a diamond-tipped hole saw and keep the bit wet to prevent overheating.
Can I connect the dispenser to my hot water line instead of cold?
No. Always connect to the cold water supply. Hot water lines may contain precipitated minerals that accelerate scale buildup inside the tank, reducing its lifespan.
Why won’t my dispenser heat water after installation?
The most common cause is running the heater without water in the tank. This damages the element and voids the warranty. Always complete the 3-minute flush and confirm the tank is full before plugging in the unit.
How close must the electrical outlet be to the tank?
The outlet must be within 30 to 36 inches of the tank. Never use an extension cord or power strip. If no grounded 120V outlet exists in the cabinet, hire a licensed electrician to install one.
Is vinyl tubing acceptable for hot water dispenser installation?
No. Vinyl tubing degrades under heat and can cause leaks or failures. Use only 1/4-inch polyethylene tubing or copper tubing rated for high temperatures.
How often should I flush my instant hot water dispenser?
Perform an annual flush to prevent scale buildup. If your unit includes a filter, replace the cartridge every 6–12 months according to the manufacturer’s schedule.
Key Takeaways for a Successful Hot Water Dispenser Installation
Installing an instant hot water dispenser is a high-value upgrade that pays off in daily convenience. The three most critical points to remember: always connect to the cold water line using a quarter-turn valve, never power on the unit until the tank is completely full, and use only polyethylene tubing with an open vent faucet to protect your warranty.
Your next step is to gather your tools and assess your sink area. Measure the distances to your water line and electrical outlet, confirm you have at least 3 inches of under-sink clearance, and you’re ready to begin. Whether you DIY or hire a pro, following this guide ensures safe, reliable performance for over a decade.