Primo Water Dispenser Maintenance Guide

If your Primo water dispenser isn’t delivering fresh-tasting water or the flow seems sluggish, it’s likely time for maintenance. Regular cleaning every three months prevents mineral buildup, eliminates bacteria, and ensures safe, great-tasting water. Without proper care, scale from hard water accumulates inside reservoirs and lines, while biofilm can form in damp areas, compromising both hygiene and performance.
This guide covers everything you need to know about Primo water dispenser maintenance: step-by-step cleaning procedures, model-specific tips, safe cleaning agents, and how to spot early signs that your unit needs attention. Whether you own a top-load, bottom-load, or portable model, following this routine will extend your dispenser’s life and keep your water tasting clean. You’ll also learn how to avoid common mistakes like cross-contamination and overtightening critical components.
Gather Required Cleaning Supplies
Before starting any maintenance, assemble all necessary tools and cleaning agents. Having everything ready ensures a smooth, efficient process and reduces the risk of skipping crucial steps.
Use Approved Cleaning Solutions Only
Stick to one of two proven cleaning agents: distilled white vinegar or regular bleach, mixed in precise ratios to effectively sanitize without damaging internal components.
- Vinegar Solution (Recommended): Mix 2 cups of distilled white vinegar with 2 gallons of hot tap water. This non-toxic formula dissolves mineral deposits safely and leaves minimal odor.
- Bleach Alternative: Combine 2 tablespoons of regular household bleach with 2 gallons of hot water. Use only if you can guarantee thorough rinsing to remove all residue.
Avoid using citrus-based cleaners, dish soap, or undiluted vinegar, as they can damage seals or leave harmful residues.
Collect Essential Tools and Accessories
You’ll need these items before beginning:
- Empty 5-gallon bottle (clean and dedicated only to cleaning, never reuse a drinking water bottle)
- 2-gallon bucket for catching drainage from the back valve
- Philips head screwdriver to access the rear drain plug
- Hot tap water (about 2 gallons total for mixing and rinsing)
- Cleaning cloths or paper towels for wiping surfaces
- Q-tips or Mr. Clean Magic Eraser for scrubbing tight spaces like spouts and valves
Pro Tip: Consider purchasing a pre-measured cleaning kit designed for top-loading dispensers. These simplify the process and are ideal for first-time users.
Prepare the Dispenser for Cleaning
Shutting down and draining the unit properly ensures safety and maximizes cleaning effectiveness. Skipping this phase risks electrical hazards and dilutes your cleaning solution.
Power Down and Unplug the Unit
Always start by turning off all energy-saving switches and unplugging the power cord. Never attempt maintenance while the dispenser is live, even low-voltage systems pose risks when water is involved.
Remove Water Source and Relocate
- Top-Load Models: Carefully lift the 5-gallon bottle off the top cap.
- Bottom-Load Models: Open the cabinet door and disconnect the quick-release water line or remove the bottle.
Move the dispenser away from the wall to access the back panel. This also protects your floor from accidental spills during drainage.
Drain Remaining Water Completely
Dispense all leftover water from both hot and cold taps into a large pitcher or bucket until no more flows. Any residual water dilutes your cleaning solution, reducing its effectiveness against bacteria and scale.
Apply Cleaning Solution to Reservoirs
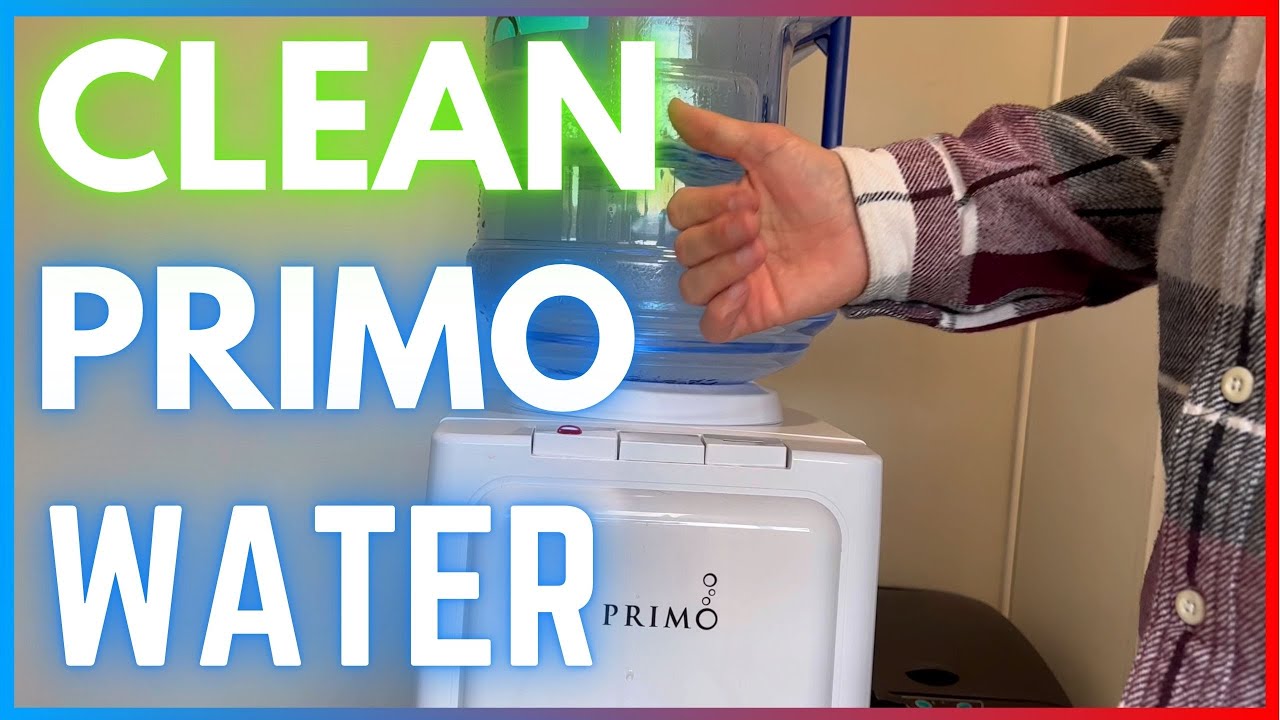
Now that the system is empty and powered off, it’s time to introduce the sanitizing solution into the internal tanks.
Load and Circulate the Solution
Pour your vinegar or bleach mixture into the clean 5-gallon bottle. Then:
- Top-Load: Place the bottle securely onto the spout as you would with a fresh water bottle.
- Bottom-Load: Reconnect the water line to the cleaning bottle inside the base compartment.
Plug the unit back in and turn on the power switch. Allow the solution to fill both hot and cold reservoirs. This takes about 10–15 minutes. Watch for bubbling and fullness indicators, as some models show visible tank levels.
Soak for Maximum Disinfection
Once filled, follow these steps:
- Turn the unit OFF.
- Unplug it again.
- Let the solution sit inside the system for exactly 10 minutes.
This dwell time is critical: it breaks down lime scale, kills bacteria, and loosens biofilm in hidden areas like internal tubing and valve chambers.
Flush and Drain the System
After soaking, remove all traces of the cleaning solution to prevent taste contamination and ensure safe drinking water.
Drain Through Front Taps
Reconnect power and turn the unit ON. Press both hot and cold levers simultaneously to speed up drainage. Continue dispensing until the reservoirs are empty.
Perform First Rinse Cycle
- Remove the cleaning bottle.
- Refill the 5-gallon container with 2 gallons of fresh hot tap water (no additives).
- Reattach and let the unit refill.
- Dispense all rinse water through the taps.
- Turn off and unplug.
Repeat this rinse cycle at least once more to ensure complete removal of cleaning agents.
Drain via Back Valve (Critical Step)
Place a 2-gallon bucket behind the unit. Use a Philips screwdriver to:
- Remove the plastic cover on the back panel.
- Pull out the red silicone drain plug.
Let the system fully drain. This removes solution trapped in lower lines and chambers. You may see white particles or sediment, which is normal and indicates scale being flushed out.
Reinstall securely: Push the red plug back in firmly, replace the cap, and tighten the screw. Do not overtighten, as this can damage threads or seals.
Clean Accessible Internal Components
While internal lines flush automatically, manual cleaning of exposed parts prevents contamination and maintains hygiene.
Remove and Wash the Drip Tray
Take out the drip tray and wash with warm water and mild dish soap (e.g., Dawn Platinum). Scrub with a soft sponge, rinse thoroughly, and let dry before reinserting. Ensure it clicks securely into place.
Sanitize Spouts and Valves
Use a Q-tip or Mr. Clean Magic Eraser to clean:
- Inside the spout opening
- Around the lever mechanism
- Under the drip tray area where splashes collect
These spots harbor mold and bacteria if neglected.
Wipe Interior Surfaces
Dampen a cloth with hot water and wipe down:
- Walls inside the bottle chamber
- Base floor of the compartment
- Any visible splash zones
Dry completely with a clean towel before final reassembly.
Reassemble and Restart the Dispenser
With cleaning complete, restore your unit to full operation.
Install Fresh Water Bottle
Place a new, sealed 5-gallon Primo bottle on top (or into the base for bottom-load models). Ensure a snug fit so no air leaks occur during dispensing.
Restore Power and Position
Return the dispenser to its original location, plug it in, and turn on the energy-saving switches. Allow 30–60 minutes for the cooling system to stabilize before use.
Test Output and Taste
Dispense a full glass of cold and hot water. Check for:
- Normal flow rate
- Clear appearance
- Neutral taste (no vinegar or chemical aftertaste)
If taste is off, run another rinse cycle with fresh water.
Address Model-Specific Needs
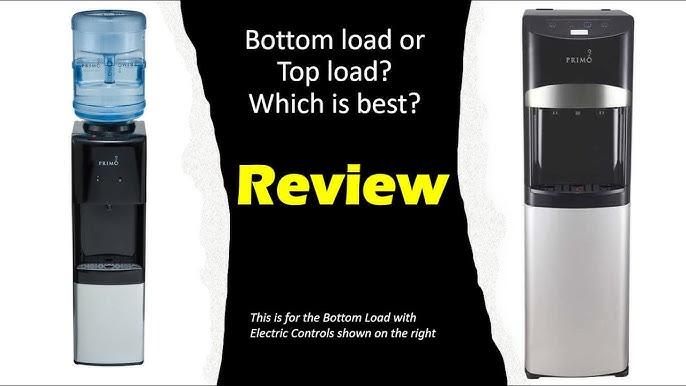
Different Primo models require slight variations in maintenance approach. Always consult your manual, but here’s what to expect by type.
Top-Loading Models (e.g., 601087-C, 601243-C)
These are the most common and easiest to maintain. The standard vinegar method works perfectly. Cleaning kits are widely available and highly recommended for beginners.
Tip: Keep spare cleaning bottles labeled clearly to avoid confusion with drinking bottles.
Bottom-Loading Models (e.g., 601256-SO, 601118)
These often have internal quick-disconnect fittings. Before cleaning:
- Shut off the water supply (if plumbed).
- Disconnect the line from the bottle connector.
Some models feature self-sanitizing cycles. Check your manual. These automated routines may reduce the need for manual cleaning but should not replace quarterly deep cleans.
Portable and Countertop Units (e.g., 900114, 601244)
Smaller units still require the same vinegar-to-water ratio. However, they may lack a rear drain plug. In such cases:
- Rely on repeated front tap draining.
- Manually empty internal chambers if accessible.
- Extend soak time to 15 minutes if no back drain exists.
Recognize Early Warning Signs
Don’t wait for the 3-month mark if these issues arise. They signal immediate cleaning is needed.
Water Tastes “Off”?
A metallic, stale, or sour taste means bacteria or residue has built up. Clean immediately, even if it’s only been six weeks since the last service.
Reduced Flow Rate?
Slow dispensing usually indicates mineral clogs in the spout or internal lines. A vinegar soak will dissolve calcium and lime deposits causing the blockage.
Visible Residue or Particles?
Seeing white flakes in your water? These are dissolved scale fragments, a sign the system hasn’t been cleaned in too long. Perform a full maintenance cycle right away.
Prevent Common Maintenance Mistakes
Even experienced users make errors that compromise safety or performance. Avoid these pitfalls:
Never Reuse a Drinking Bottle for Cleaner
Using a former water bottle for vinegar or bleach mixtures risks accidental ingestion. Always keep a dedicated, clearly labeled 5-gallon container stored separately.
Don’t Overtighten the Drain Cap
Hand-tighten only. Over-torquing the screw or plug can crack plastic housings or deform silicone seals, leading to leaks.
Always Unplug Before Servicing
Even minor tasks like removing the drip tray should be done with power disconnected. Water and electricity are a dangerous combination.
Extend Performance Between Cleanings
Maximize the benefits of your quarterly deep clean with simple daily habits.
Wipe Surfaces Weekly
Use a damp cloth to clean:
- The exterior cabinet
- Dispensing levers
- Around the bottle collar
This prevents dust and grime buildup.
Keep the Area Dry and Dust-Free
Place the dispenser on a dry, level surface away from high-traffic zones. Moisture and dirt increase contamination risk.
Handle Bottles Carefully
When replacing bottles:
- Wipe the neck before installation.
- Avoid touching the inside of the cap.
- Store spare bottles upright in a cool, dark place, never near cleaning chemicals.
When to Call for Professional Service
While most users can handle routine cleaning, professional maintenance is recommended for:
- Office environments with heavy usage
- Rental units managed by third parties
- Multiple dispensers needing synchronized servicing
- Units showing persistent issues after cleaning (e.g., strange odors, leaks)
Professionals use industrial-grade testing and tools to verify sanitation levels and check for hidden wear.
Frequently Asked Questions About Primo Water Dispenser Maintenance
How often should I clean my Primo water dispenser?
Clean your Primo water dispenser every three months under standard use. If you notice taste changes, reduced flow, or heavy daily usage, clean more frequently.
Can I use bleach instead of vinegar to clean my Primo dispenser?
Yes. Mix 2 tablespoons of regular household bleach with 2 gallons of hot tap water. Only use this method if you can guarantee thorough rinsing afterward to remove all residue.
What does it mean if I see white particles during the back-valve drain?
White particles or sediment are mineral deposits (scale) being flushed from the system. This is normal and confirms the cleaning cycle is working effectively.
Is it safe to use a pre-made cleaning kit for my Primo dispenser?
Yes. Pre-measured cleaning kits designed for top-loading Primo dispensers are safe and simplify the process, making them ideal for first-time users.
Do self-sanitizing Primo models still need manual cleaning?
Yes. Self-sanitizing cycles reduce manual effort but should not replace the quarterly deep clean. Always consult your model’s manual for specific guidance.
What happens if I overtighten the back drain cap?
Overtightening can crack the plastic housing or deform the silicone plug, leading to leaks. Always secure the cap firmly by hand without excessive force.
Key Takeaways for Primo Water Dispenser Maintenance
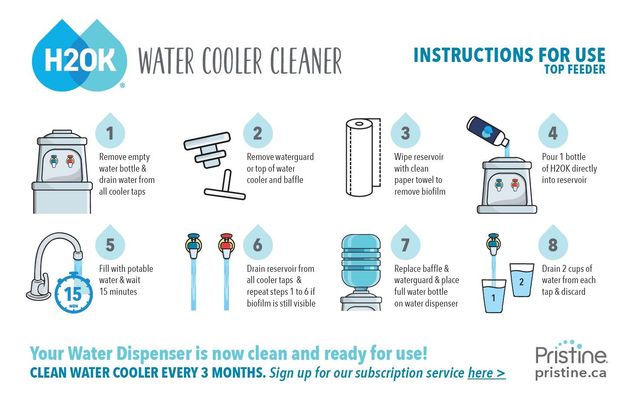
Regular Primo water dispenser maintenance every three months keeps your water tasting fresh, prevents mechanical issues, and ensures long-term reliability. The vinegar method (2 cups distilled white vinegar to 2 gallons hot water) remains the safest and most effective approach for most users. Always complete the full cycle, including the critical back-valve drain, to remove trapped solution and scale from lower lines.
Set a reminder on your calendar to stay on schedule, and keep a dedicated cleaning bottle clearly labeled to avoid cross-contamination. If your dispenser serves a busy office or rental property, consider scheduling professional cleanings to maintain hygiene standards. Consistent care means cleaner water and a longer-lasting appliance.