Fix Reverse Osmosis Faucet Leaking
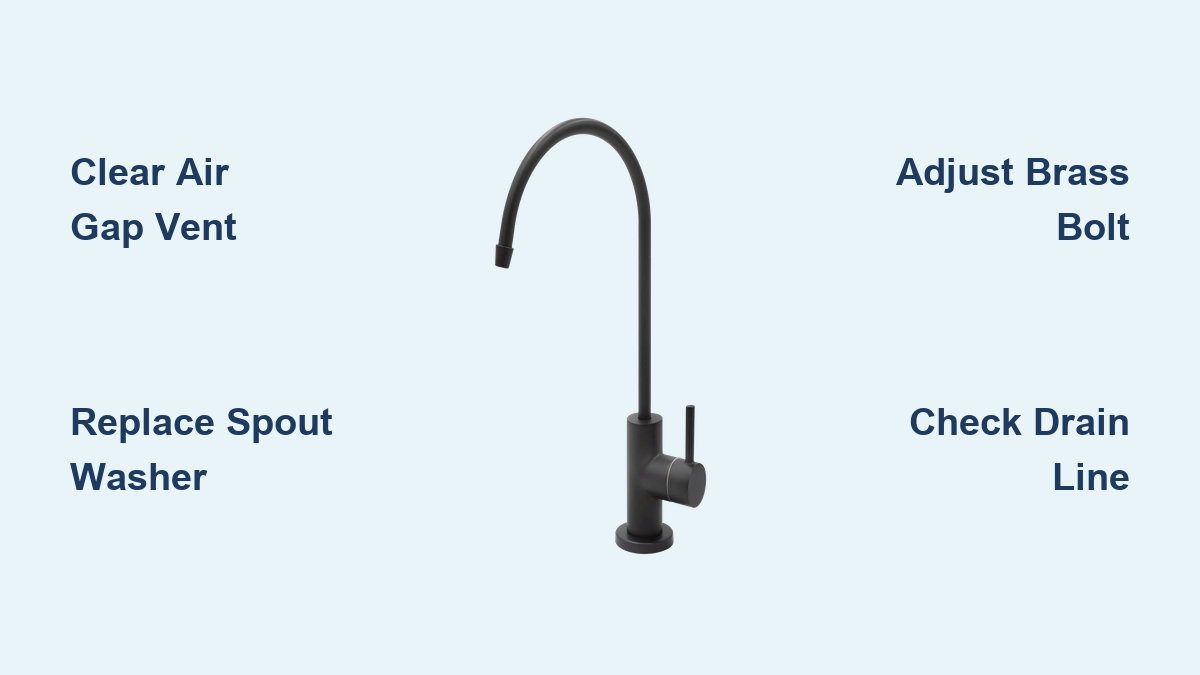
A reverse osmosis faucet leaking can quickly turn from a minor annoyance into a frustrating puzzle. You might notice water dripping from the spout, pooling around the base, or seeping from the small side slot known as the air gap. While it looks like a failing faucet, most leaks come from blockages, worn seals, or simple misalignment rather than a broken unit. The good news is that nearly every common leak type can be diagnosed and fixed in under an hour with basic tools.
This guide walks you through precise troubleshooting by leak location, offers step-by-step repair protocols, and shares pro tips to prevent future issues. By matching your symptom to the correct fix, you can avoid unnecessary part replacements and get your system running cleanly again.
Identify the Leak Source
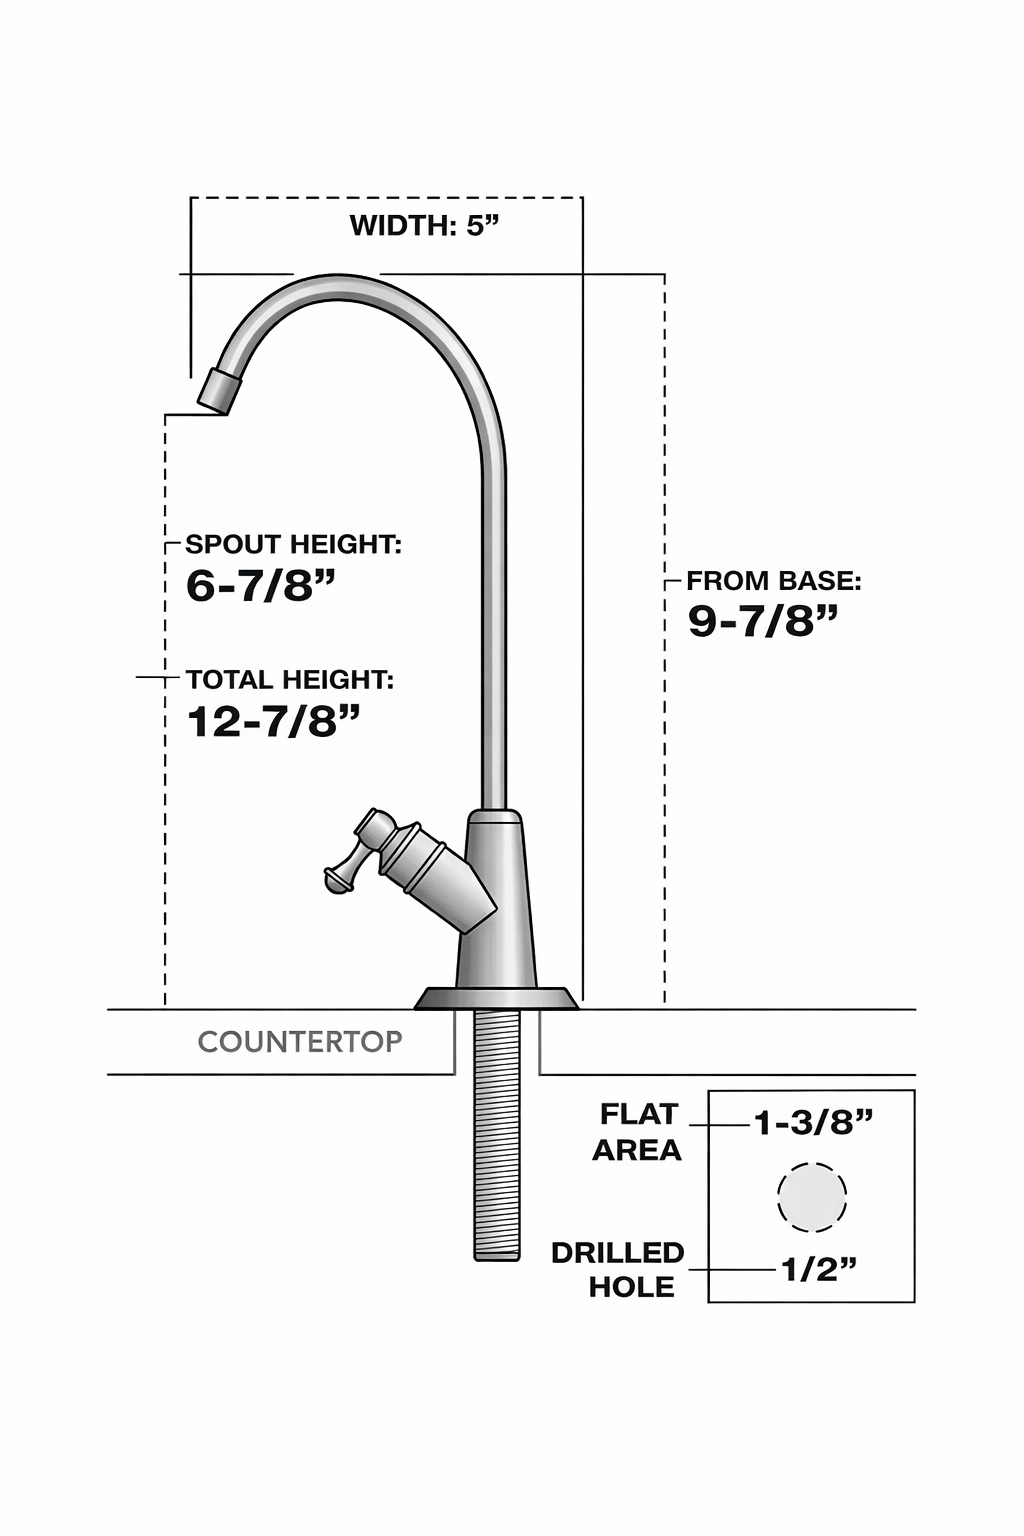
Before disassembling anything, pinpoint exactly where water escapes. Each location signals a different cause and solution.
Check the Air Gap Slot for Backflow
If water leaks from the small hole on the side of the faucet, this is wastewater exiting through the air gap, a safety feature designed to prevent backflow into your clean water supply. This is not a faucet defect. It is a drain line blockage. When the drain tube is clogged or kinked, pressure builds and forces wastewater out the air gap. The leak usually worsens during system operation or the automatic purge cycle.
Inspect the Spout for Dripping
A steady drip from the main spout after shutting off the faucet indicates a failed internal seal. Common culprits include a corroded valve seat, worn washer, or misadjusted brass bolt. In Moen-style RO faucets, a degraded cartridge is often the cause. This type of leak continues even when the system is not actively filtering.
Examine the Handle and Base
Water around the handle suggests O-ring or cartridge failure inside the handle assembly. A wet base could mean a loose mounting nut under the sink or water running down from a higher leak. Check for vibration or movement, as loose mounting can lead to misalignment and chronic dripping.
Test Connection Points
Leaks at tubing joints or threaded fittings are usually due to improper installation. Look for crimped, poorly cut, or dirty tubing ends. Threaded connections may leak if seals are damaged, fittings are cross-threaded, or O-rings are missing. These leaks often appear immediately after filter changes or system maintenance.
Clear a Clogged Air Gap Vent
When water leaks from the side slot, your priority is clearing the drain line path.
Use a Skewer to Break Debris
Shut off the RO system and dry the area. Insert a bamboo skewer or small screwdriver into the air gap opening. Push gently but firmly to break up food particles, sediment, or buildup inside the vent. Wiggle the tool to dislodge compacted debris. This step clears surface blockages but may not reach deeper clogs in the drain tube.
Flush with Pressurized Air
Attach a narrow-nozzle canned air duster to the vent opening. Insert the nozzle 1–2 inches deep. Seal the area tightly with a rubber glove or cloth to create backpressure needed to blast debris through the drain line. Spray short bursts of air. You should hear gurgling or see wastewater flush from the drain saddle under the sink. Repeat until flow clears.
Verify Drain Line Routing
Check the entire drain tube path under the sink. Ensure there are no kinks, dips, or loops that trap water. The tube should slope downward continuously from the RO unit to the drain saddle. Replace undersized or flexible tubing with a rigid 5/16-inch line if recurring clogs occur.
Repair a Dripping Spout
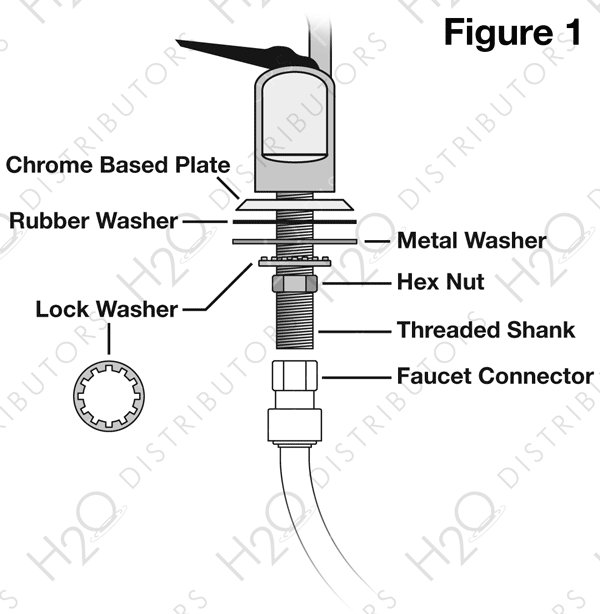
A leaking spout means the internal valve is not sealing properly.
Depressurize the RO System
Turn off the cold water supply valve under the sink. Open the RO faucet and let water drain until flow stops. The storage tank holds pressure, so wait 3–5 minutes. Closing the supply without draining risks spray during disassembly.
Remove the Spout and Cap
Grasp the spout and pull it straight up from the base. Wipe the inside and inspect for mineral buildup. Pry off the decorative top cap with a flathead screwdriver or nail. Remove the small screw beneath it. Lift off the cap assembly and check the O-ring for cracks or deformation.
Inspect the Washer and Valve Seat
Use a flashlight to examine the valve seat, the metal ring where the washer seals. Look for rust, pitting, or rough spots. Remove the washer and inspect for flattening, tears, or warping. If either part is damaged, replacement is required. Clean the seat with a soft brush and vinegar solution to dissolve mineral deposits. Never use abrasive pads.
Reassemble with Correct Washer Orientation
Reinstall the washer with the smooth side facing down to ensure a tight seal. Align it with the notch in the base. Reattach the cap, tighten gently with pliers wrapped in electrical tape (to avoid scratching), and snap the spout back into place. Over-tightening can crack the housing.
Adjust the Valve Mechanism
Some faucets just need a simple mechanical tweak.
Rotate the Brass Adjustment Bolt
Pull the spout up and push the lever into the open position. Locate the brass-headed bolt in the center. Turn it ½ turn counterclockwise using pliers or a wrench. This lowers the valve stem, allowing the washer to seal more fully. Slide the lever back over the bolt and reinsert the spout. Test the faucet.
Repeat if Dripping Continues
If water still drips, repeat the ½-turn adjustment. Do not exceed two full turns. Excessive adjustment can damage the valve. If dripping persists after two adjustments, disassemble and inspect internal components for wear.
Replace Faulty Components
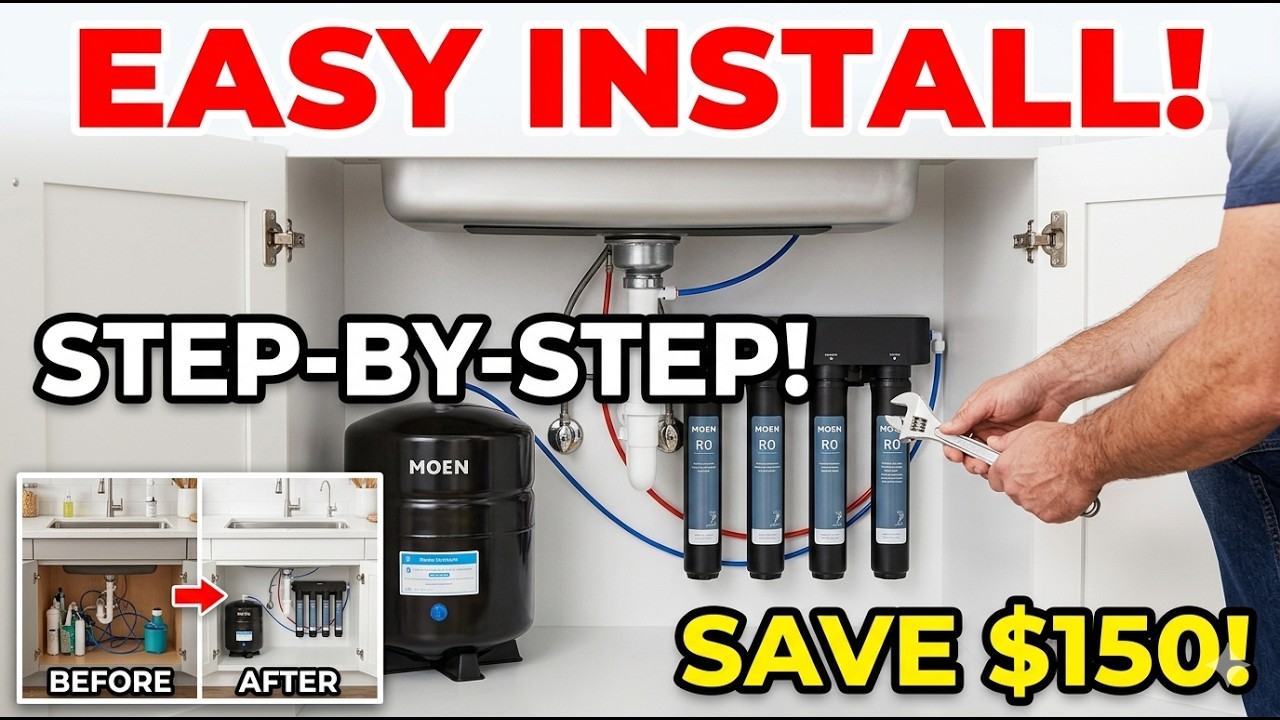
When cleaning and adjusting do not work, replacement is the next step.
Swap Out a Worn Cartridge
If your faucet uses a cartridge (common in Moen 4-stage systems), remove the handle and extract the cartridge. Compare it to a new one and look for cracks, swelling, or worn seals. Install the replacement, ensuring alignment tabs fit snugly. Reassemble and test. Cartridge replacement fixes both spout drips and handle leaks.
Cut and Reconnect Leaky Tubing
For leaks at push-fit fittings, shut off water and depressurize. Press the collar around the fitting and pull the tube out. Use a sharp tube cutter or utility knife to slice off ½ inch (13mm) of the tube end. This ensures a clean, square cut. Reinsert the tube fully until it clicks. Tug gently to confirm it is secure.
Fix Threaded Fittings
Disconnect leaking threaded joints. Inspect threads for damage and clean any debris from seals. Replace cracked or worn fittings. When reconnecting, hand-tighten first, then give a ¼ to ½ turn with a wrench. Do not overtighten, as this strips threads and causes more leaks.
Prevent Future Leaks
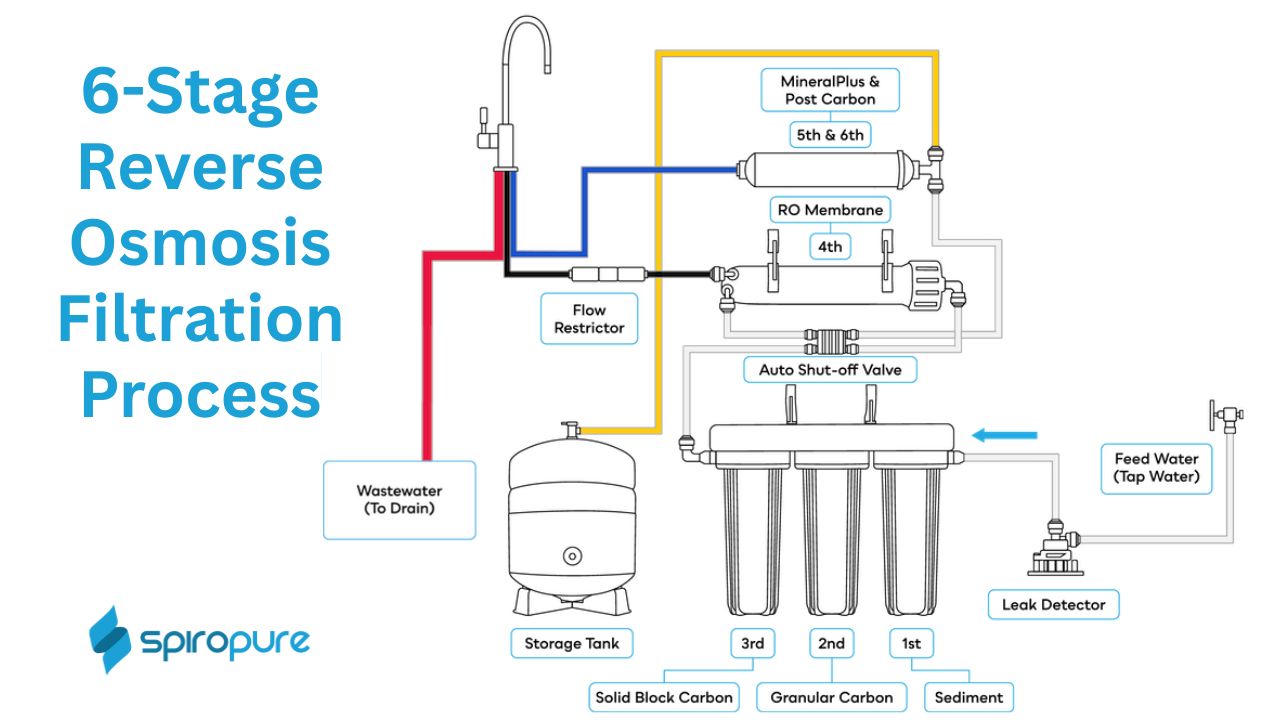
Avoid repeat issues with simple maintenance habits.
Inspect Every 6–12 Months
Check the air gap vent and drain line twice a year, especially if you use a garbage disposal. Food particles easily back up into the drain saddle. Use a flashlight to peer into the slot and clear debris early.
Install a Drain Line Pre-Filter
Add a fine mesh screen to the drain line before the saddle. This catches large particles and prevents clogs. It is a low-cost upgrade that significantly reduces air gap leaks.
Flush After Filter Changes
Always run the RO system for 5–10 minutes after replacing filters. This flushes out loose carbon fines and sediment that could clog the air gap or valve seat.
Secure the Mounting Base
A loose faucet base under the sink causes vibration and misalignment. Check the mounting nut and tighten if needed. A stable base keeps internal components aligned and prevents wear.
Troubleshoot Common Scenarios

Match your symptom to the fastest fix.
No Water Flow After Repair
Ensure the cold water supply valve is fully open. Check the shutoff valve on the RO unit itself. Verify the tubing is not kinked between the valve and the faucet.
Leak Returns After Cleaning
If the air gap leaks again within days, the drain saddle may be loose or improperly installed. Tighten the clamp and confirm the saddle’s hole aligns with the drain pipe. Replace old saddles with self-piercing models for better flow.
Drip Only at Night
This may indicate high nighttime water pressure. Install a pressure regulator if household pressure exceeds 60 psi. Excessive pressure can force water past worn seals.
Water from Filter Head
If leaks occur where the filter cartridge meets the housing, remove the cartridge and inspect the O-ring. Clean it with water, re-lubricate with food-grade silicone, and reseat. Replace if cracked or stretched.
When to Call a Professional
Most reverse osmosis faucet leaking problems are DIY-friendly. However, call a plumber or RO technician if:
- The drain saddle is corroded or will not seal to the pipe
- The storage tank leaks (indicated by water under the unit)
- You suspect a membrane or valve failure inside the RO unit
- Leaks persist despite multiple repairs
Frequently Asked Questions About Reverse Osmosis Faucet Leaking
Why is water coming out of the side hole on my RO faucet?
Water from the side air gap slot almost always indicates a clogged or kinked drain line. The air gap is a safety feature that releases wastewater when pressure builds from a blockage downstream. Clear the vent with a skewer and canned air, then check the drain tube for kinks.
Can I fix a dripping RO faucet without replacing it?
Yes. Most drips are caused by worn washers, corroded valve seats, or misadjusted brass bolts. Disassembly, cleaning with vinegar, and a ½-turn counterclockwise adjustment of the brass bolt often restore full function without replacement.
How do I know if my RO faucet cartridge needs replacement?
If your faucet (especially Moen 4-stage models) drips from the spout or leaks around the handle even after cleaning and adjustment, the cartridge is likely degraded. Replace it with a matching cartridge for a permanent fix.
What causes RO faucet leaks at the tubing connections?
Leaks at tubing joints usually result from poorly cut, crimped, or dirty tube ends. Cut off ½ inch (13mm) of tubing to create a fresh square edge, then reinsert the tube firmly into the fitting until it clicks.
How often should I inspect my RO faucet to prevent leaks?
Inspect the air gap vent and drain line every 6–12 months. If you use a garbage disposal frequently, check more often. Flushing the system after filter changes also reduces debris buildup.
When should I call a professional for an RO faucet leak?
Call a professional if the drain saddle is corroded, the storage tank leaks, you suspect internal membrane failure, or leaks persist after multiple repair attempts. These issues require specialized tools or part replacement.
Key Takeaways for Fixing a Reverse Osmosis Faucet Leak
A reverse osmosis faucet leaking is rarely a sign of total system failure. It is usually a simple blockage, worn seal, or mechanical adjustment issue. Start by identifying the exact leak location: the air gap slot points to drain line problems, while a dripping spout indicates internal valve wear. Use the correct protocol for each scenario, whether clearing the vent with canned air, disassembling to replace a washer, or adjusting the brass bolt ½ turn counterclockwise.
For long-term prevention, inspect the air gap every 6–12 months, install a drain line pre-filter, and always flush the system after filter changes. With proper care, your RO faucet can deliver clean, drip-free water for 6+ years. If leaks persist after these repairs, consult a professional to check the drain saddle, storage tank, or internal RO components.