How to Change Home Water Filter
Drop in water pressure, strange tastes, or cloudy ice cubes are all signs your filtration system is overdue for attention. Knowing how to change home water filter cartridges saves you money and keeps your water safe. Most filters last 6 to 12 months, but heavy sediment or unusual odors mean you should act now. Whether you run a whole-house system or a single under-sink unit, the swap takes less than 30 minutes with basic tools. This guide covers every step from shutting off water to flushing the lines, so you can finish the job confidently.
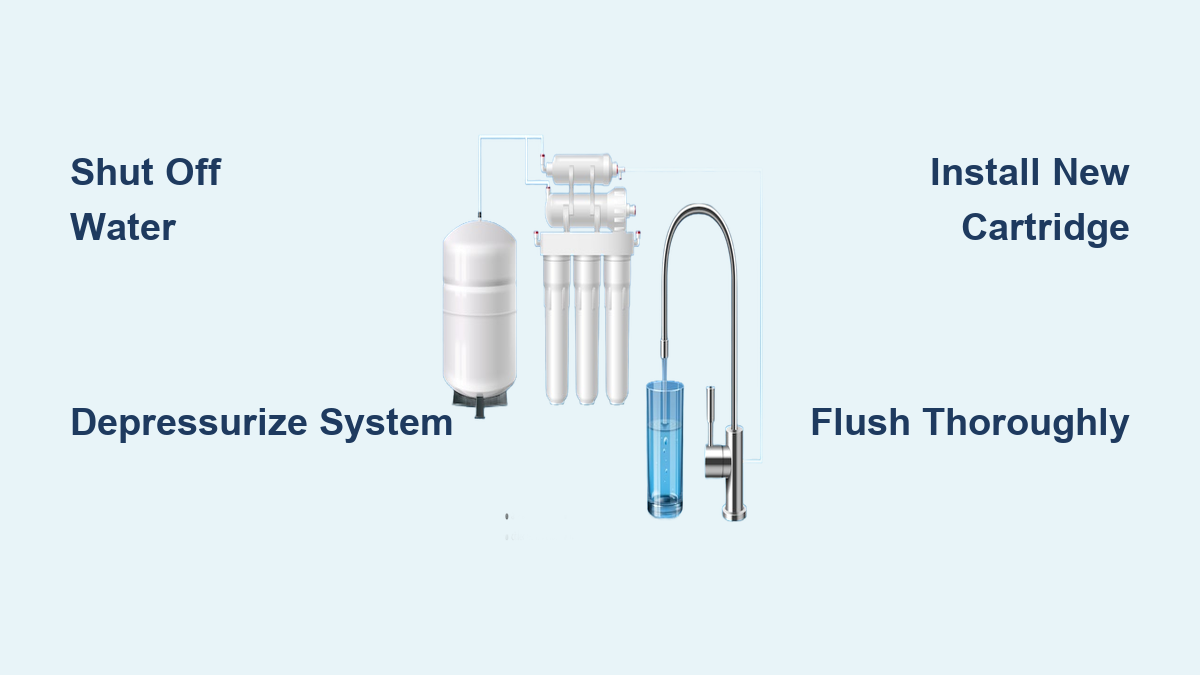
Shut Off Water Supply

Stopping water flow is the first safety step before touching any filtration component.
Close Main and System Valves
Turn the main water shut-off valve clockwise to cut supply to the entire home. If your filter has dedicated inlet and outlet ball valves, close both by rotating their handles 90 degrees until perpendicular to the pipe. This isolates the housing safely.
Use Bypass or Shut Off Pump
If your setup includes a bypass valve, open it to keep water flowing elsewhere during maintenance. For well systems, switch off the well pump breaker at the electrical panel to avoid pressure buildup behind the filter.
Release System Pressure

Trapped pressure can cause sudden spray, so always depressurize before opening the housing.
Open a Downstream Faucet
Turn on a cold water faucet located after the filter, such as the kitchen sink or laundry tub. Let it run until the flow slows to a trickle. This drains pressure from the line.
Depress Pressure Relief Button
Locate the red pressure release button on top of the filter housing. Place a rag or small bucket underneath, then press and hold until water stops spurting and any gauge reads zero. Expect a brief spray.
Remove Old Filter Cartridge

With the system depressurized, you can now access and replace the spent filter.
Position Bucket Under Housing
Slide a medium-sized bucket directly beneath the filter canister. Residual water will drain out when you unscrew the housing.
Unscrew Housing With Wrench
Use a filter housing wrench or strap wrench to turn the canister counterclockwise. Apply steady, gentle force. Once loose, finish unscrewing by hand. Avoid forcing stuck housings; check for debris or past overtightening.
Extract and Inspect Old Filter
Carefully remove the old filter cartridge. Look for heavy sediment, rust, or dark staining. If debris is packed inside, consider upgrading to a finer micron rating or shortening your replacement schedule.
Clean Filter Housing and O-Ring

A clean housing ensures a proper seal and prevents contamination.
Scrub Interior With Mild Cleaner
Rinse the inside of the canister with warm water. Use a non-abrasive sponge with mild dish soap, or a sanitizing mix of 1 tablespoon bleach per gallon of water, to scrub away biofilm, rust, or scale. Rinse thoroughly afterward.
Inspect and Lubricate O-Ring
Remove the O-ring from its groove. Check for cracks, flattening, or brittleness, and replace if damaged. Wipe the groove clean of grit. Apply a thin layer of food-grade silicone grease before reinstalling to prevent leaks and tearing.
Install New Filter Correctly

Choosing and installing the right cartridge is critical for performance.
Match Filter to System Model
Ensure the replacement cartridge matches your system’s model number (e.g., AP810, WH300). Filters are not universal; wrong sizes cause leaks or poor filtration.
Select Proper Micron Rating
Choose based on your water:
– 25-micron: Best for general sediment; preserves strong pressure.
– 5-micron: Captures finer particles but may reduce flow. Use if you see silt in sink aerators.
Insert Filter With Correct Orientation
Slide the new cartridge onto the central post. For multi-stage systems:
– Sediment filter: Install in the first (clear) housing.
– Granulated carbon (GAC): Insert with white rubber gasket facing up.
– Carbon block: Place in the final housing.
Do not remove protective caps until installation.
Reassemble and Tighten Housing
Proper reassembly prevents leaks and housing damage.
Hand-Tighten Before Using Wrench
Screw the housing back on clockwise by hand until snug. Align the filter with the post and confirm the O-ring seats smoothly.
Final Tighten: 1/8 Turn Only
Use the filter wrench for just 1/8 turn (about 15 degrees) past hand-tight. Do not overtighten; this can crack the housing or deform the seal. If it does not wiggle, it is tight enough.
Restore Water and Test for Leaks
Slowly reintroduce water to check for issues.
Open Valves in Sequence
- Close the pressure relief button if opened.
- Slowly open the inlet valve first. Listen for water filling the housing.
- Open the outlet valve.
- If using a bypass, close the bypass valve now.
Monitor for Leaks Immediately
Watch the housing, O-ring groove, and connections. Most leaks appear instantly. If you see dripping:
– Shut off water.
– Recheck O-ring seating and cleanliness.
– Re-lubricate and re-tighten without overdoing it.
Flush System Thoroughly
New filters release debris; flushing clears air and carbon fines.
Run Water Until Clear
Open the nearest cold water faucet (preferably a utility sink or shower). Let it run for 2–5 minutes. Expect:
– Gray or black water from carbon filters (carbon fines).
– Cloudy water from sediment filters (polypropylene fibers).
– Sputtering as air exits the lines.
Extended Flush for Best Results
For a deeper clean:
1. Run water until clear (about 1–2 minutes).
2. Continue for 5 more minutes.
3. Shut off faucet, wait 30 minutes.
4. Turn on again and run for 10 minutes.
Water is safe for use once completely clear and steady.
Frequently Asked Questions About Changing Home Water Filters
How often should I change my home water filter?
Most sediment and carbon filters need replacement every 6 to 12 months. Some systems specify a lifespan of 6–12 months or up to 100,000 gallons, whichever comes first.
What are the signs that my water filter needs changing?
Look for dropped water pressure, changes in taste or clarity, visible sediment on the old cartridge, or sediment in sink aerators and showerheads.
Can I use any filter cartridge in my housing?
No. You must match the model number and micron rating of your system (e.g., AP810, WH300). Wrong cartridges can cause leaks or poor filtration.
Do I need to turn off my water heater before changing the filter?
It is not required for most sediment and carbon filter swaps, but shutting off the well pump breaker or main valve is necessary. Always depressurize the lines first.
Why is my water cloudy or black after installing a new filter?
This is normal. Carbon fines create gray or black water, while polypropylene fibers cause cloudiness. Flush for 2–5 minutes (or longer using the extended protocol) until clear.
What should I do if the filter housing leaks after replacement?
Shut off water immediately. Check for debris in the O-ring groove, a damaged or twisted O-ring, or overtightening. Re-clean, re-lubricate, and re-tighten by hand plus 1/8 turn.
Key Takeaways for Changing Your Home Water Filter
Changing a home water filter is a simple DIY task when you follow the right sequence. Always shut off water and depressurize before opening the housing, and match the replacement cartridge to your system’s exact model. Cleaning the housing and lubricating the O-ring with food-grade silicone grease ensures a watertight seal, while hand-tightening plus 1/8 turn prevents cracks. Flush for 2–5 minutes (or longer for carbon filters) to clear fines and air.
Keep spare cartridges and O-rings on hand, and log each change date so you stay ahead of the 6–12 month replacement window. If leaks persist or pressure stays low after a swap, double-check valve positions and micron ratings. For complex multi-stage setups or persistent issues, consult a certified plumber to protect your system and water quality.