How to Change Reverse Osmosis System Filters
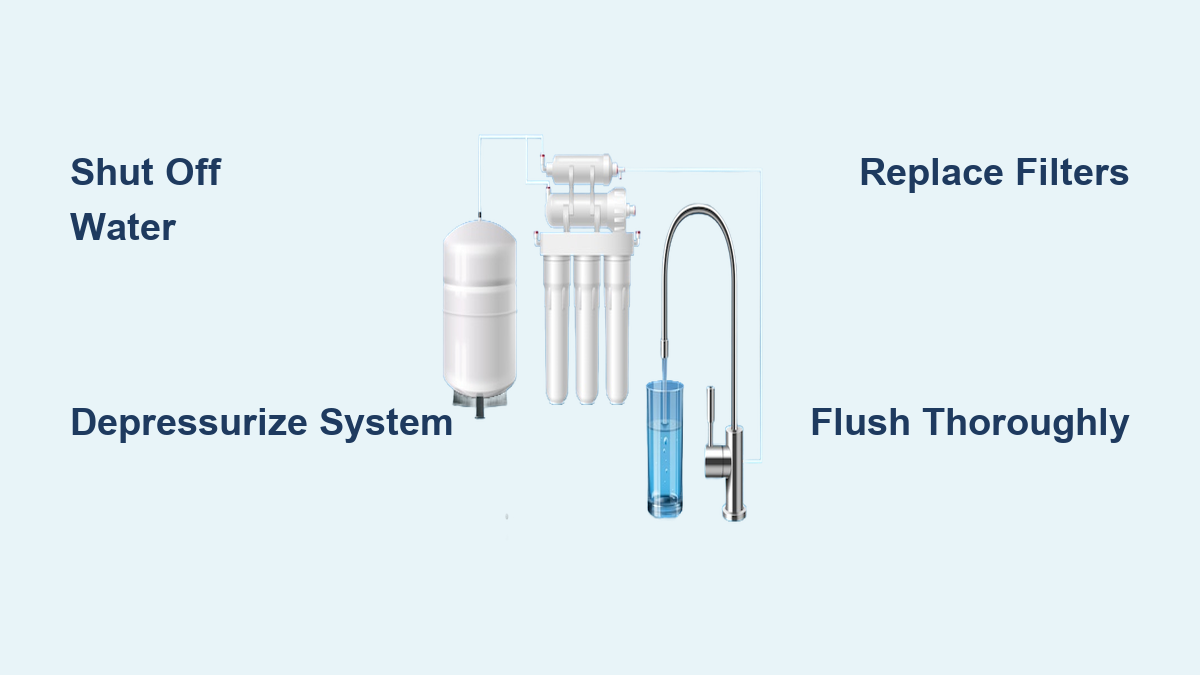
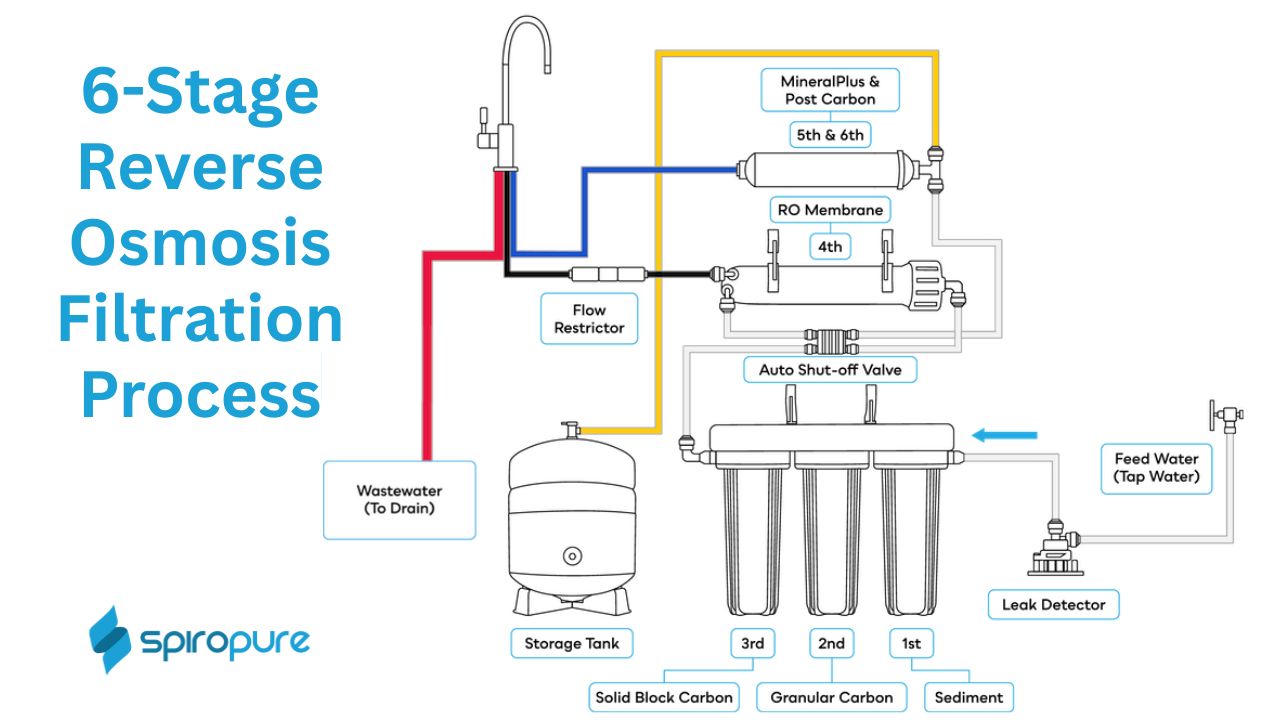
If your reverse osmosis system is delivering slow flow, cloudy water, or an off taste, the filters likely need replacement. Changing filters on a reverse osmosis system is one of the most important maintenance tasks you can perform. It protects the costly RO membrane, keeps water quality high, and extends the life of your entire setup. Most systems use a 5-stage filtration process, and each stage plays a specific role in removing sediment, chlorine, chemicals, and dissolved solids. The good news is that this DIY job takes under 30 minutes and requires only basic tools. In this guide, you will learn exactly how to change filters on a reverse osmosis system, step by step, without guesswork.
Shut Off Water and Depressurize the System
Before touching any filter, you need to safely shut down the system to prevent leaks and pressure bursts.
Close the Supply and Tank Valves
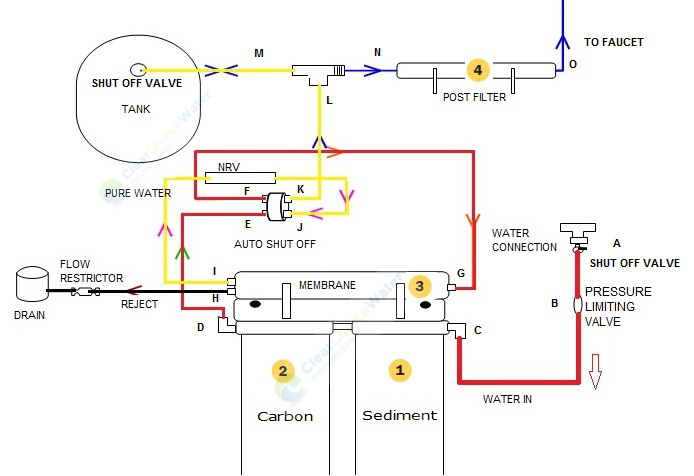
Turn off the feed water valve connected to your cold water line. Rotate it clockwise until tight, or turn a quarter-turn valve 90 degrees so it sits perpendicular to the tubing. Then close the valve on the RO storage tank the same way. This isolates both incoming water and tank pressure.
Drain Residual Pressure
Open the RO faucet at your sink and let it run until water stops flowing completely. This releases pressure from the lines and filter housings. Once the flow stops, close the faucet. Skipping this step can cause a surprise spray of water when you remove filters.
Prepare for Water Spill
Place a bucket or folded towels under the filter housings. Even after draining, each housing holds a small amount of residual water. A catch basin prevents messes and speeds up cleanup.
Remove the Old Pre-Filters (Stages 1–3)

Most RO systems use screw-on canisters for the first three filters, which include a sediment filter and two carbon stages.
Loosen the Housing with a Filter Wrench
Use the plastic filter wrench provided with your system. Grip the lower part of the filter housing and turn counterclockwise. If it feels stuck, apply steady pressure rather than jerking. Avoid metal wrenches, which can crack plastic housings.
Empty and Inspect the Housing
Once loose, unscrew the housing by hand and pour out any remaining water into your bucket. Remove the old filter. The sediment filter (Stage 1) often appears brown or red from trapped particles. The carbon filters (Stages 2 and 3) may look black or gray and leave a slight residue.
Clean the Housing and Check the O-Ring
Rinse the inside of the housing with clean water. Inspect the O-ring in the cap. It should sit in its groove, feel smooth, and be free of nicks or debris. A damaged or misaligned O-ring is the most common cause of leaks after replacement.
Install New Pre-Filters
Installing fresh filters correctly ensures a tight seal and proper water flow through your system.
Insert the New Filter Correctly
Remove the packaging from the new filter. Drop it into the housing so it sits flat at the bottom. For filters with a top O-ring, such as GAC filters, make sure the O-ring faces upward. Double O-ring filters are less sensitive to orientation but still need to sit flush.
Reattach the Housing Securely
Screw the housing back onto the mounting bracket by hand. Once snug, use the filter wrench to tighten an additional quarter to half turn. Do not over-tighten, as this can crack the housing or pinch the O-ring and cause leaks.
Replace the RO Membrane (Stage 4)
The RO membrane is the heart of the system and filters contaminants at the molecular level.
Disconnect the Tubing Safely
Locate the membrane housing, which is usually a longer cylinder. Press down on the blue retaining clip on the tubing fitting and pull the line out. Take a photo first to remember which tube goes where. Color coding helps, since blue often means pure water and black or white indicates the drain line.
Open the Membrane Housing
Use the hex-style membrane cap wrench to unscrew the end cap counterclockwise. Water will drain out, so keep your bucket handy. Set the cap aside carefully.
Remove the Old Membrane
Grasp the old membrane with long-nose pliers or your fingers and pull it out. It may feel slimy. Inspect it for scale, discoloration, or physical damage. A failing membrane reduces both water quality and flow.
Install the New Membrane
Cut open the vacuum-sealed package. Never touch the membrane surface. Handle only the hard plastic end. The end with two small O-rings goes in first. Push it fully into the housing until it bottoms out.
Reassemble the Membrane Housing
Place the large O-ring on the housing lip, not in the cap threads. Screw the cap back on by hand, then tighten a quarter to half turn with the wrench. Reconnect tubing by pushing each line fully into the fitting until it clicks, then re-engage the blue clips.
Replace the Inline Post-Filter (Stage 5)
The final carbon filter polishes water before it reaches your faucet.
Disconnect and Remove the Inline Filter
Press the blue clips on both ends of the filter and pull out the tubing. Unclip the filter from its bracket. Unscrew the threaded fittings from the old filter.
Apply Teflon Tape
Remove old tape from the threads. Wrap 5 to 10 layers of Teflon tape clockwise around the male threads of the new filter. This creates a watertight seal.
Install and Reconnect
Screw the fittings into the new filter by hand. Snap it back into the bracket. Reconnect tubing, ensuring the flow arrow on the filter points from the tank toward the faucet. Lock clips into place.
Restart and Flush the System

Flushing removes carbon dust, air, and manufacturing residues from your new filters.
Reopen Valves and Check for Leaks
Slowly open the tank valve, then the supply valve. Watch all connections and use dry paper towels to check for drips. If you spot a leak, slightly tighten the housing or reseat the O-ring.
Run the Initial Flush Cycle
Open the RO faucet. Water may sputter from air or look black from carbon fines. Let it run until the tank empties and flow slows to a trickle. Close the faucet and wait 2 to 3 hours for the tank to refill.
Repeat the Flush Two to Three Times
Drain and refill the tank two to three times, totaling 10 to 15 gallons. This ensures all debris is cleared. After the final cycle, taste the water. It should be clear, odorless, and refreshing.
Know When to Replace Filters

Sticking to a schedule prevents system damage and keeps water quality high.
Standard Replacement Intervals
- Sediment filter: every 6 to 12 months
- Carbon pre-filters: every 6 to 12 months
- RO membrane: every 2 to 5 years
- Post-carbon filter: every 6 to 12 months
- Alkaline or DI filter: every 6 months (if equipped)
- UV bulb: annually
Signs You Need Replacement Now
Replace filters immediately if water flow slows, taste or odor returns, water appears cloudy, TDS levels rise significantly, or the system triggers an alarm on smart models.
Avoid Common Mistakes
Even small errors can cause leaks or poor performance after a filter change.
Do Not Overtighten Housings
Hand-tight plus a quarter turn is enough. Over-tightening cracks plastic housings or pinches O-rings, leading to leaks.
Verify Flow Direction
Always align the arrow on inline filters with system flow, from tank to faucet. Installing a filter backward restricts flow and reduces efficiency.
Check O-Ring Placement
Ensure O-rings sit in the groove and are not twisted or pinched. A misplaced O-ring is the leading cause of post-replacement leaks.
Flush Thoroughly
Skipping the flush cycle leaves carbon dust in your water. Always complete 2 to 3 full drain and refill cycles.
Maintain Long-Term Performance
Proper care extends system life and saves money over time.
Mark Replacement Dates
Use a permanent marker to write the change date on each housing. This makes tracking easy and prevents overdue filters.
Use OEM or Approved Filters
Stick to manufacturer-recommended filters such as iSpring-approved or APEC OEM options. Off-brand filters may not fit or perform correctly and can void your warranty.
Consider Auto-Delivery
Set up automatic filter shipments through subscription services so you never miss a change.
Keep Spare O-Rings and Tape
Store a spare set of O-rings and Teflon tape under your sink. They are inexpensive and prevent delays during future changes.
Frequently Asked Questions About Changing Reverse Osmosis Filters
How often should I change filters on a reverse osmosis system?
Sediment and carbon pre-filters should be replaced every 6 to 12 months. The RO membrane lasts 2 to 5 years, and the post-carbon filter needs replacement every 6 to 12 months. Alkaline or DI cartridges typically require changing every 6 months.
Can I change RO filters without turning off the water?
No. You must shut off the feed water valve and close the tank valve before changing any filters. Opening the RO faucet to depressurize the system is also essential to prevent water spray and leaks.
What happens if I forget to flush the system after changing filters?
Skipping the flush cycle leaves carbon dust, air, and manufacturing residues in your water. The water may taste bad, appear cloudy, or contain particles. Always complete 2 to 3 full tank drain and refill cycles after installation.
Why is my RO system leaking after a filter change?
Leaks after a filter change usually stem from a misaligned or pinched O-ring, debris on the sealing surface, or insufficient tightening. Check that the O-ring sits in its groove and that the housing is snug but not over-tightened.
How do I know which filter goes where in my RO system?
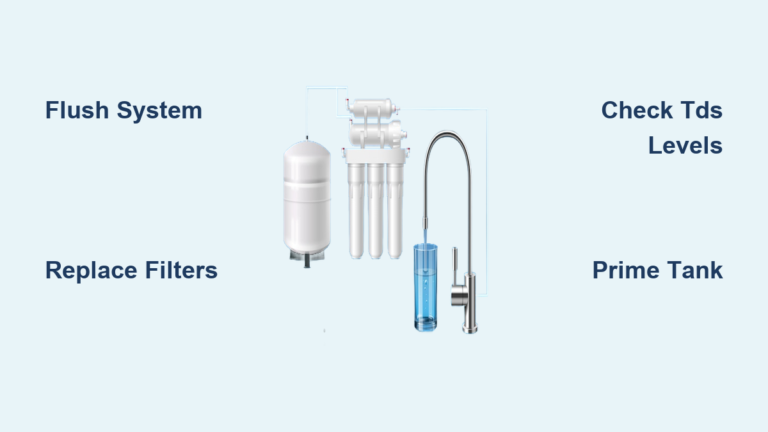
Most systems label each stage on the housing or bracket. Stage 1 is the sediment filter, Stages 2 and 3 are carbon pre-filters, Stage 4 is the RO membrane, and Stage 5 is the post-carbon filter. Take a photo before disassembly to confirm order.
Are off-brand reverse osmosis filters safe to use?
Off-brand filters may not fit correctly or meet performance standards, and they can void your system warranty. Use OEM or manufacturer-approved filters to ensure proper fit, performance, and warranty protection.
Key Takeaways for Changing Reverse Osmosis Filters
Changing filters on a reverse osmosis system is a straightforward process that protects your investment and keeps your water clean. Start by shutting off water and depressurizing the system, then replace the pre-filters, membrane, and post-filter one stage at a time. Always check O-rings, respect flow direction, and flush the system thoroughly before drinking. Stick to the recommended 6 to 12 month schedule for pre- and post-filters, and replace the membrane every 2 to 5 years. Grab your filter wrench, a bucket, and a fresh filter set, and tackle this 30-minute task today to enjoy great-tasting water from your RO system.