How to Use Pool Shock to Purify Water
You’re staring at cloudy well water after a flood, or your town’s supply just failed, and a bucket of pool shock is the only disinfectant within reach. Can it actually make water safe to drink? Yes, but only with precise dosing and proper technique. Calcium hypochlorite, the active ingredient in pool shock, is a concentrated chlorine compound capable of killing bacteria, viruses, and algae in large volumes of water. Misuse leads to incomplete disinfection or toxic exposure. This guide walks you through exact measurements, safety protocols, and the limitations you need to understand before treating any water source.
Decode Calcium Hypochlorite Properties

Know Your Pool Shock Chemistry
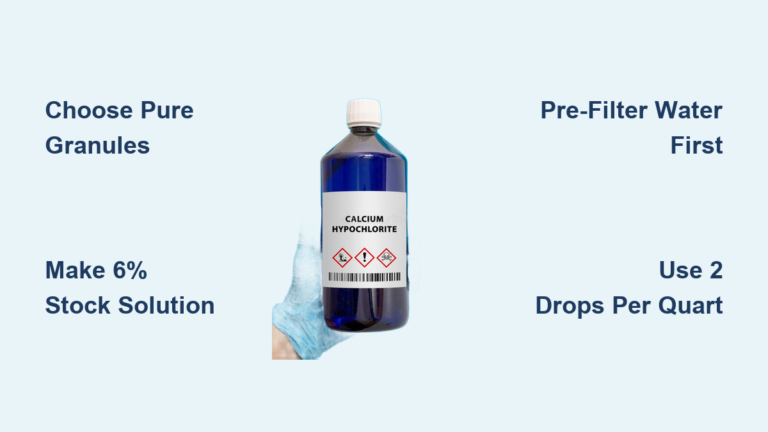
Pool shock is granular calcium hypochlorite (Ca(OCl)₂) containing 65–75% active chlorine, far stronger than household bleach. One pound can disinfect up to 10,000 gallons of water. It stays potent for years when stored dry, unlike liquid bleach that degrades in six months. Always check the label: the only active ingredient should be calcium hypochlorite. Avoid products with cyanuric acid, algaecides, or fragrances, as these additives serve no purpose in purification and can cause harm.
Spot Degraded or Unsafe Product
Effective pool shock must be dry, free-flowing, and clump-free. Damp, sticky, or hardened powder has absorbed moisture and lost strength. Discard it immediately. Shake the container before each use because granules settle over time. Store in a cool, dry location, ideally sealed inside a Mylar bag within a plastic bucket to contain off-gassing and protect nearby materials.
Handle With Maximum Safety
Calcium hypochlorite is corrosive and hazardous. It causes chemical burns on skin, severe eye damage, and lung irritation if inhaled. Always wear:
– Rubber gloves
– Goggles or face shield
– Waterproof apron or coveralls
Work in a well-ventilated area, never in an enclosed space. Keep a 5-gallon bucket of clean water nearby for emergency flushing. Never mix with acids, ammonia, or other cleaners, as this creates deadly chlorine gas. Use only plastic or glass tools and containers; metal corrodes on contact.
Prepare Chlorine Stock Solution Correctly

Mix the Updated 6% Chlorine Concentrate
Old survival manuals recommend 2 tablespoons of pool shock per quart of water, but this is dangerously outdated. Modern calcium hypochlorite is less dense due to filler materials, so volume-based measurements must increase. Use this accurate protocol:
– Add 6 tablespoons of 68% calcium hypochlorite powder to 4 cups (1 quart) of clean water
– Stir until fully dissolved
– Let sit for 30 minutes to stabilize
This produces approximately 6% chlorine solution, equivalent to lab-grade sodium hypochlorite. Label the container and store in a cool, dark place. Use within 2 weeks for best potency.
Avoid Common Mixing Errors
- Never use metal spoons or buckets; corrosion contaminates the solution
- Do not add water to dry powder in a container; this can cause splashing and rapid heat
- Always add powder to water, not the reverse
- If undissolved granules remain, let the mixture settle and decant only the clear liquid
Purify Drinking Water Safely
Filter Before You Chlorinate
Chlorine cannot kill everything. Cryptosporidium and Giardia cysts are highly resistant. To ensure safety:
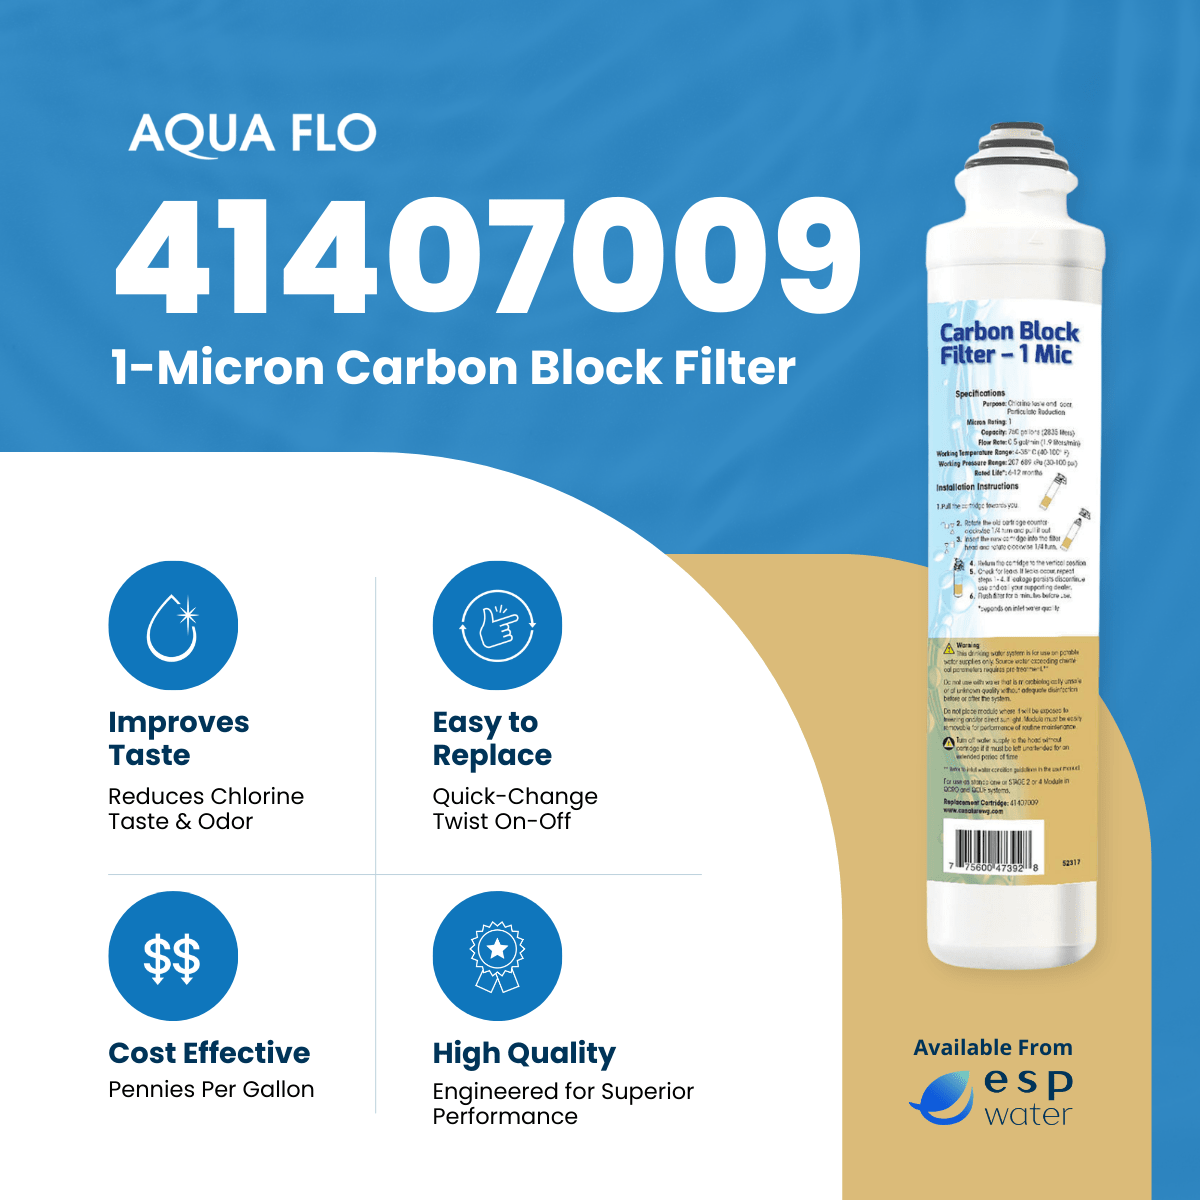
– Pre-filter all water through a 1-micron absolute filter
– Activated carbon filters also remove sediment, bad tastes, and some chemicals
Turbid or cloudy water reduces chlorine effectiveness because particles shield pathogens. If no filter is available, let water settle for several hours and decant the clear top layer before treatment.
Dose Treated Water Precisely
After filtration:
1. Add 2 drops of the 6% stock solution to 1 quart (4 cups) of clear water
2. Stir well
3. Wait 30 minutes
4. Check for a faint chlorine smell
If no odor is present:
– Add 2 more drops
– Wait another 10 minutes
Never exceed 4 drops per quart. Over-chlorination causes nausea, stomach pain, and long-term health risks. The target is 1–4 ppm free chlorine, not bleach-like strength.
Improve Taste Post-Treatment
Chlorine taste can be unpleasant. To reduce it:
– Pour water between two clean containers 5–10 times (aeration)
– Add a tiny pinch of salt (0.1g per liter) to mask flavor
– Best option: Run treated water through an activated carbon filter to remove residual chlorine
Disinfect Bathing Water Effectively
Treat Non-Potable Water for Hygiene
For washing, bathing, or sanitation, use diluted chlorination to kill skin pathogens without full drinking standards:
– Add 1/8 to 1/4 teaspoon (0.5–1g) of 73% calcium hypochlorite per 5 gallons (19 liters) of water
– Stir and wait 30 minutes
– Test with pool chlorine strips; target 1–3 ppm free chlorine
This level kills bacteria and viruses but remains safe for brief skin contact.
Prevent Skin and Eye Irritation
- Do not apply pool shock directly to skin
- Rinse off with clean water after bathing
- If irritation occurs, neutralize residual chlorine with a baking soda paste (1 tsp in water) or a crushed Vitamin C tablet (ascorbic acid)
Never bathe in water exceeding 5 ppm chlorine, which causes redness, dryness, and respiratory discomfort.
Avoid Stabilizer-Contaminated Products
Confirm your pool shock contains no cyanuric acid. This UV stabilizer does nothing in indoor or emergency use and builds up in water, reducing chlorine efficiency over time. Use only unstabilized calcium hypochlorite.
Shock-Chlorinate Wells and Cisterns
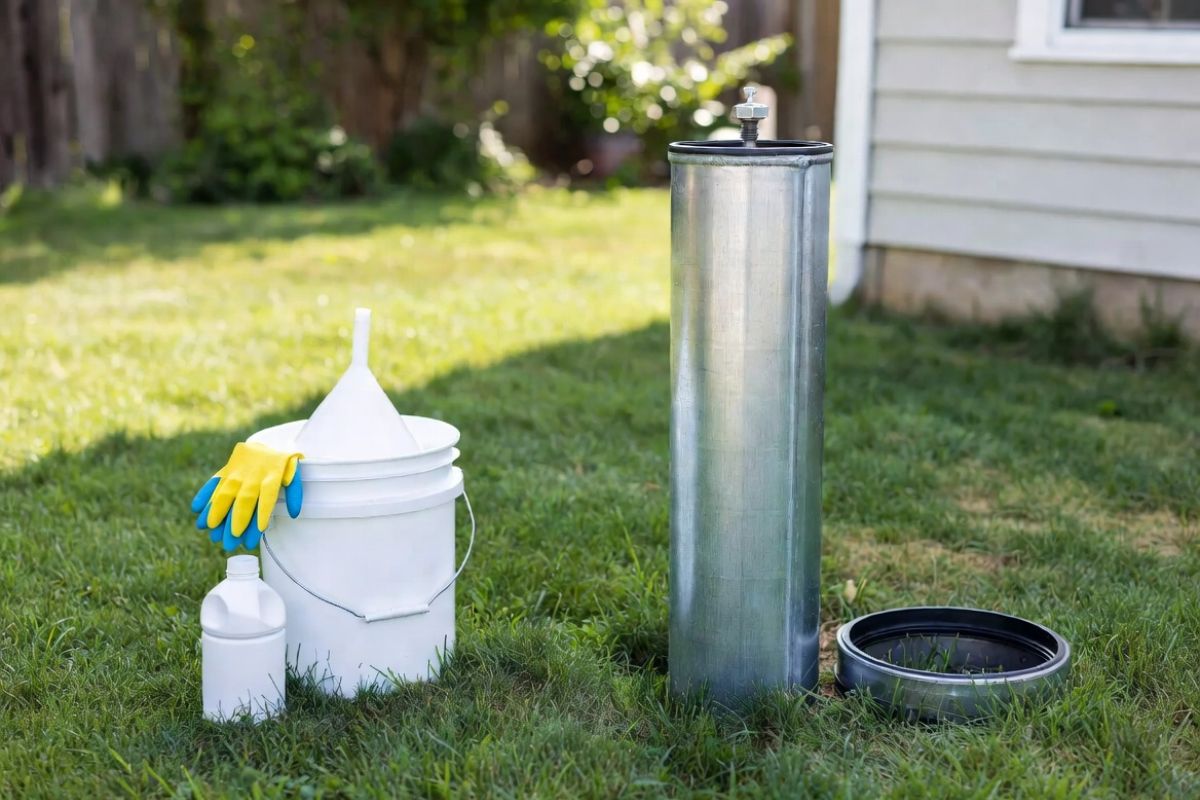
Calculate Exact Dosage for 200 ppm
For contaminated wells, aim for 200 mg/L (200 ppm) free chlorine throughout the entire system.
Step 1: Determine well water volume:
– Measure casing diameter and water depth
– Use standard factors:
– 4-inch well: 0.65 gallons per foot
– 6-inch well: 1.47 gallons per foot
– 8-inch well: 2.61 gallons per foot
Multiply depth (ft) × gallons/foot = well volume.
Step 2: Add system volume:
Include pressure tank, water heater, and pipes (~50 gallons estimated).
Step 3: Calculate chemical requirement:
Total gallons ÷ 100 × 4 oz = required calcium hypochlorite (oz)
Example: 154 gallons → (154/100) × 4 = 6.16 oz needed
Apply Chlorine Throughout the System
- Dissolve the calculated powder in a 5-gallon bucket of water
- Pour into the well, splashing sides to disinfect casing
- Recirculate: Attach a hose to an outdoor faucet, run water back into the well for 5 minutes until strong chlorine smell persists
- Distribute: Open all indoor faucets (hot and cold) until chlorine odor appears, then close
- Soak: Wait minimum 2–3 hours, ideally overnight
- Flush: Run water outside until chlorine smell disappears
– Septic caution: Discharge no more than 50 gallons into septic at once. Divert excess to gravel or bare ground - Retest: Sample water 1–2 weeks later for coliform and E. coli. Repeat monthly if contamination returns
Treat Swimming Pools Properly
Dose for Algae and Bacteria Control
For recreational pools:
– Target 20 mg active chlorine per cubic meter (m³)
– Example: 15 m³ pool → 15 × 20 = 300 grams of calcium hypochlorite
Do not add dry powder directly to the pool. This causes bleaching and scaling.
Dissolve and Distribute Evenly
- Pre-dissolve 300g in 10 liters of clean water
- Pour the solution slowly around the pool perimeter
- Run the filter for 8 hours
- Wait at least 10 hours before swimming; chlorine levels must drop below 5 ppm
White bubbles on the surface indicate active oxidation; this is normal.
Maintain After Shocking
- Backwash the filter immediately after treatment to remove dead algae and debris
- Apply algaecide (20 mL per m³) after chlorine drops below 5 ppm
- Run filter 4 hours, then backwash again
- Test pH and adjust to 7.2–7.6 to maximize chlorine efficiency
Understand What Chlorine Can’t Kill
Filter Out Cryptosporidium First
Chlorine does not reliably kill Cryptosporidium. This parasite causes severe diarrhea and resists standard disinfection. If water comes from a suspect source (surface runoff, animal contamination), pre-filter through a 1-micron absolute filter before chlorination. No amount of chlorine replaces mechanical filtration for cyst removal.
Remove Chemical Contaminants Separately
Calcium hypochlorite does not remove:
– Heavy metals (lead, arsenic)
– Nitrates
– Pesticides
– Fluoride
– Hardness minerals (calcium, magnesium)
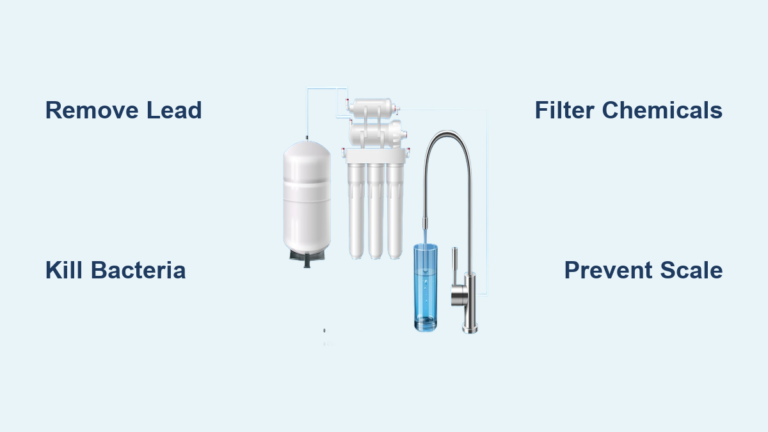
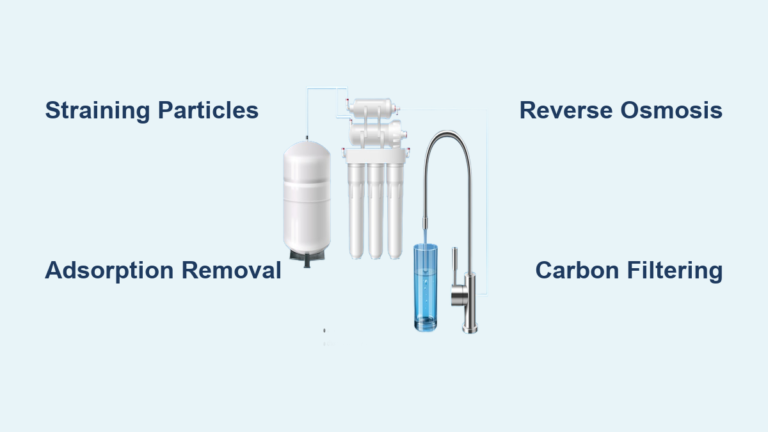
For chemical contamination, use reverse osmosis, ion exchange, or distillation. Chlorine only disinfects; it never purifies chemically.
Clarify Water Before Treatment
Cloudy or turbid water “ties up” chlorine. Organic matter and sediment consume the disinfectant before it can kill pathogens. Always:
– Settle water for 6+ hours, then decant
– Or use a cloth, coffee filter, or commercial sediment filter first
Chlorine works only in clear water.
Follow Safety Protocols Strictly
Use Correct PPE at All Times
- Gloves, goggles, and boots are mandatory
- Wear old clothes or a waterproof suit; chlorine bleaches fabric
- Work outdoors or in a ventilated garage to avoid inhaling dust
Respond to Accidents Immediately
- Skin contact: Rinse with water for 10–15 minutes
- Eye exposure: Flush continuously and seek medical help
- Inhalation: Move to fresh air immediately
- Ingestion: Do not induce vomiting; call emergency services
Keep emergency flush water on hand before starting.
Protect Equipment and Environment
- Remove carbon and RO filters before shocking a well; chlorine destroys them
- Sand filters and water softeners can usually withstand treatment but should be backwashed afterward
- Never dump chlorinated water into ponds, streams, or on lawns; this harms plants and aquatic life
- Discharge high-chlorine water on gravel, dirt, or pavement where it can dissipate safely
Compare Purification Methods
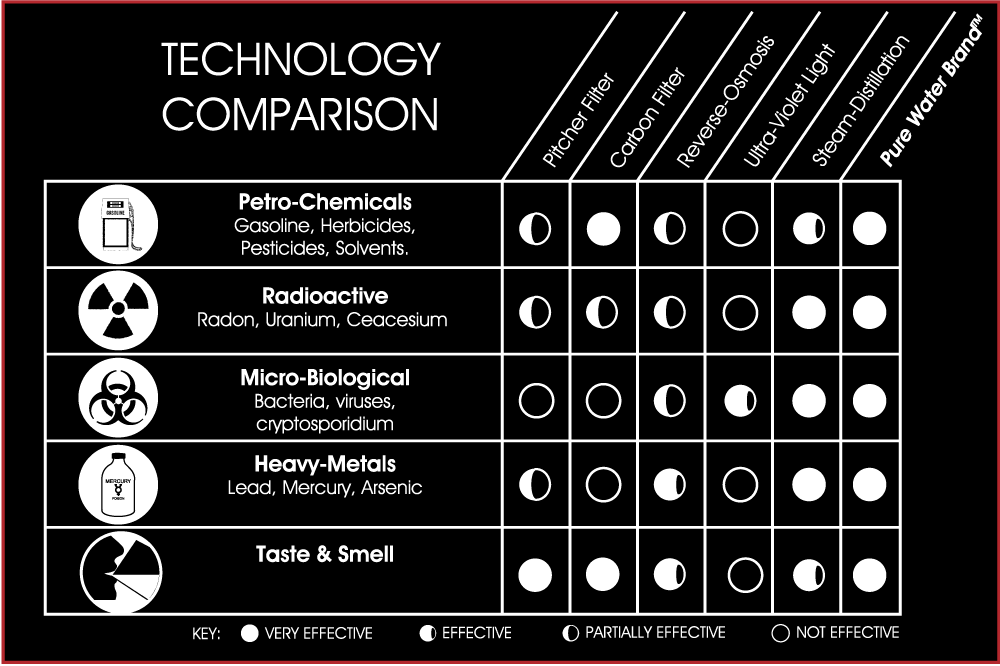
Choose the Right Tool for the Job
| Method | Best For | Limitations |
|---|---|---|
| Pool Shock (Ca(OCl)₂) | Large volumes, wells, long-term storage | Requires filtration for Crypto; hazardous handling |
| Boiling | Small batches, all pathogens including Crypto | Fuel-intensive; not scalable |
| SODIS (Sunlight) | Clear water in sunny climates | Needs 6+ hours full sun; no effect on chemicals |
| UV Purifiers | Fast, chemical-free treatment | Requires batteries; only works in clear water |
Strategic Tip: Use filtration + chlorination as a dual barrier. Filter first, then dose with pool shock for maximum safety.
Frequently Asked Questions About Pool Shock Water Purification
Can I use any pool shock for drinking water?
No. Only unstabilized calcium hypochlorite with 65–75% active chlorine is safe. Avoid products containing cyanuric acid, algaecides, fragrances, or clarifiers. These additives are unnecessary for purification and can cause health issues.
How long does treated water stay safe?
Properly chlorinated drinking water stored in sealed plastic or glass containers away from light stays safe for several months. However, taste may degrade over time. For long-term storage, retest periodically or re-treat if contamination is suspected.
What if my pool shock is clumped or damp?
Discard it immediately. Clumped or damp powder has absorbed moisture and lost potency. Using degraded product risks under-dosing, which leaves pathogens alive. Always inspect before use and store in a cool, dry place inside a sealed Mylar bag.
Is pool shock safe for bathing water?
Yes, at 1–3 ppm free chlorine, which requires 0.5–1 gram of 73% calcium hypochlorite per 5 gallons. Never apply pool shock directly to skin. Rinse with clean water after bathing, and neutralize irritation with baking soda paste or Vitamin C if needed.
Can chlorine remove chemical contaminants like lead or pesticides?
No. Chlorine only disinfects by killing bacteria, viruses, and algae. It does not remove heavy metals, nitrates, fluoride, pesticides, or hardness minerals. For chemical contamination, use reverse osmosis, ion exchange, or distillation systems.
How do I know if my well shock treatment worked?
Wait 1–2 weeks after treatment, then test water for coliform and E. coli through a certified laboratory. If contamination returns, repeat the shock chlorination monthly. Persistent contamination may indicate structural well problems requiring professional inspection or continuous disinfection systems.
Final Checklist: Emergency Water Purification

Drinking Water Protocol
- Confirm pool shock is calcium hypochlorite only, dry, and unclumped
- Pre-filter water through a 1-micron filter
- Mix 6 tbsp powder + 4 cups water; wait 30 min
- Add 2 drops stock per quart of filtered water
- Wait 30 minutes, check for chlorine smell
- Add 2 more drops if no smell (max 4)
- Store in plastic or glass, labeled, away from light
Well Disinfection Protocol
- Calculate total system volume (well + tank + pipes)
- Use 4 oz per 100 gallons for 200 ppm
- Dissolve in bucket, pour into well, splash sides
- Recirculate until strong smell, then open all faucets
- Wait overnight
- Flush to waste (avoid septic overload)
- Retest water in 1–2 weeks
Pool shock is a powerful, stable, and effective tool for water disinfection when used with precision. The key is correct dosing, pre-filtration, and strict safety. Never rely on outdated charts; use the updated 6-tablespoon stock solution ratio. Combine chlorination with mechanical filtration for complete protection. When in doubt, test your water and repeat treatment if contamination persists. With this knowledge, you can turn unsafe water into a safe, reliable resource for your household or community.