How to Make Reverse Osmosis Water

You’ve probably noticed your tap water tastes off, or maybe your aquarium shrimp aren’t thriving the way they should. Learning how to make reverse osmosis water gives you complete control over what’s in your drinking water, brewing supply, or fish tank. Reverse osmosis removes up to 99% of contaminants by forcing water through a membrane with pores as small as 0.0001 microns, stripping out lead, arsenic, chlorine, and even viruses.
This guide walks you through selecting a system, installing it correctly, maintaining peak performance, and tailoring the output for drinking, brewing, or specialized uses. You’ll also learn how to remineralize the water so it tastes great and supports your health.
Understand How Reverse Osmosis Works
Before buying equipment, it helps to know the science behind the process.
The Membrane Filtration Principle
Standard filters strain particles down to about 0.1 microns. An RO membrane goes far beyond that, filtering at roughly 0.0001 microns. This removes dissolved solids, salts, heavy metals, and microorganisms that pass right through ordinary filters.
Pressure Drives the Process
Osmosis naturally pulls water from low-solute areas to high-solute areas. Reverse osmosis flips this by applying external pressure, forcing pure water through the membrane while concentrated contaminants exit as waste brine.
RO vs. DI vs. Distilled Water
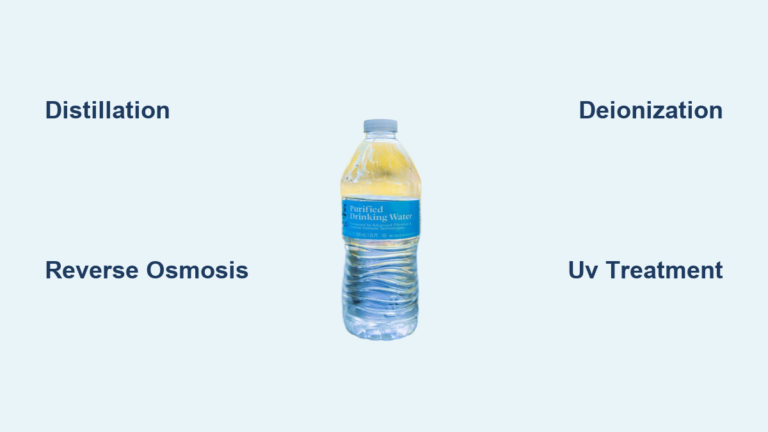
RO water isn’t completely mineral-free but contains far less than tap water. Deionized (DI) water strips nearly all ions and reaches 0–4 PPM Total Dissolved Solids. Distilled water uses evaporation and condensation. Each serves different purposes, but RO offers the best balance for most home users.
Choose the Right RO System
:max_bytes(150000):strip_icc()/best-reverse-osmosis-systems-4586893-jay-wilde-b88c627b82da4a93827ca422b1ad9b8e.jpg)
Your system choice depends on water source, intended use, and budget.
3-Stage vs. 4-Stage Configurations
A basic 3-stage system includes a sediment filter, carbon block filter, and RO membrane. This setup handles chlorine, dirt, and dissolved solids effectively for everyday drinking.
A 4-stage system adds a post-carbon filter to polish taste after storage. Some include a DI filter for ultra-pure output, which is essential for aquariums and labs but unsafe for regular drinking.
Budget vs. Premium Options
The Aquatic Life RO Buddy costs around $70 and produces about 2 gallons per hour, reducing TDS from 290 PPM to under 30 PPM. It’s perfect for hobbyists and small-scale needs.
Premium systems like the Culligan Aquasential offer smart monitoring, app connectivity, and built-in remineralization. These integrate seamlessly under the sink with tankless designs for whole-house drinking water.
For off-grid scenarios, portable 12V RO systems with booster pumps work with batteries or solar panels when municipal pressure isn’t available.
Install Your RO System Step by Step
Proper installation prevents membrane damage and ensures optimal output.
Mount Components in the Correct Order
Arrange your filters in sequence: sediment first, carbon second, RO membrane third. Secure all housings to a board or mounting bracket to prevent vibration and tubing stress.
Connect stages using 1/4-inch or 3/8-inch polyethylene tubing. Push each line fully into the push-to-connect fittings until it seats. A loose connection causes leaks or pressure loss.
Insert the Membrane Safely
Remove the cap and rubber gasket from the membrane housing. Insert the membrane with the double-O-ring end facing up to create a proper seal. Press down firmly until flush, then reattach the cap without forcing it.
Misalignment can tear the delicate membrane layers, so take your time here.
Configure the Waste Line and Flow Restrictor
The waste line carries concentrated contaminants to the drain. Install the flow restrictor on this line before connecting to the drain. This creates back-pressure that forces water through the membrane instead of bypassing it.
Without a flow restrictor, your system wastes water and produces little to no purified output.
Flush Filters Before First Use
New components contain preservatives and carbon fines that can damage the membrane or contaminate your water.
Pre-Flush Sediment and Carbon Filters
Before connecting the RO membrane, run water through the sediment and carbon filters for at least 5 minutes. Do this outdoors or through a garden hose adapter to avoid indoor flooding.
Continue until the water runs completely clear. Cloudiness means residual carbon dust is still present.
Flush the Membrane for 30 Minutes
After reconnecting the membrane, run the system for 30 minutes with any DI filter disconnected. You’ll see a slow drip from the product line and steady flow from the waste line. This is normal.
Check all fittings for leaks after the flush. A single drip wastes gallons over time.
Install the DI Filter Last
Only after the membrane is fully flushed should you install the DI filter. Cut the tubing at a 90-degree angle, insert into the filter ends, and secure with provided clips. No pre-flushing is needed.
Warning: DI-filtered water is not safe for regular drinking. At 0–4 PPM TDS, it can leach minerals from your body. Reserve it for aquariums, labs, or hydroponics.
Monitor Water Quality with a TDS Meter

Testing confirms your system works and helps you catch problems early.
Test Tap Water vs. RO Output
Measure your tap water first. Most municipal supplies range from 200–300 PPM. Then test your RO output. A healthy system reduces TDS by 90–95%.
If your tap reads 290 PPM, your RO water should measure around 23 PPM. Anything above 50 PPM suggests the membrane may be damaged or fouled.
Track Membrane Health Over Time
Check TDS monthly. A gradual rise indicates aging. Replace the membrane if TDS climbs above 50–60 PPM, flow rate drops significantly, or water develops an off-taste.
A well-maintained membrane lasts 2–5 years.
Watch for pH Changes
RO water typically measures slightly acidic at pH 6.0–6.5 because buffering minerals like calcium and magnesium are removed. A reading of 6.2 is normal.
If an inline carbon filter raises pH or TDS (for example, from 290 to 328 PPM), it may be leaching minerals. Replace it immediately.
Optimize Flow Rate and Pressure

RO systems need adequate pressure to push water through the membrane efficiently.
Maintain Minimum 40 PSI Inlet Pressure
If your home pressure falls below 40 PSI, production slows dramatically. Test with a pressure gauge on an outdoor spigot.
Solutions include installing a booster pump or choosing a system with a built-in permeate pump. Booster pumps are essential for off-grid or low-pressure applications.
Set Realistic Flow Expectations
A 50 GPD membrane produces about 2 gallons per hour under ideal conditions. That’s roughly 11–12 minutes per gallon.
Even high-capacity 1,000 GPD systems take time. A 100-gallon tank may fill in 45 minutes depending on pressure. RO is a slow, continuous process, not instant output.
Reduce Water Waste with a Permeate Pump
Standard RO systems waste 3–4 gallons for every gallon produced. A permeate pump uses energy from the waste stream to push purified water into the tank, cutting waste by up to 80%.
It’s a non-electric, cost-effective upgrade for anyone conscious about water consumption.
Remineralize for Better Taste and Health

Pure RO water lacks beneficial minerals and can taste flat. Remineralizing improves flavor and supports health.
Add a Remineralization Cartridge
Install an add-on remineralization cartridge as the final stage. These contain calcite and magnesium that slowly dissolve into the water.
Benefits include raised pH to a neutral or slightly alkaline range, enhanced taste, and automated mineral delivery. This option works best for under-sink systems used daily.
Use Mineral Drops or Salts
For portable or DIY setups, add mineral drops at about 8 drops per liter. Alternatively, add a pinch of Himalayan or sea salt per gallon to reintroduce trace minerals.
Caution: Avoid overuse. Excess sodium can be harmful over time.
Try Natural pH Adjustments
A tiny amount of baking soda (1/8 teaspoon per gallon) raises pH without strong flavor. A lemon slice adds taste and has an alkalizing effect after digestion. You can also blend 3 parts RO water with 1 part tap water to reintroduce minerals, but only if your tap water is safe.
Apply RO Water to Specific Uses
Tailor your output based on how you plan to use it.
Brewing Beer with RO Water
RO water gives brewers a blank slate to build custom profiles. Its low alkalinity lets you easily adjust mash pH to 5.1–5.2 using lactic acid, phosphoric acid, or acidulated malt.
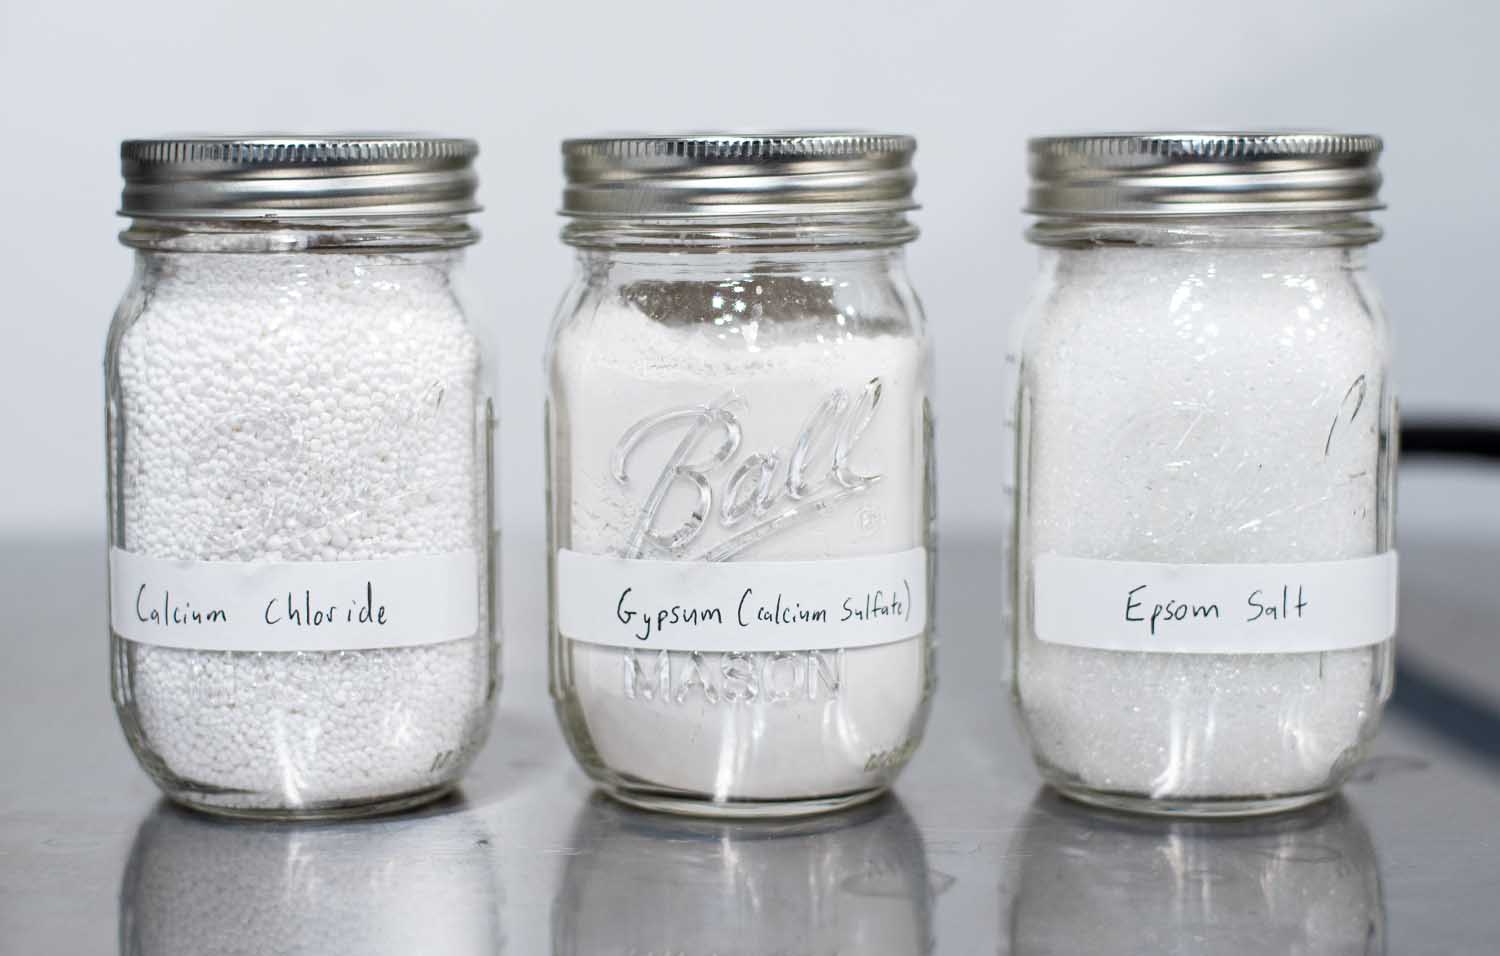
Add brewing salts to enhance flavor:
• Calcium chloride boosts maltiness
• Gypsum enhances hop bitterness
• Epsom salt aids yeast health
Many brewers acidify all water (mash and sparge) to pH 5.5 to prevent tannin extraction.
Maintaining Aquariums and Hydroponics
Sensitive species like Neocaridina and Caridina shrimp require precise parameters. RO water ensures zero chlorine and controllable hardness.
Remineralize using specialized GH/KH boosters to match species needs. DI-polished water (0–4 PPM) allows exact customization, making it ideal for breeding tanks.
Emergency and Survival Situations
RO systems purify brackish water and contaminated sources during disasters. Standard 50–100 GPD units cannot desalinate seawater (which requires 800+ PSI), but they handle floodwater runoff, industrial pollutants, and heavy metals.
Use a 12V booster pump with solar power for off-grid operation. Reclaim waste water for flushing toilets, cleaning, or laundry, but never pour it down the drain in a crisis.
Maintain Your System Regularly
Consistent upkeep keeps your RO system performing at its best.
Replace Filters on Schedule
• Sediment and carbon filters: every 6–12 months
• RO membrane: every 2–5 years
• Remineralization or DI filters: as needed based on TDS readings
Skipping pre-filter changes is the leading cause of premature membrane failure.
Sanitize Every 6 Months
Bacteria can grow in stagnant lines. Every six months, shut off water and power, bypass the RO membrane, and run a 10% bleach solution through the pre-filters. Flush thoroughly with clean water before reconnecting.
This kills biofilm and keeps your water safe.
Prevent Freezing Damage
Never let your RO system freeze. Ice expands and ruptures the membrane layers instantly, destroying it.
If storing in cold environments, drain all water and disconnect the system. Bring components indoors until temperatures rise.
Troubleshoot Common Problems
Even well-maintained systems develop issues. Here’s how to fix them quickly.
Low or No Water Production
Common causes include clogged pre-filters, low inlet pressure, or cold water below 50°F. Inspect filters, test pressure, and ensure adequate temperature.
High TDS in RO Water
If TDS exceeds 50 PPM, check for a torn or aged membrane, O-ring leaks, or an improperly installed flow restrictor. Replace damaged components and re-test.
Noisy or Vibrating Pump
Air trapped in lines causes noise. Bleed the system by loosening fittings slightly until water flows, then retighten. Secure loose tubing with clips to stop vibration-induced leaks.
Leaking Connections
Most leaks come from improperly seated tubing. Push lines fully into push-fit connectors until they click. Replace cracked housings or worn O-rings as needed.
Frequently Asked Questions About Reverse Osmosis Water
How long does it take to make a gallon of reverse osmosis water?
A standard 50 GPD membrane produces about 2 gallons per hour under ideal pressure. That means roughly 11–12 minutes per gallon. Higher-capacity membranes fill faster, but all RO systems are slower than standard faucets.
Can reverse osmosis water be used for drinking every day?
Yes, but many experts recommend remineralizing it first. RO water lacks calcium and magnesium, and some research suggests long-term consumption of demineralized water may leach minerals from the body. Adding a remineralization cartridge or mineral drops solves this concern.
What is the difference between RO water and distilled water?
RO water uses pressure to force water through a membrane, removing 95–99% of contaminants. Distilled water uses heat to evaporate and condense water, leaving minerals behind. Both produce pure water, but RO is more energy-efficient and practical for home use.
How often should I replace my RO membrane?
With proper pre-filter maintenance, an RO membrane lasts 2–5 years. Replace it when TDS readings climb above 50–60 PPM, flow rate drops noticeably, or water develops an off-taste.
Can a home RO system desalinate seawater?
No. Standard DIY RO systems operate at 40–100 PSI and can handle brackish water, but full-strength seawater requires 800+ PSI and industrial equipment. Home units work well for municipal supplies, well water, and lightly contaminated sources.
Why does my RO water taste flat?
RO removes minerals that give water its characteristic taste. Remineralizing with a calcite cartridge, mineral drops, or a small amount of baking soda restores flavor and raises pH to a more pleasant level.
Key Takeaways for Making Reverse Osmosis Water
Making reverse osmosis water at home is a practical way to control your water quality for drinking, brewing, or specialized applications. Start by choosing a system that matches your needs, whether that’s a budget 3-stage unit or a premium 4-stage model with remineralization.
Install components in the correct order, flush thoroughly before first use, and monitor TDS monthly to catch problems early. Maintain your system with regular filter changes and sanitization to extend membrane life and keep water safe.
Once your system runs smoothly, consider remineralizing for better taste and health benefits. With the right setup and care, you’ll produce pure, reliable RO water on demand for years to come.