How to Maintain a Reverse Osmosis System
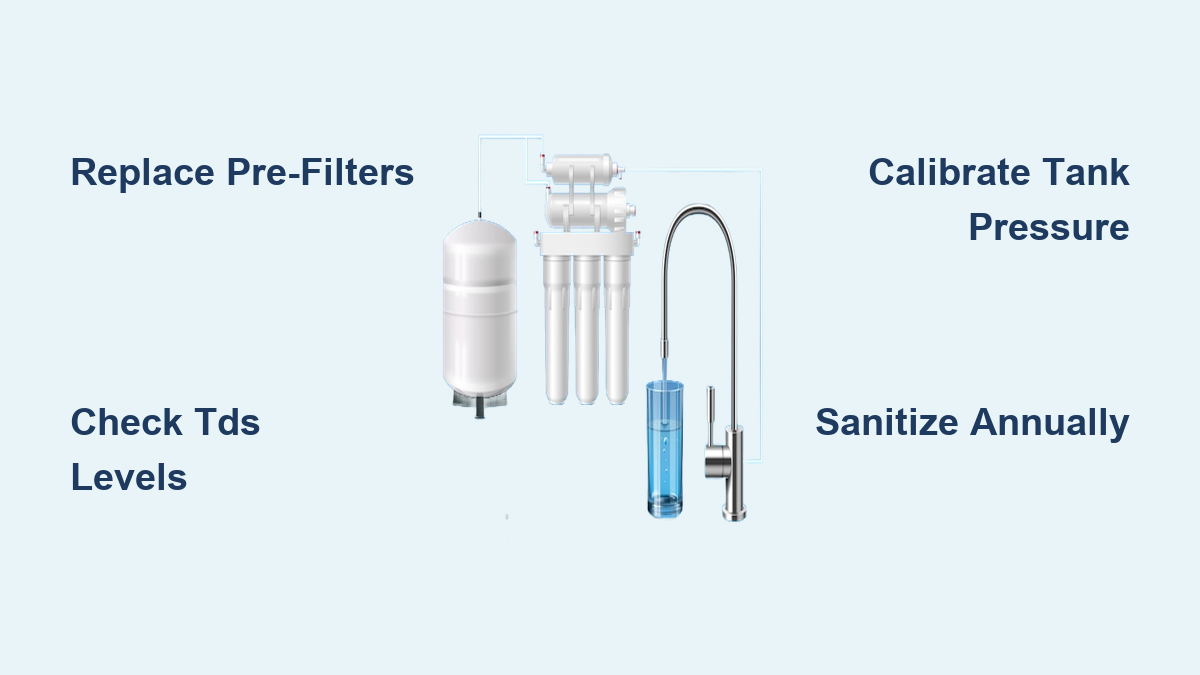
Your reverse osmosis water filter once delivered crisp, restaurant-quality water on demand. Now the flow is sluggish, the taste is off, and you are wondering if the whole unit needs replacing. Before you spend hundreds on a new system, the fix is almost certainly simpler: routine maintenance of a reverse osmosis system. A well-cared-for RO setup can last 10 to 15 years, removing up to 95% of contaminants like lead, chlorine, fluoride, and pesticides.
This guide covers every essential maintenance task for your reverse osmosis water filter, from changing pre-filters and membranes to calibrating tank pressure and sanitizing the lines. Follow these steps and your system will deliver pure, great-tasting water for well over a decade.
Replace Pre-Filters Every 6 to 12 Months
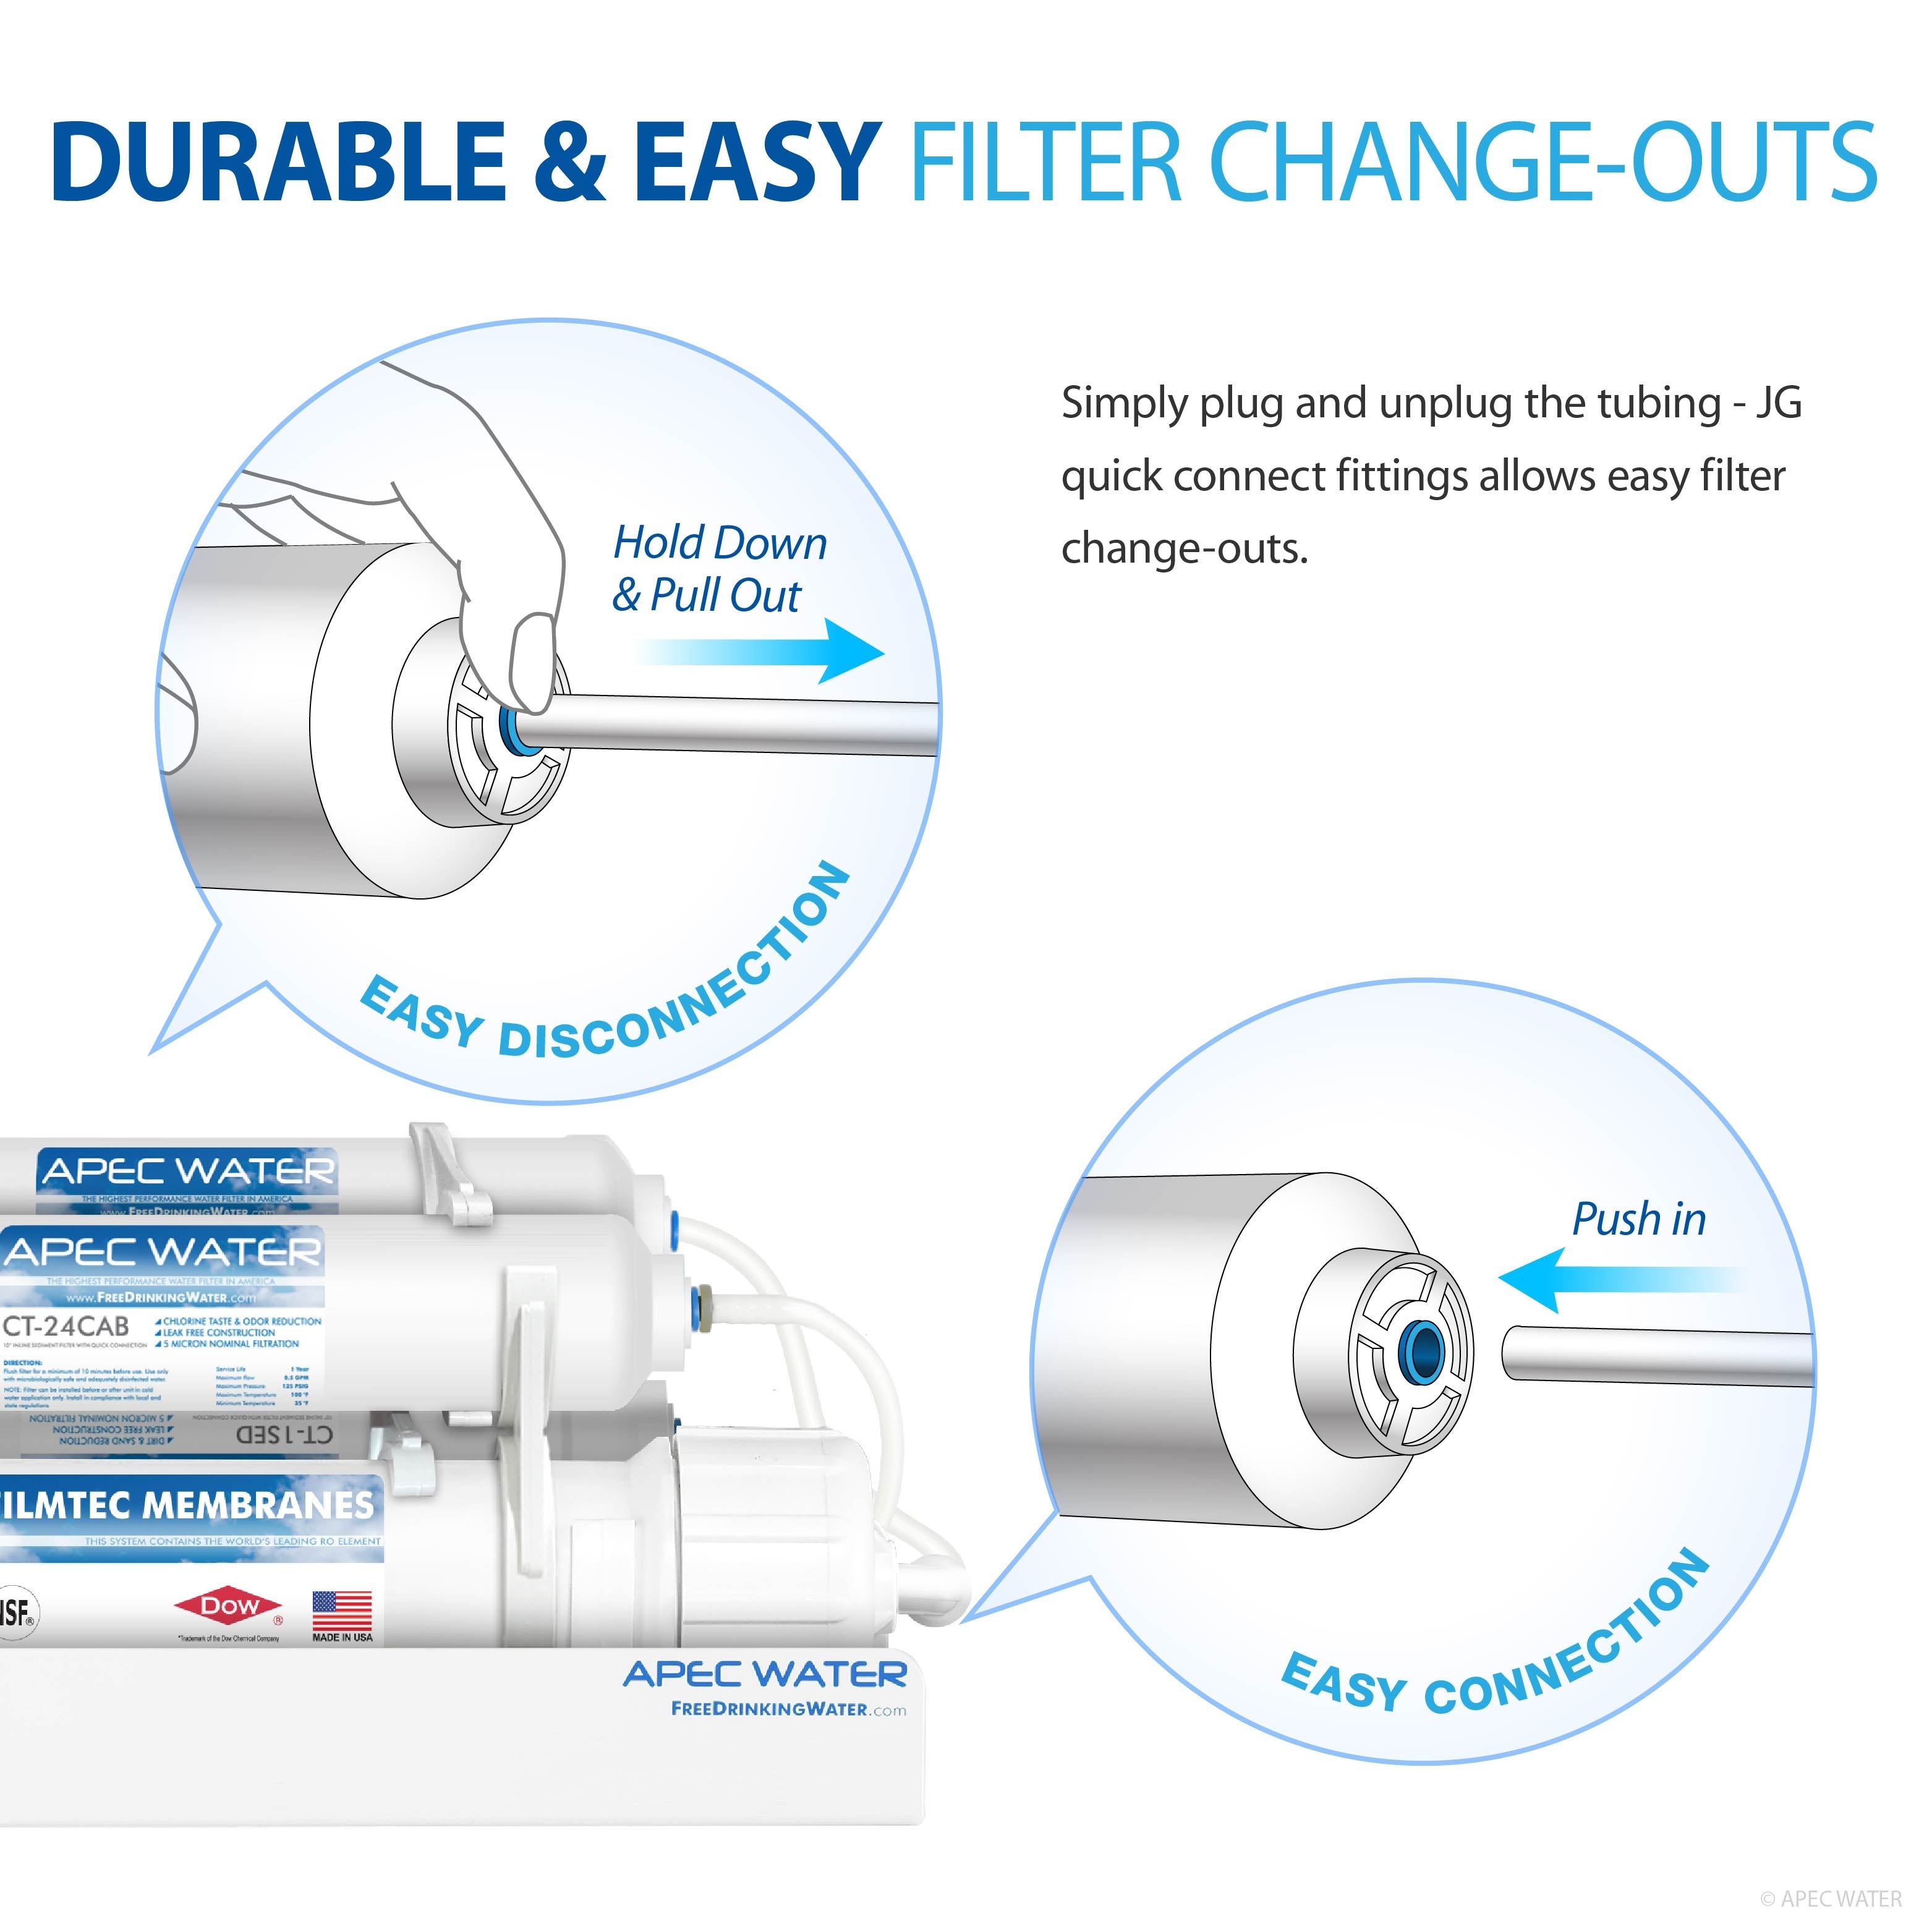
Pre-filters are the unsung heroes of your RO system. They trap sediment and chlorine before either can reach the delicate membrane. Skipping pre-filter replacements is the single biggest cause of premature membrane failure.
Change Sediment Filters on Schedule
The sediment filter is the first stage in most RO setups. It catches dirt, silt, sand, and rust particles so they cannot scratch or clog the membrane.
- Replace every 6 to 12 months
- In high-sediment areas, swap it every 3 to 6 months
- Replace sooner if you notice reduced flow or a visibly dirty filter
A clogged sediment filter forces unfiltered water past the membrane, drastically shortening its life. Always replace this filter before it maxes out.
Use Carbon Block Filters for Chlorine Removal
Chlorine destroys RO membranes, so the carbon pre-filter is non-negotiable. It removes chlorine, chloramines, and the chemical tastes that ruin a glass of water.
- Replace every 6 to 12 months
- In chlorinated municipal water, stick to 6-month intervals
- Some extended-life models last up to 2 years
Carbon block filters offer better contact time and finer filtration than granular activated carbon. If your system has room for both, use them together.
Keep Filter Stages in the Correct Order
Installing a filter in the wrong housing renders the entire system ineffective. Most RO units follow this layout:
- Stage 1: Sediment filter (usually white or blue)
- Stage 2: Carbon block or GAC filter (black)
- Stage 3: RO membrane (separate housing)
- Stage 4: Post-filter (polishing carbon)
- Stage 5 (optional): Remineralization filter
Replace one filter at a time and keep the old one nearby as a reference. This prevents mix-ups and keeps your maintenance of a reverse osmosis system on track.
Replace the RO Membrane Every 2 to 5 Years

The membrane is the heart of the system. It removes dissolved solids, heavy metals, and microscopic contaminants that other filters cannot touch.
Test TDS Before Replacing the Membrane
Do not guess whether the membrane is spent. Use a Total Dissolved Solids (TDS) meter to measure actual performance.
- Test your tap water and RO water side by side
- A healthy membrane removes 90 to 95% of TDS
- Example: 300 ppm tap water should produce 15 to 30 ppm RO water
Replace the membrane if RO output exceeds 40 to 50 ppm or if rejection drops below 85%.
Flush New Membranes Three Times Before Drinking
New membranes ship with a food-grade preservative coating. Drinking water before flushing it off can expose you to unwanted chemicals.
- Fill the storage tank completely
- Drain it through the RO faucet
- Repeat this cycle three times
- Discard every drop during flushing
Only drink the water after the third fill-and-drain cycle.
Shorten Membrane Life in Hard Water Areas
Hard water leaves calcium and magnesium scale on the membrane surface, choking off flow and efficiency.
- Replace the membrane every 2 to 3 years instead of 5
- Add a scale inhibitor filter ahead of the RO unit
- Consider an antiscalant dosing pump for commercial systems
If you live in a hard water region, this adjustment alone can double your membrane’s effective lifespan.
Change the Post-Filter Every 6 to 12 Months
The post-filter sits after the storage tank and polishes the water right before it reaches your glass. It does not protect the membrane, but it makes the difference between flat water and crisp, refreshing water.
Eliminate Tank-Related Odors and Tastes
Stagnant water in the storage tank can develop a musty or plastic taste. A fresh post-filter clears it up fast.
- Replace the post-filter every 6 to 12 months
- Run the faucet for a few seconds if the system goes unused for weeks
- Sanitize the tank during your annual maintenance
A new post-filter keeps every glass tasting clean and neutral.
Calibrate Storage Tank Pressure to 7 to 9 PSI
A weak air bladder in the storage tank is the most common cause of slow flow, sputtering, and weak water pressure. Many users blame the filters when the real culprit is tank pressure.
Check Pressure With the Tank Empty
Always measure pressure on a drained tank. Water inside will give you a false reading.
- Shut off the cold water supply to the RO system
- Open the RO faucet and drain the tank until no more water flows
- Locate the Schrader valve on the bottom of the tank (it looks like a tire valve)
- Press a tire pressure gauge onto the valve
- Target reading: 7 to 9 PSI (8 PSI is ideal)
Adjust Pressure as Needed
- Too low: Add air with a bicycle pump until you hit 8 PSI
- Too high: Press the valve stem briefly to bleed off air
After adjusting, close the faucet, turn the water supply back on, and wait 2 to 4 hours for the tank to refill. A properly pressurized tank delivers steady flow and prevents waterlogging.
Sanitize the Entire System Once a Year
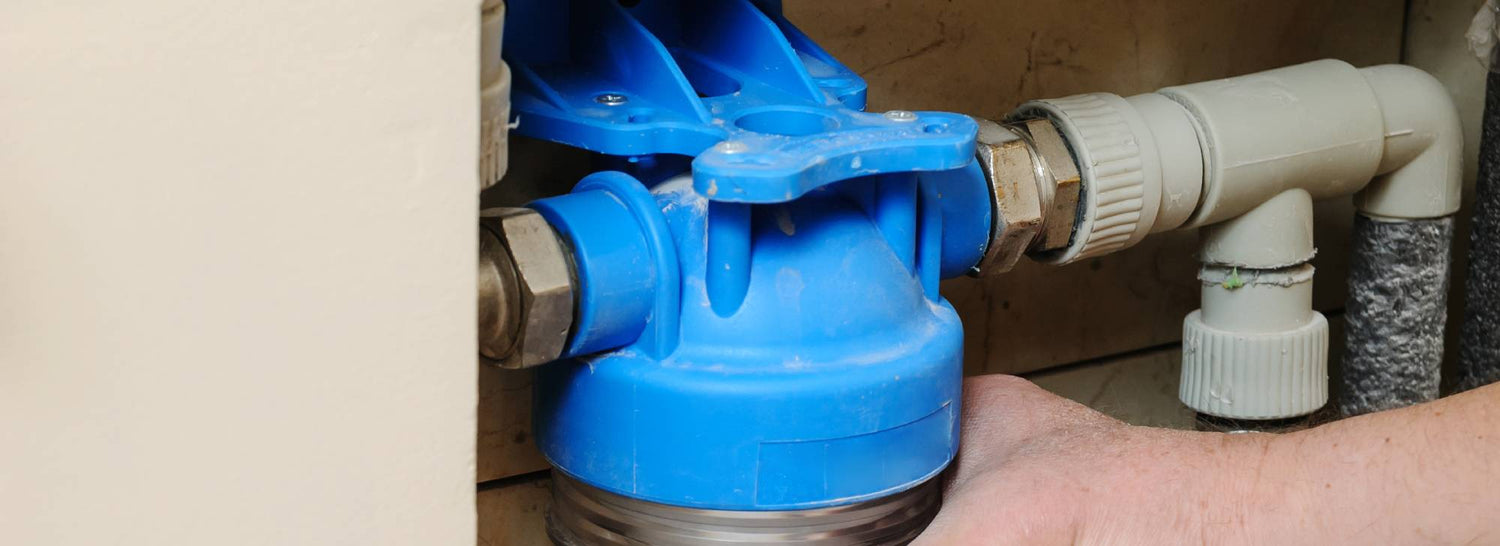
Bacteria and biofilm thrive in the dark, wet interior of an RO system. Annual sanitization kills microbes and keeps your water safe and fresh-tasting.
Choose Hydrogen Peroxide or Unscented Bleach
Pick one sanitizing agent and stick with it. Never mix chemicals.
Option 1: Hydrogen Peroxide (safer for skin and lungs)
– Pour 1 cup of 3% hydrogen peroxide into the empty first-stage housing
Option 2: Unscented Household Bleach (highly effective)
– Mix 2 to 3 tablespoons of plain bleach into the pre-filter housing
– Never use scented or gel bleach
Follow the Sanitizing Sequence Step by Step
- Shut off the water supply
- Open the RO faucet to drain and depressurize the system
- Remove all filters but leave the housings screwed onto the manifold
- Pour your sanitizer into the first housing
- Reconnect all tubing
- Turn the water supply back on (the system fills fast without filters)
- Run two complete fill-and-drain cycles
- Shut off the water again
- Install fresh filters
- Flush the tank twice before drinking
After the final flush, the water should have no chemical smell. If you detect any odor, run another cycle.
Sanitize Well Water Systems More Often
Well water lacks chlorine, so bacterial growth is a constant threat.
- Sanitize at least once per year
- Test for coliform bacteria annually
- Replace filters more often if iron or sediment is high
Well water users should treat sanitization as a non-negotiable part of maintenance of a reverse osmosis system.
Monitor Performance Monthly With Quick Checks
Five minutes a month can prevent expensive repairs. Build these quick checks into your routine.
Test TDS Every 3 Months
Tracking TDS over time reveals membrane decay long before you taste a problem.
- Record tap and RO readings in a small notebook or spreadsheet
- Rising RO TDS is an early warning sign
- A sudden jump often points to a bypass leak or a failed O-ring
Inspect Under the Sink for Leaks
Small leaks become big problems fast.
- Lay blue shop towels under fittings and tubing
- Check filter housings, valves, and connections
- Replace any cracked or swollen O-rings immediately
Blue shop towels absorb water quickly and show discoloration, making tiny leaks easy to spot.
Listen for Unusual Noises
A healthy RO system is mostly silent.
- Constant hum or hiss: Likely a failing auto shut-off valve or a slow leak
- Gurgling: Normal during tank refill
- Continuous dripping: Check the drain line and faucet seals
If the system runs nonstop, fix it right away. Continuous running wastes water and overworks the pump.
Avoid the Most Common Maintenance Mistakes
Even experienced homeowners make errors that shorten the life of their RO system. Steer clear of these pitfalls.
Never Remove All Filters at Once
Pulling every filter at the same time leads to mix-ups and wrong installations.
- Replace one filter at a time
- Keep the old filter next to its housing as a reference
- Label the housings if you are unsure of the order
Do Not Over-Tighten Filter Housings
Hand-tight plus a quarter turn with a filter wrench is plenty.
Over-tightening can:
– Crack the plastic housing
– Damage or pinch the O-ring
– Cause slow leaks that are hard to trace
A thin layer of food-grade silicone grease on the O-ring ensures a smooth, watertight seal.
Always Flush New Carbon Filters
New carbon filters shed fine black dust during their first use.
- Run water through the filter for 10 to 15 minutes after installation
- Or fill and drain the tank twice
- Skipping this step leaves cloudy water and carbon sediment in your lines
Adjust Maintenance for Hard or Well Water
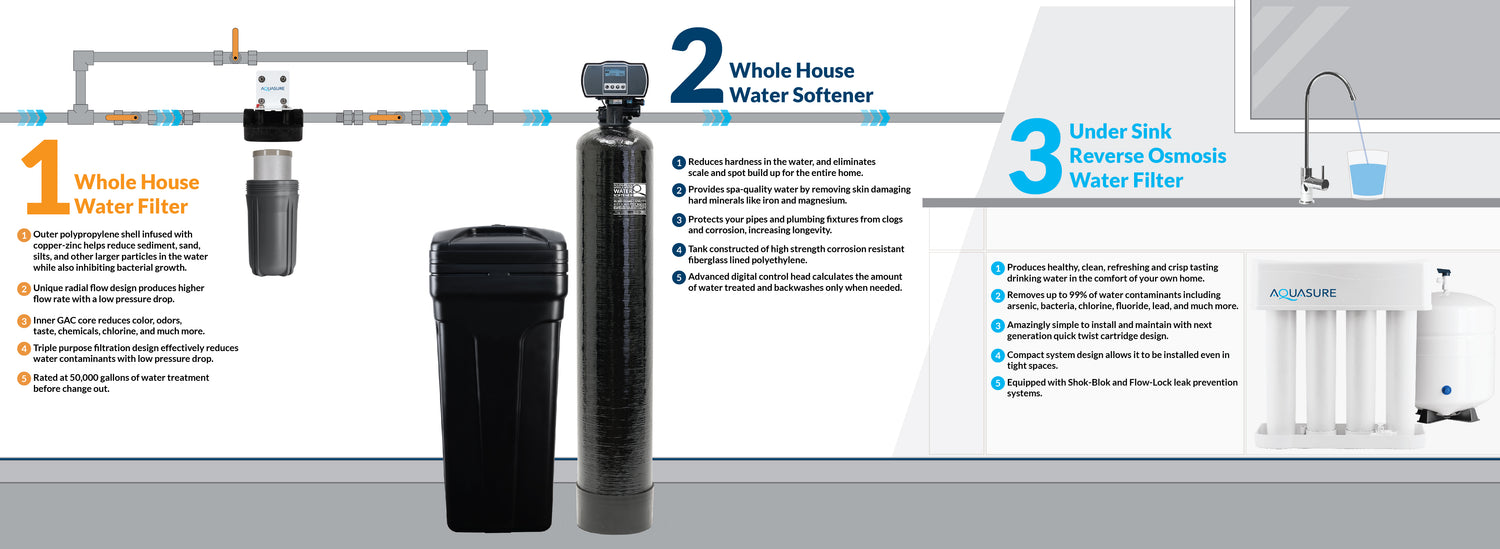
Standard schedules assume average municipal water. If your supply is harder or comes from a well, you need to adapt.
Soften Hard Water to Prevent Scale
Calcium and magnesium build up on the membrane surface and choke performance.
- Install a whole-house water softener
- Or add a scale inhibitor pre-filter ahead of the RO unit
- Shorten membrane replacement to every 2 years
Test Well Water for Bacterial Contamination
Untreated well water can carry coliform bacteria and other pathogens.
- Test annually for coliform and E. coli
- Sanitize immediately if you notice bad tastes or odors
- Add a UV post-treatment light if contamination is a recurring issue
Upgrade With Smart Monitoring for Extra Protection
Modern RO systems offer app-based alerts that simplify maintenance of a reverse osmosis system.
Use Apps to Track Filter Life
Smart units like Culligan Connect or DesaliTec send notifications when:
- Filters are due for replacement
- A leak is detected
- TDS readings climb above safe levels
These tools do not replace hands-on checks, but they help you stay on schedule.
Enable Leak Protection Features
Many newer units include a flow-stop valve with a moisture-sensitive tablet.
- Red visible: Valve is armed and active
- White visible: Leak detected, water supply shut off
Replace the tablet and dry the surrounding area to reset the system.
Frequently Asked Questions About Reverse Osmosis System Maintenance
How often should I replace the filters in my RO system?
Replace sediment and carbon pre-filters every 6 to 12 months. Replace the post-filter on the same schedule. The RO membrane itself lasts 2 to 5 years depending on water quality and pre-filter upkeep.
How do I know when my RO membrane needs replacing?
Test with a TDS meter. If your tap water reads 300 ppm and your RO water climbs above 40 to 50 ppm, the membrane is failing. A rejection rate below 85% is another clear sign.
Why is my RO water flow so slow?
Slow flow usually points to one of three issues: clogged pre-filters, a failing membrane, or low air pressure in the storage tank. Check tank pressure first with the tank drained. Target 7 to 9 PSI.
Can I sanitize my RO system with vinegar?
Hydrogen peroxide and unscented bleach are the standard sanitizers. Vinegar is not recommended because it does not reliably kill biofilm bacteria and can leave residue in the membrane housing.
How long does a reverse osmosis system last with proper maintenance?
A well-maintained residential RO system lasts 10 to 15 years. The membrane needs replacement every 2 to 5 years, but the tank, faucet, and housings can run for well over a decade.
Is RO water waste really that high?
Older systems waste 4 to 9 gallons for every gallon of purified water. Modern high-efficiency models achieve a 1:1 ratio. Keeping filters fresh and the membrane clean keeps waste near the manufacturer’s rated ratio.
Key Takeaways for Long-Lasting RO Performance
Maintenance of a reverse osmosis system comes down to a few repeatable habits. Change pre-filters and post-filters every 6 to 12 months. Replace the membrane when TDS exceeds 50 ppm or rejection drops below 90%. Calibrate tank pressure to 8 PSI once a year. Sanitize the full system annually, or more often if you are on well water. Run a quick monthly check for leaks, noises, and flow changes.
Your next step is simple: grab a notebook and log today’s TDS reading, filter change dates, and tank pressure. Set a calendar reminder for the next filter swap. With this routine locked in, your RO system will deliver clean, great-tasting water for the next decade and beyond.